Evolution of a restoration pt2.
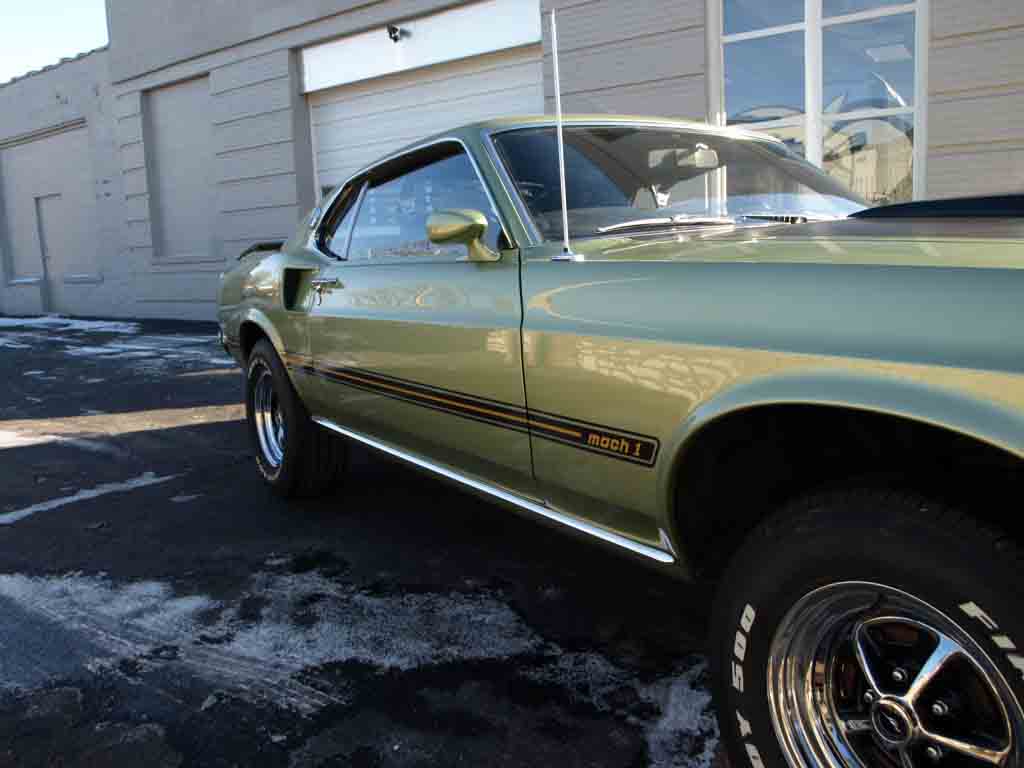
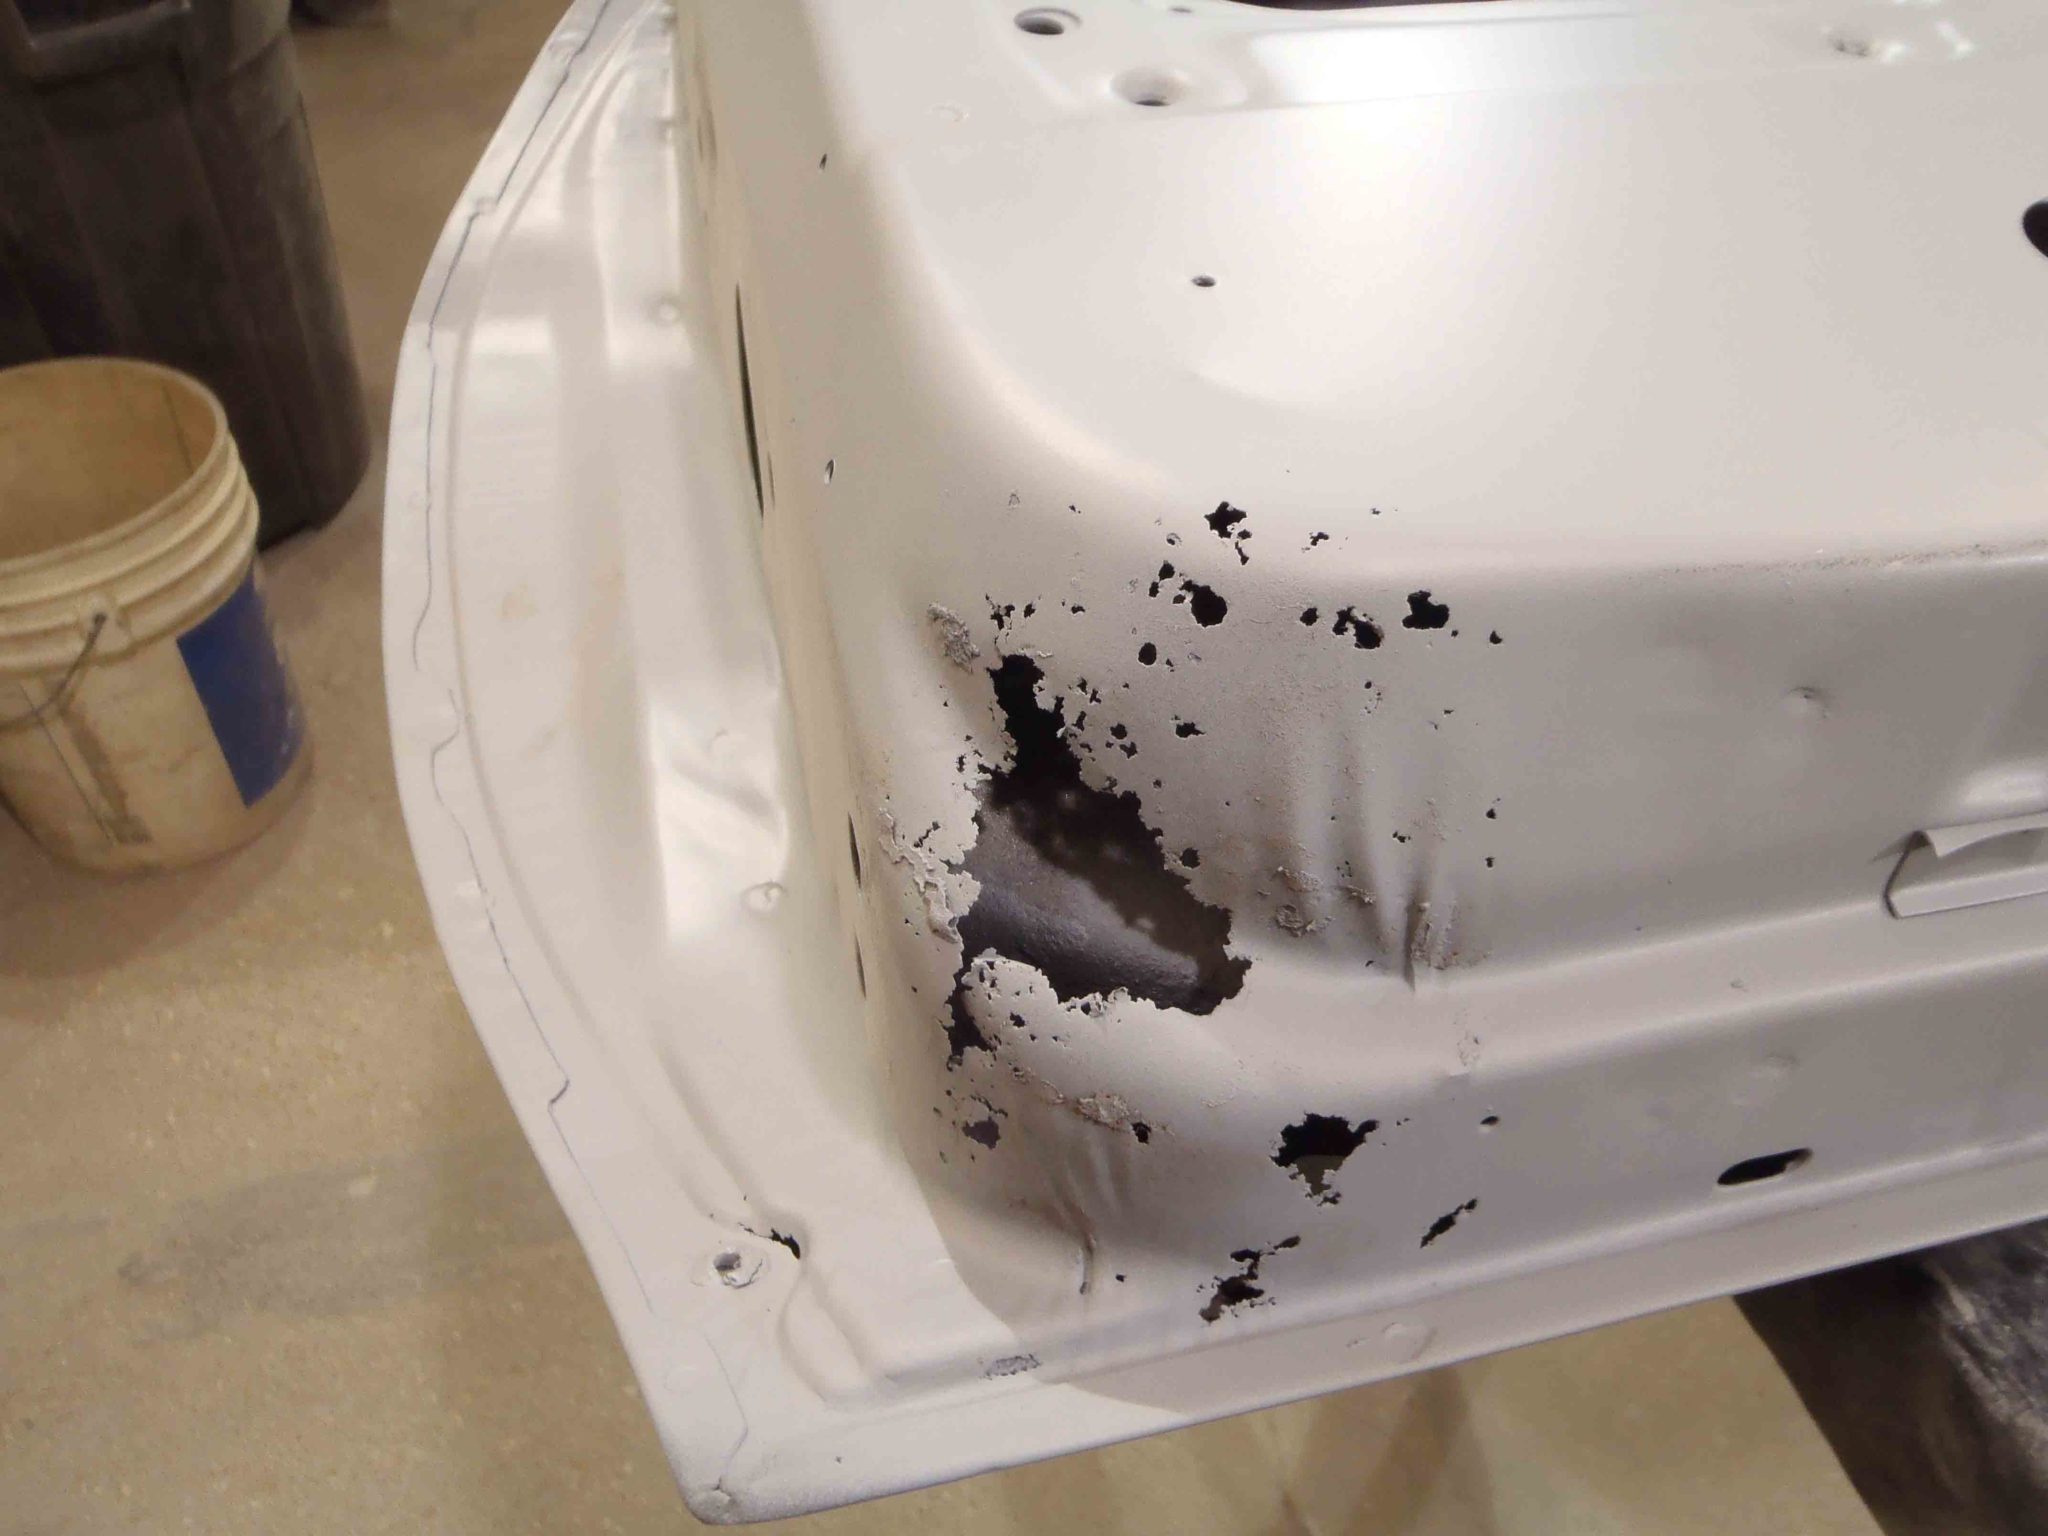
Going from this

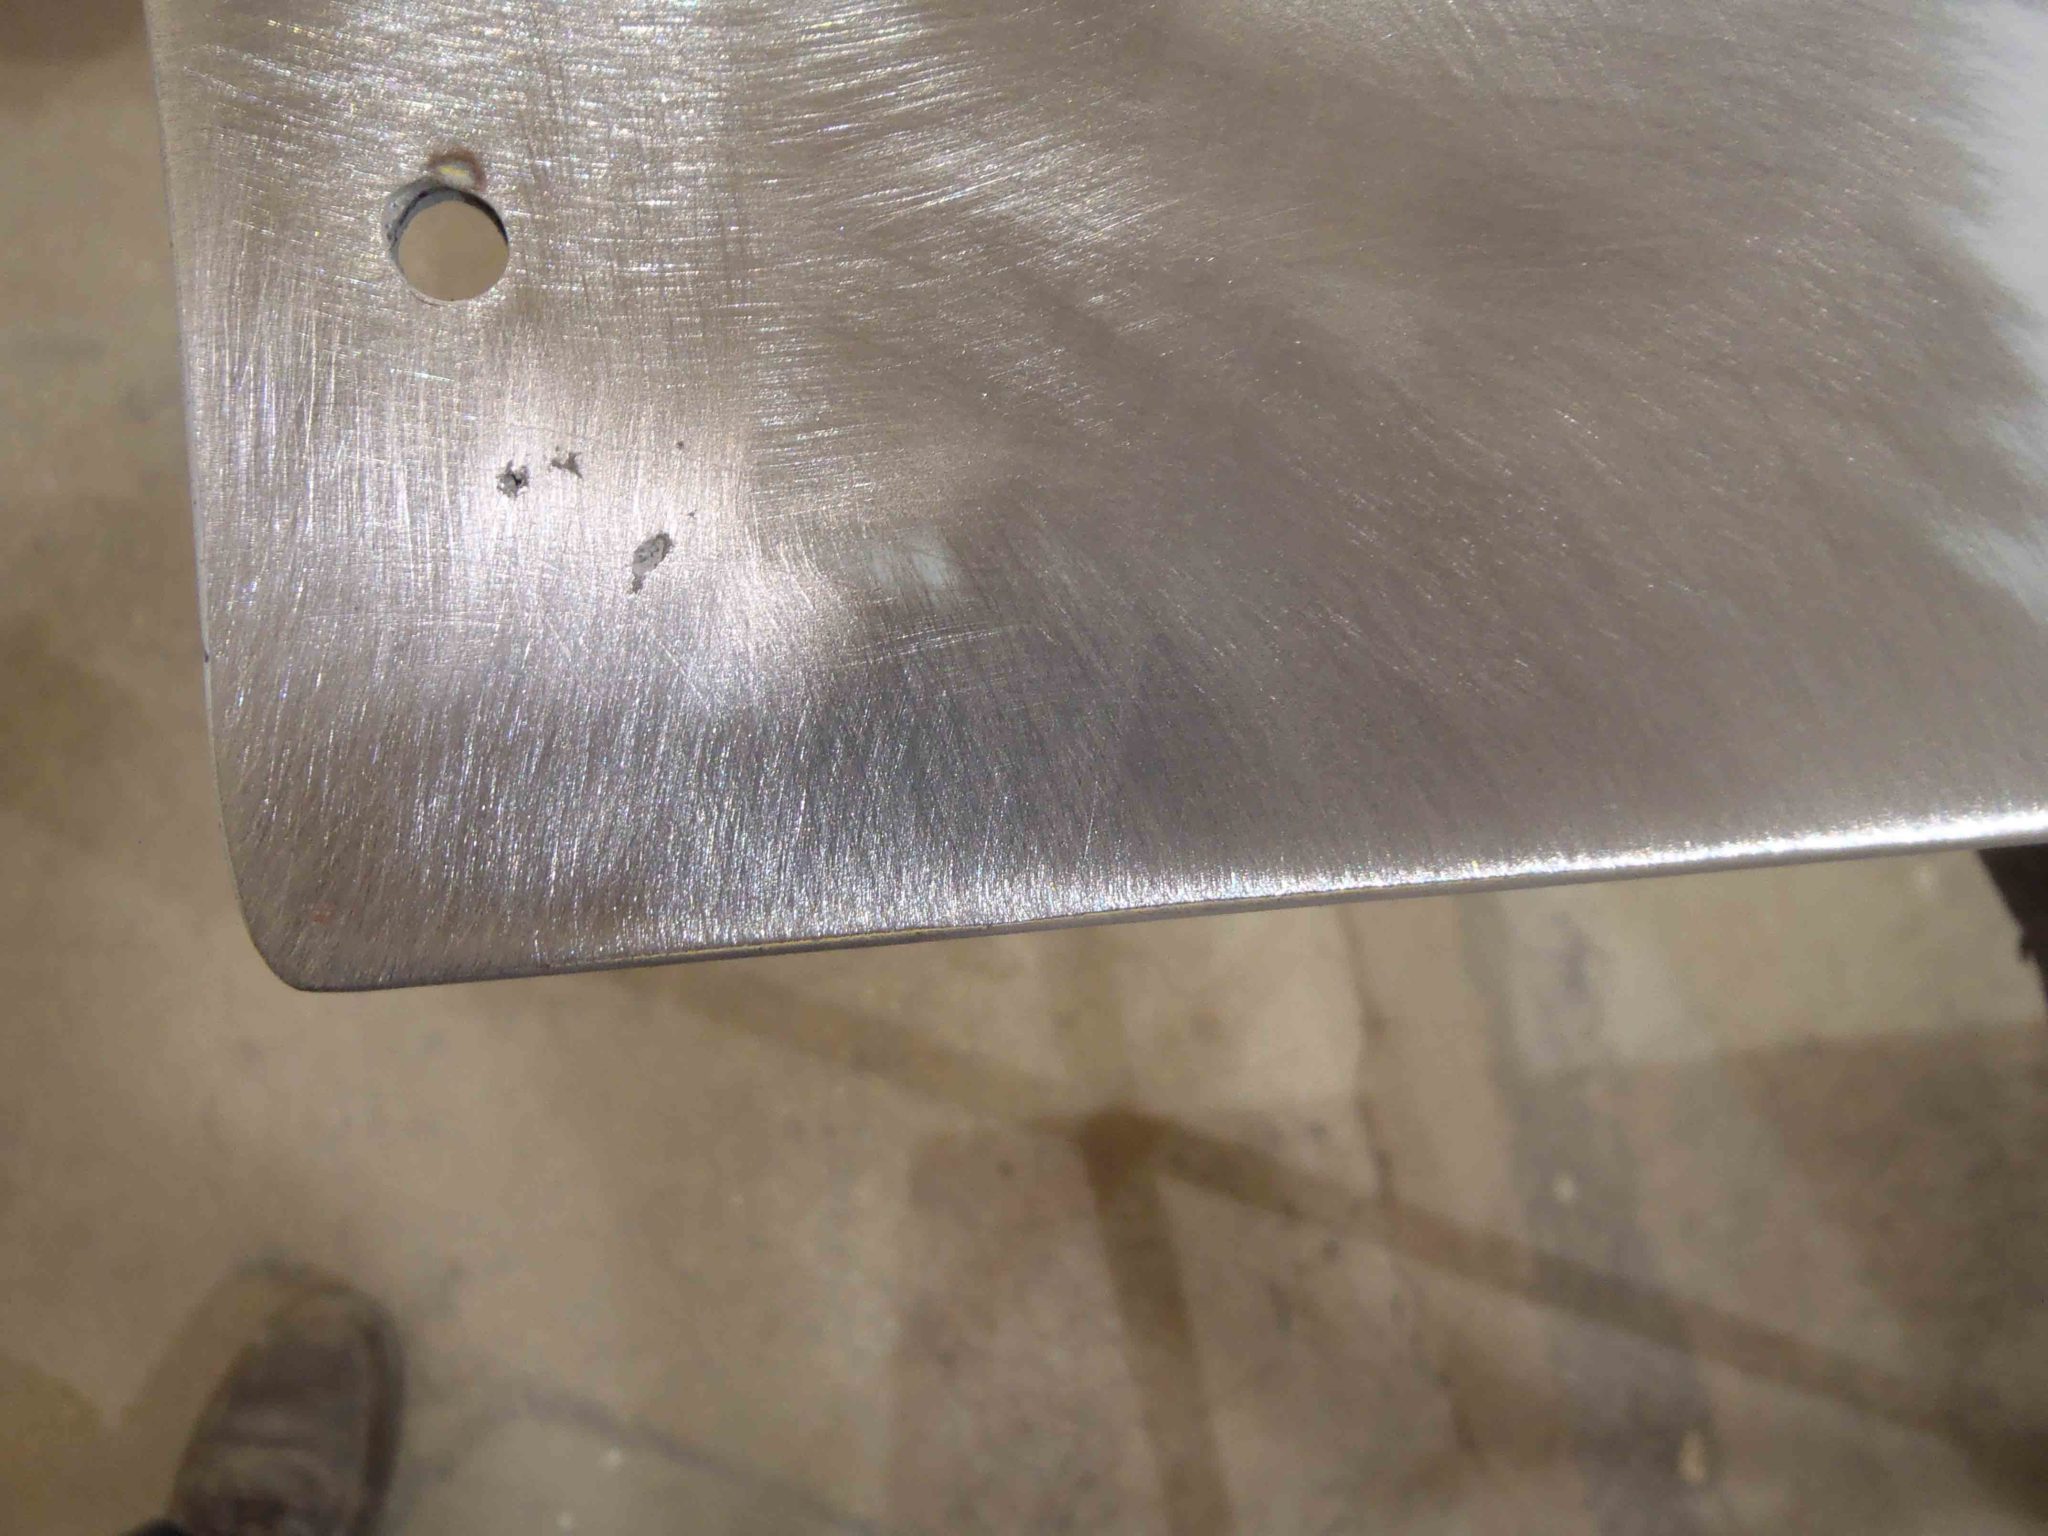
To this
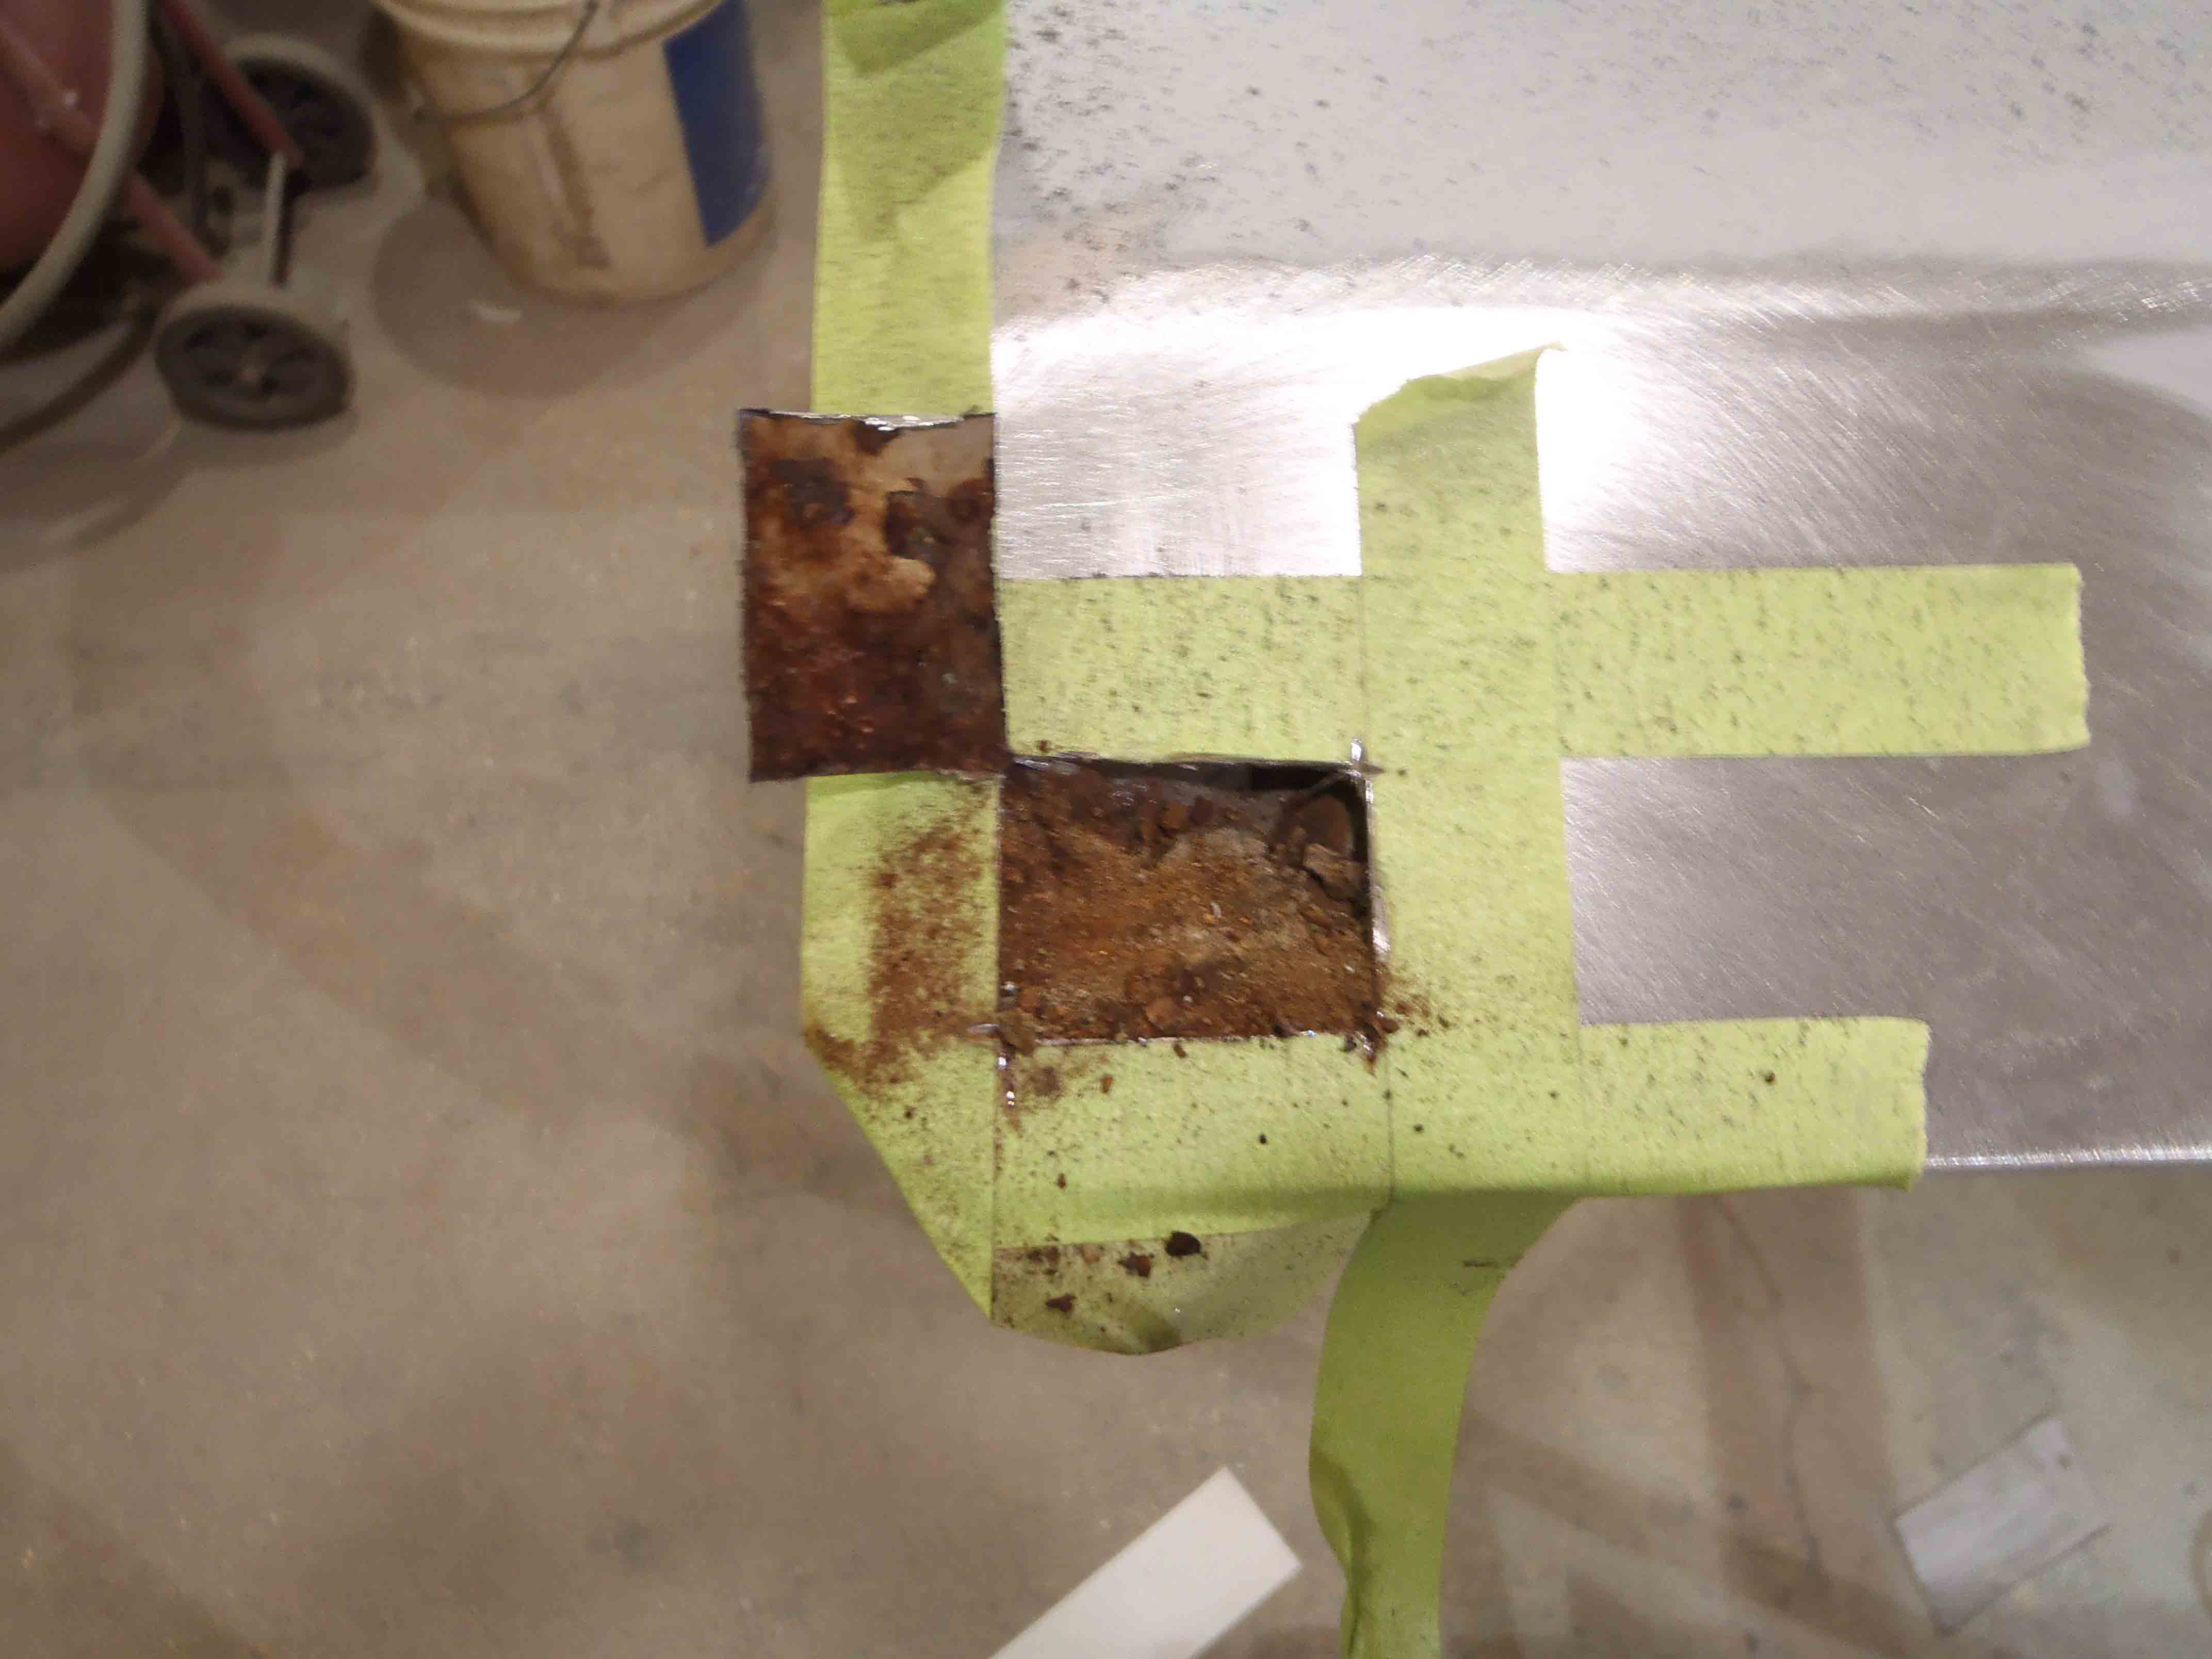
In the previous post, Evolution of a restoration pt.1, we discussed tear down, organizing and maintaining an inventory of the parts on hand you will reuse and beginning to determine what parts you will need. Precision Restoration spends a considerable amount of time to fully assess the metal on the vehicle, and determine how best to preserve the original sheet metal. While the panels are often too far gone to repair you can count on the original sheet metal fitting much better than any replacement on the market. There are a number of high quality vendors that stamp replacement sheet metal but sometimes more time is spent trying to align and modify panels to fit than if you reworked the existing. The most important thing to note when looking at a panel and determining whether to replace or repair is the actual extent of the corrosion. Obvious damage to the panel is easy to see but corrosion can sometimes be deceiving. In order to make a lasting repair to a corroded panel ALL of the corroded metal must be removed. Any corrosion not removed will continue to grow and eat away all your efforts.
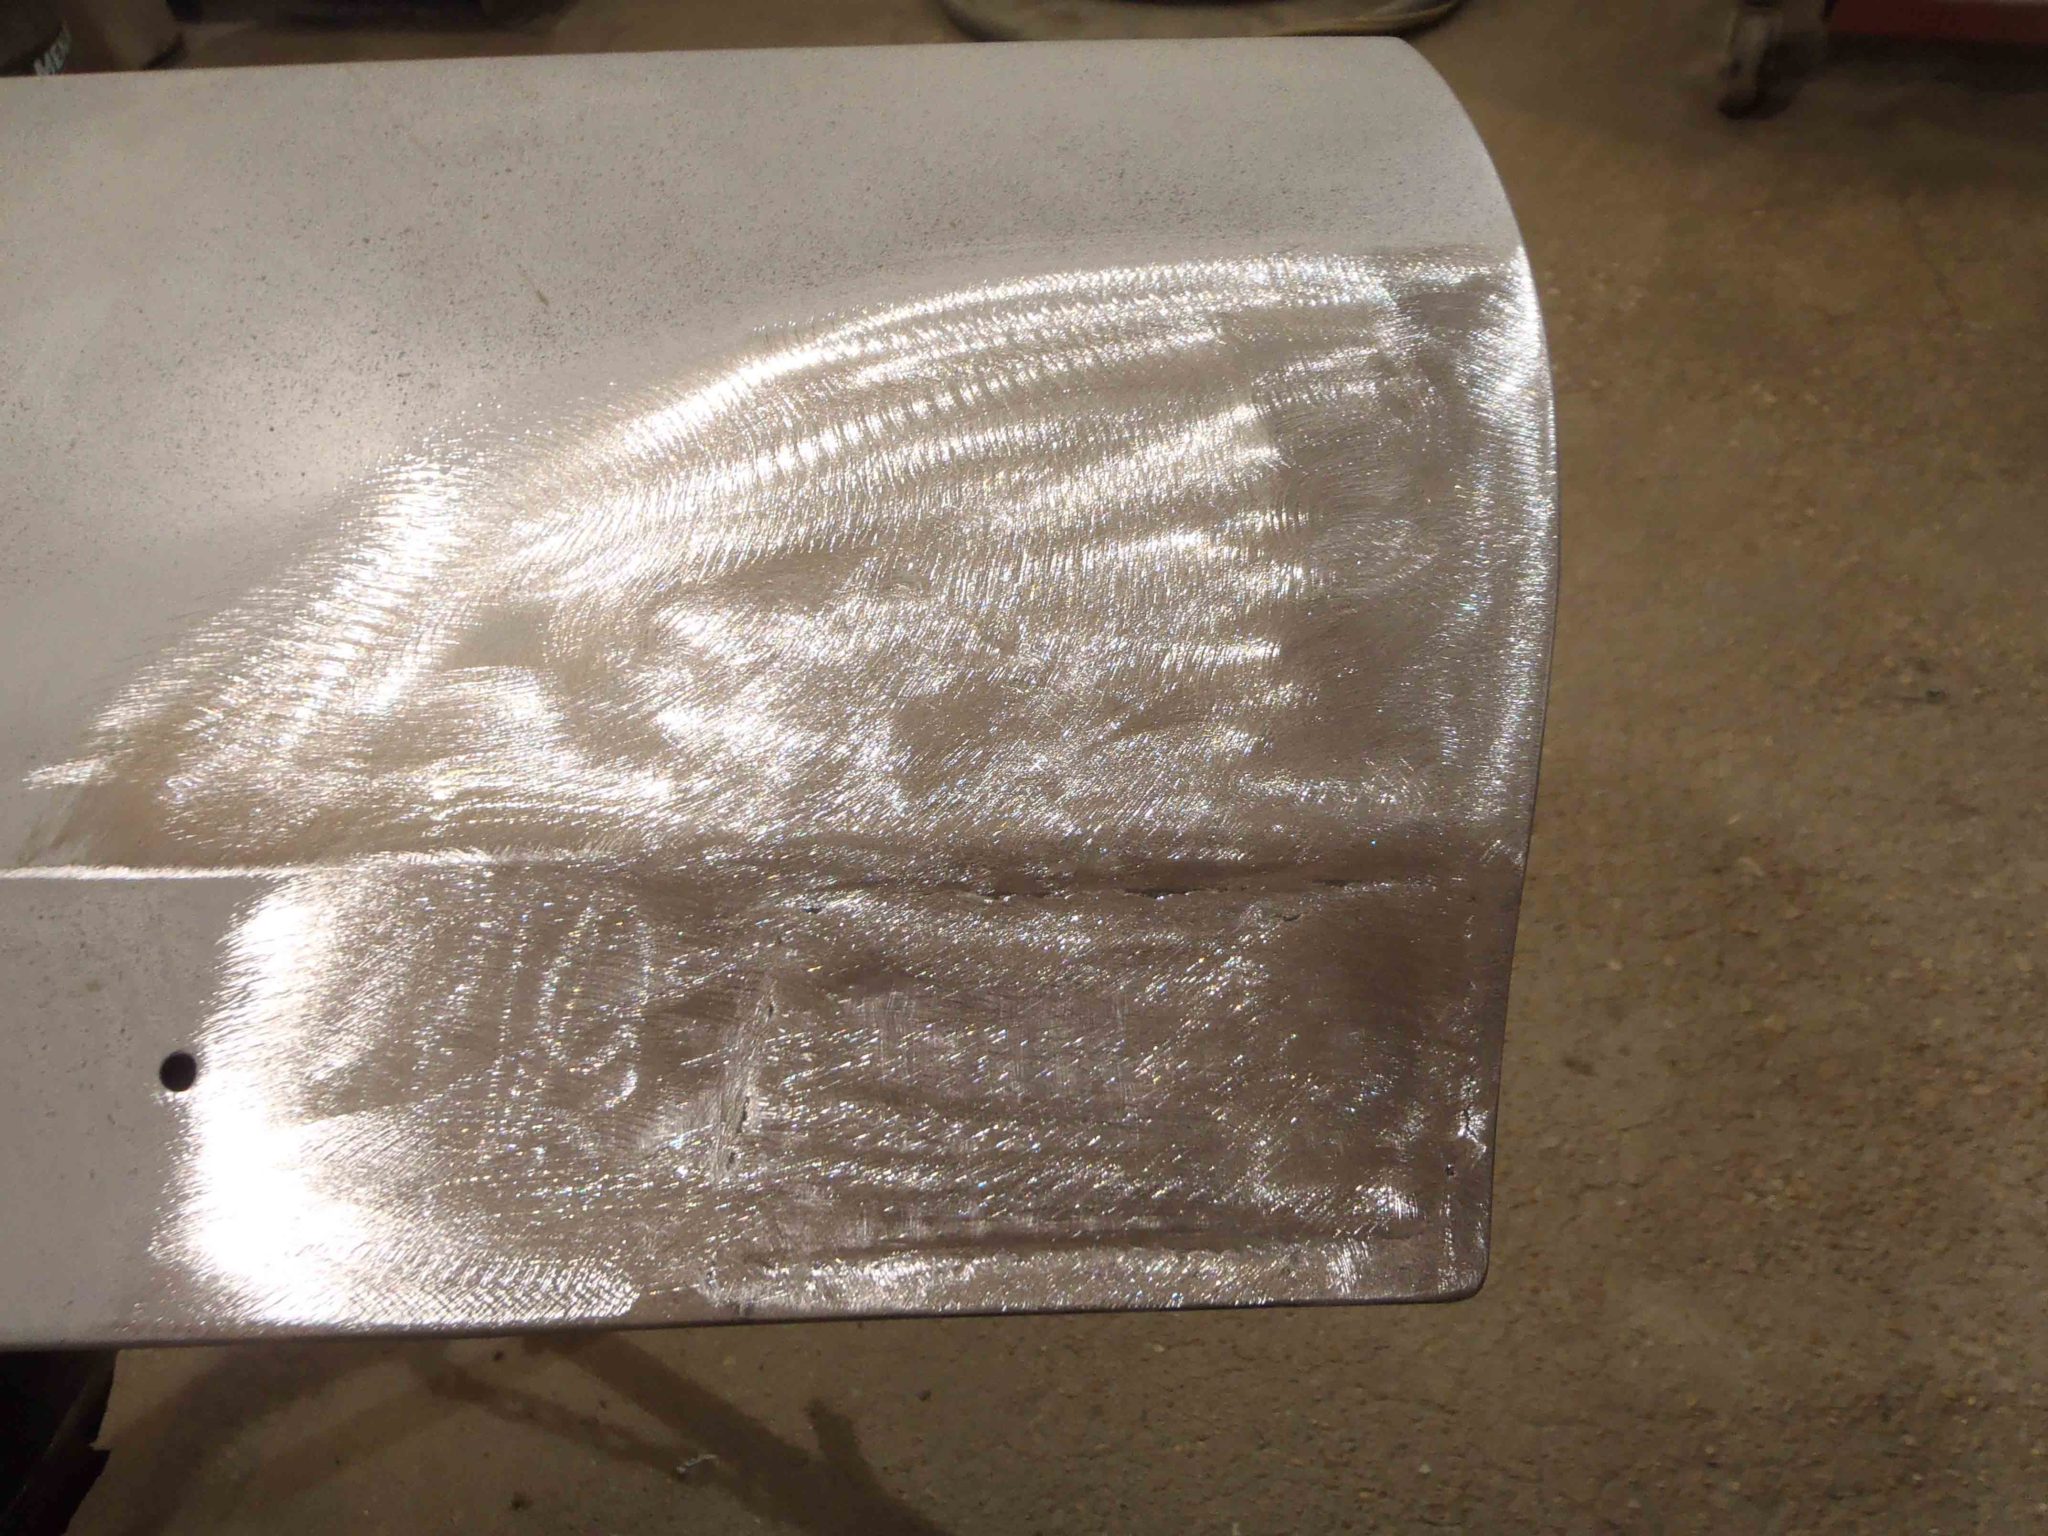
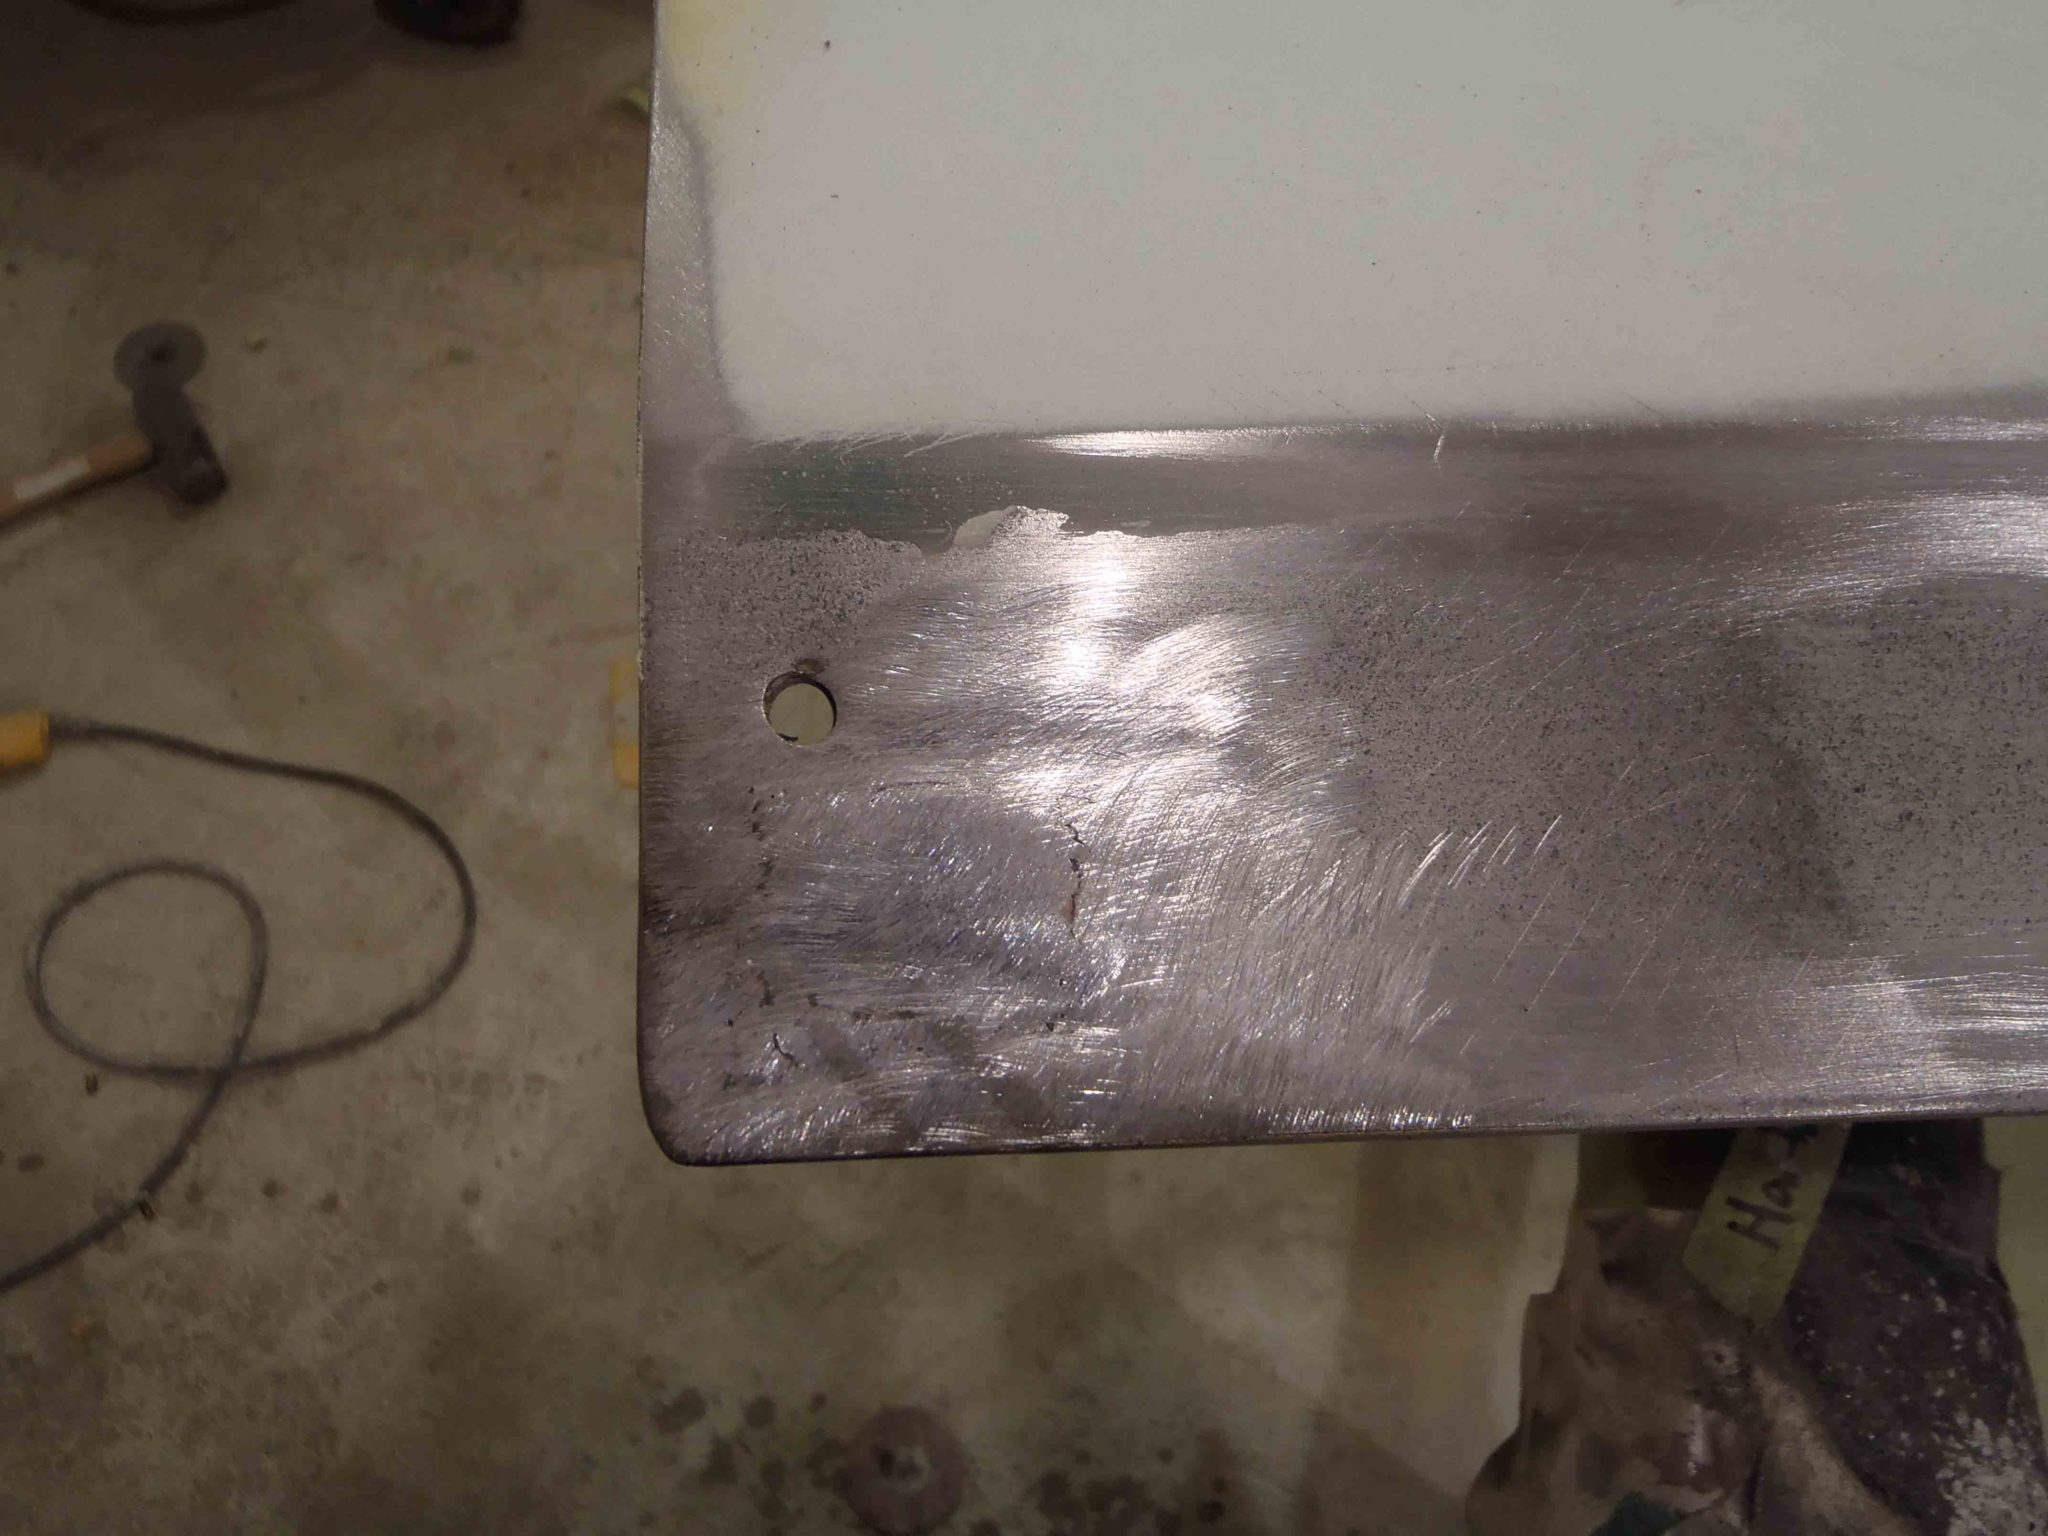
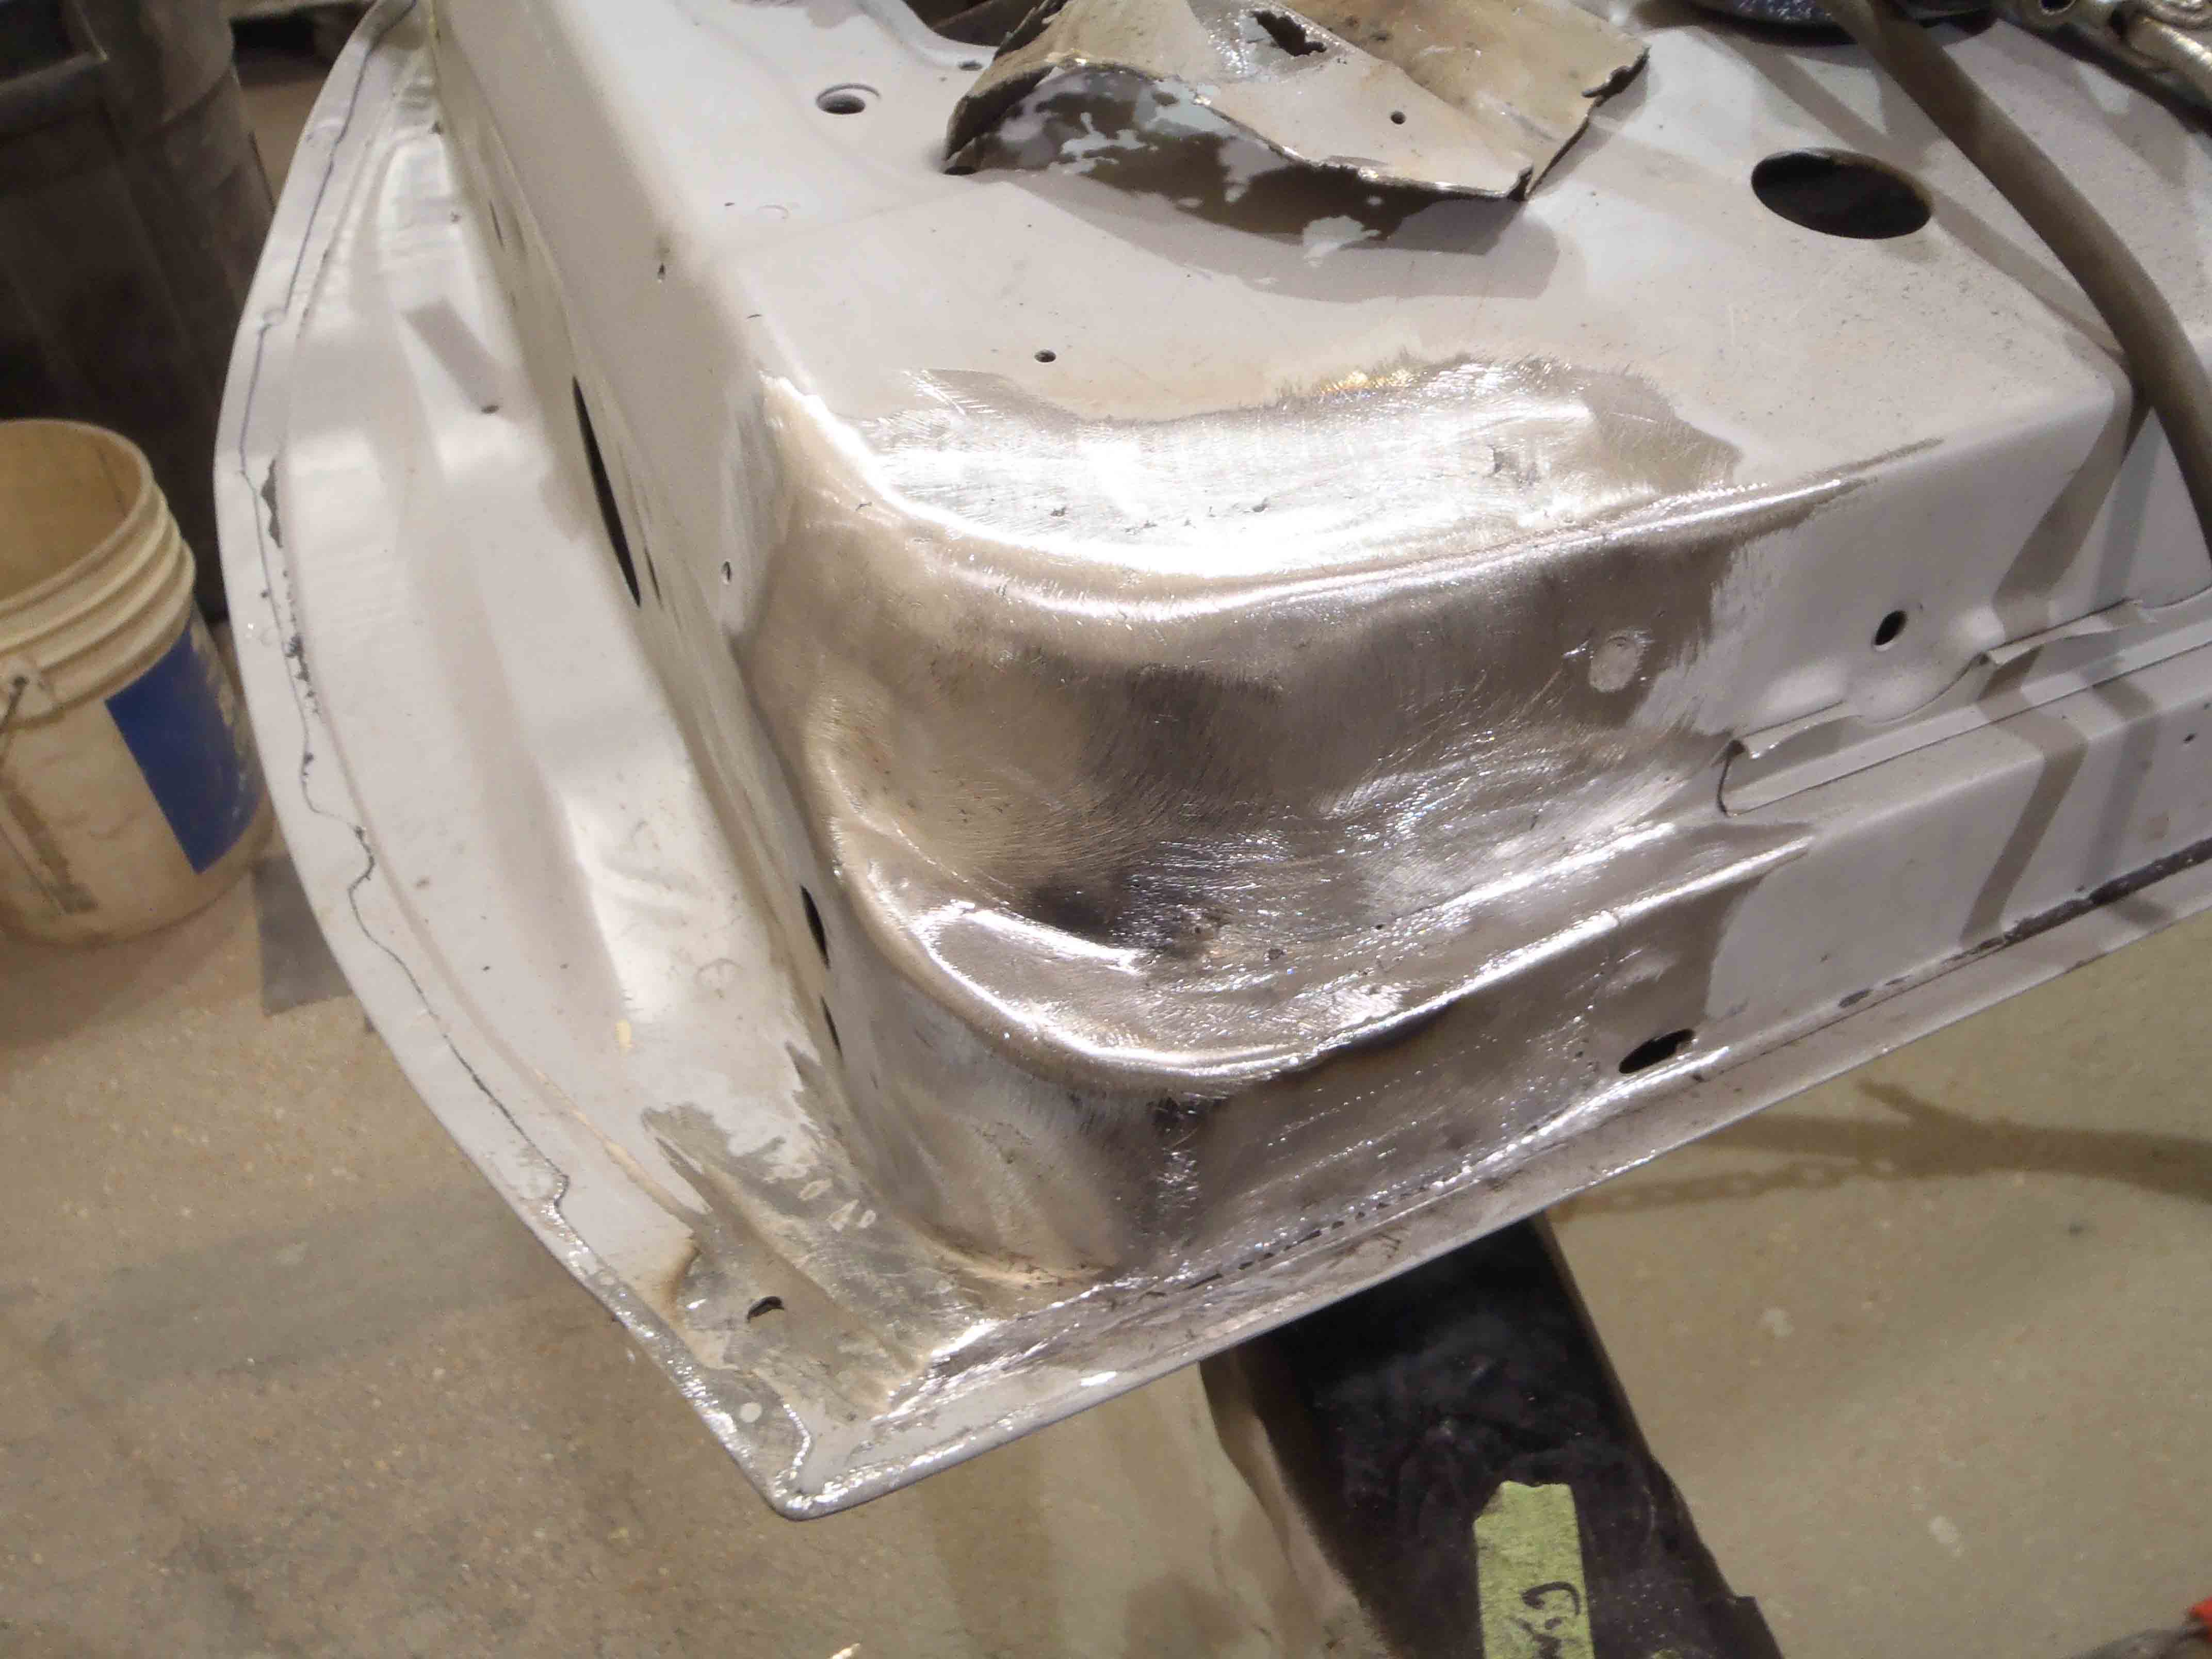
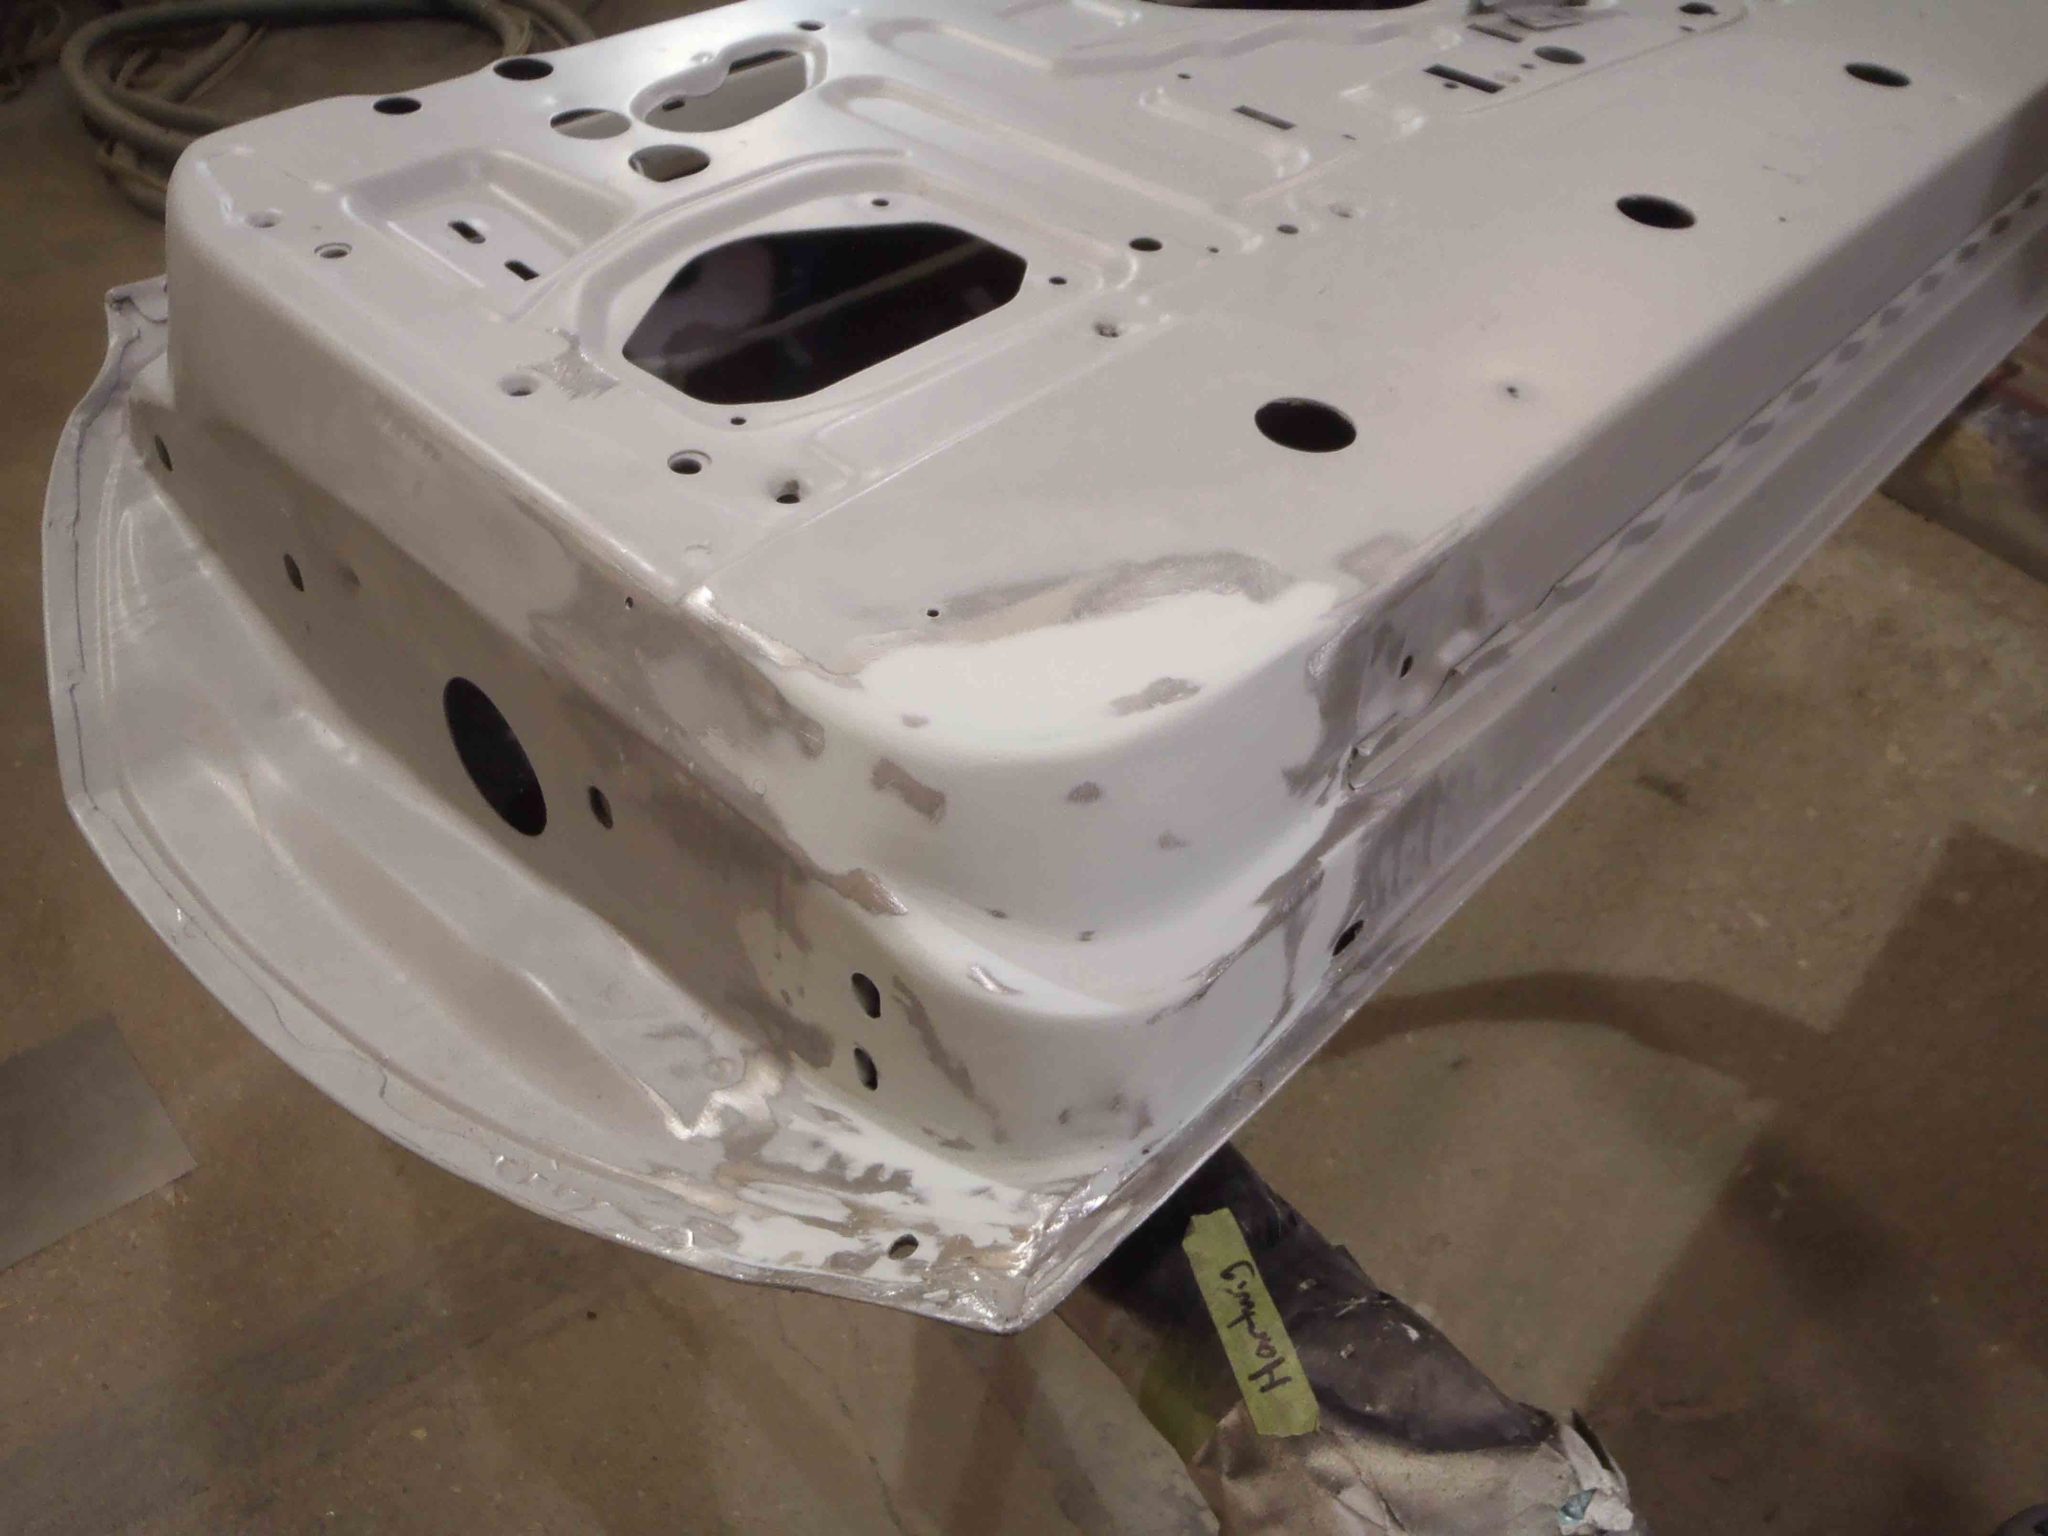
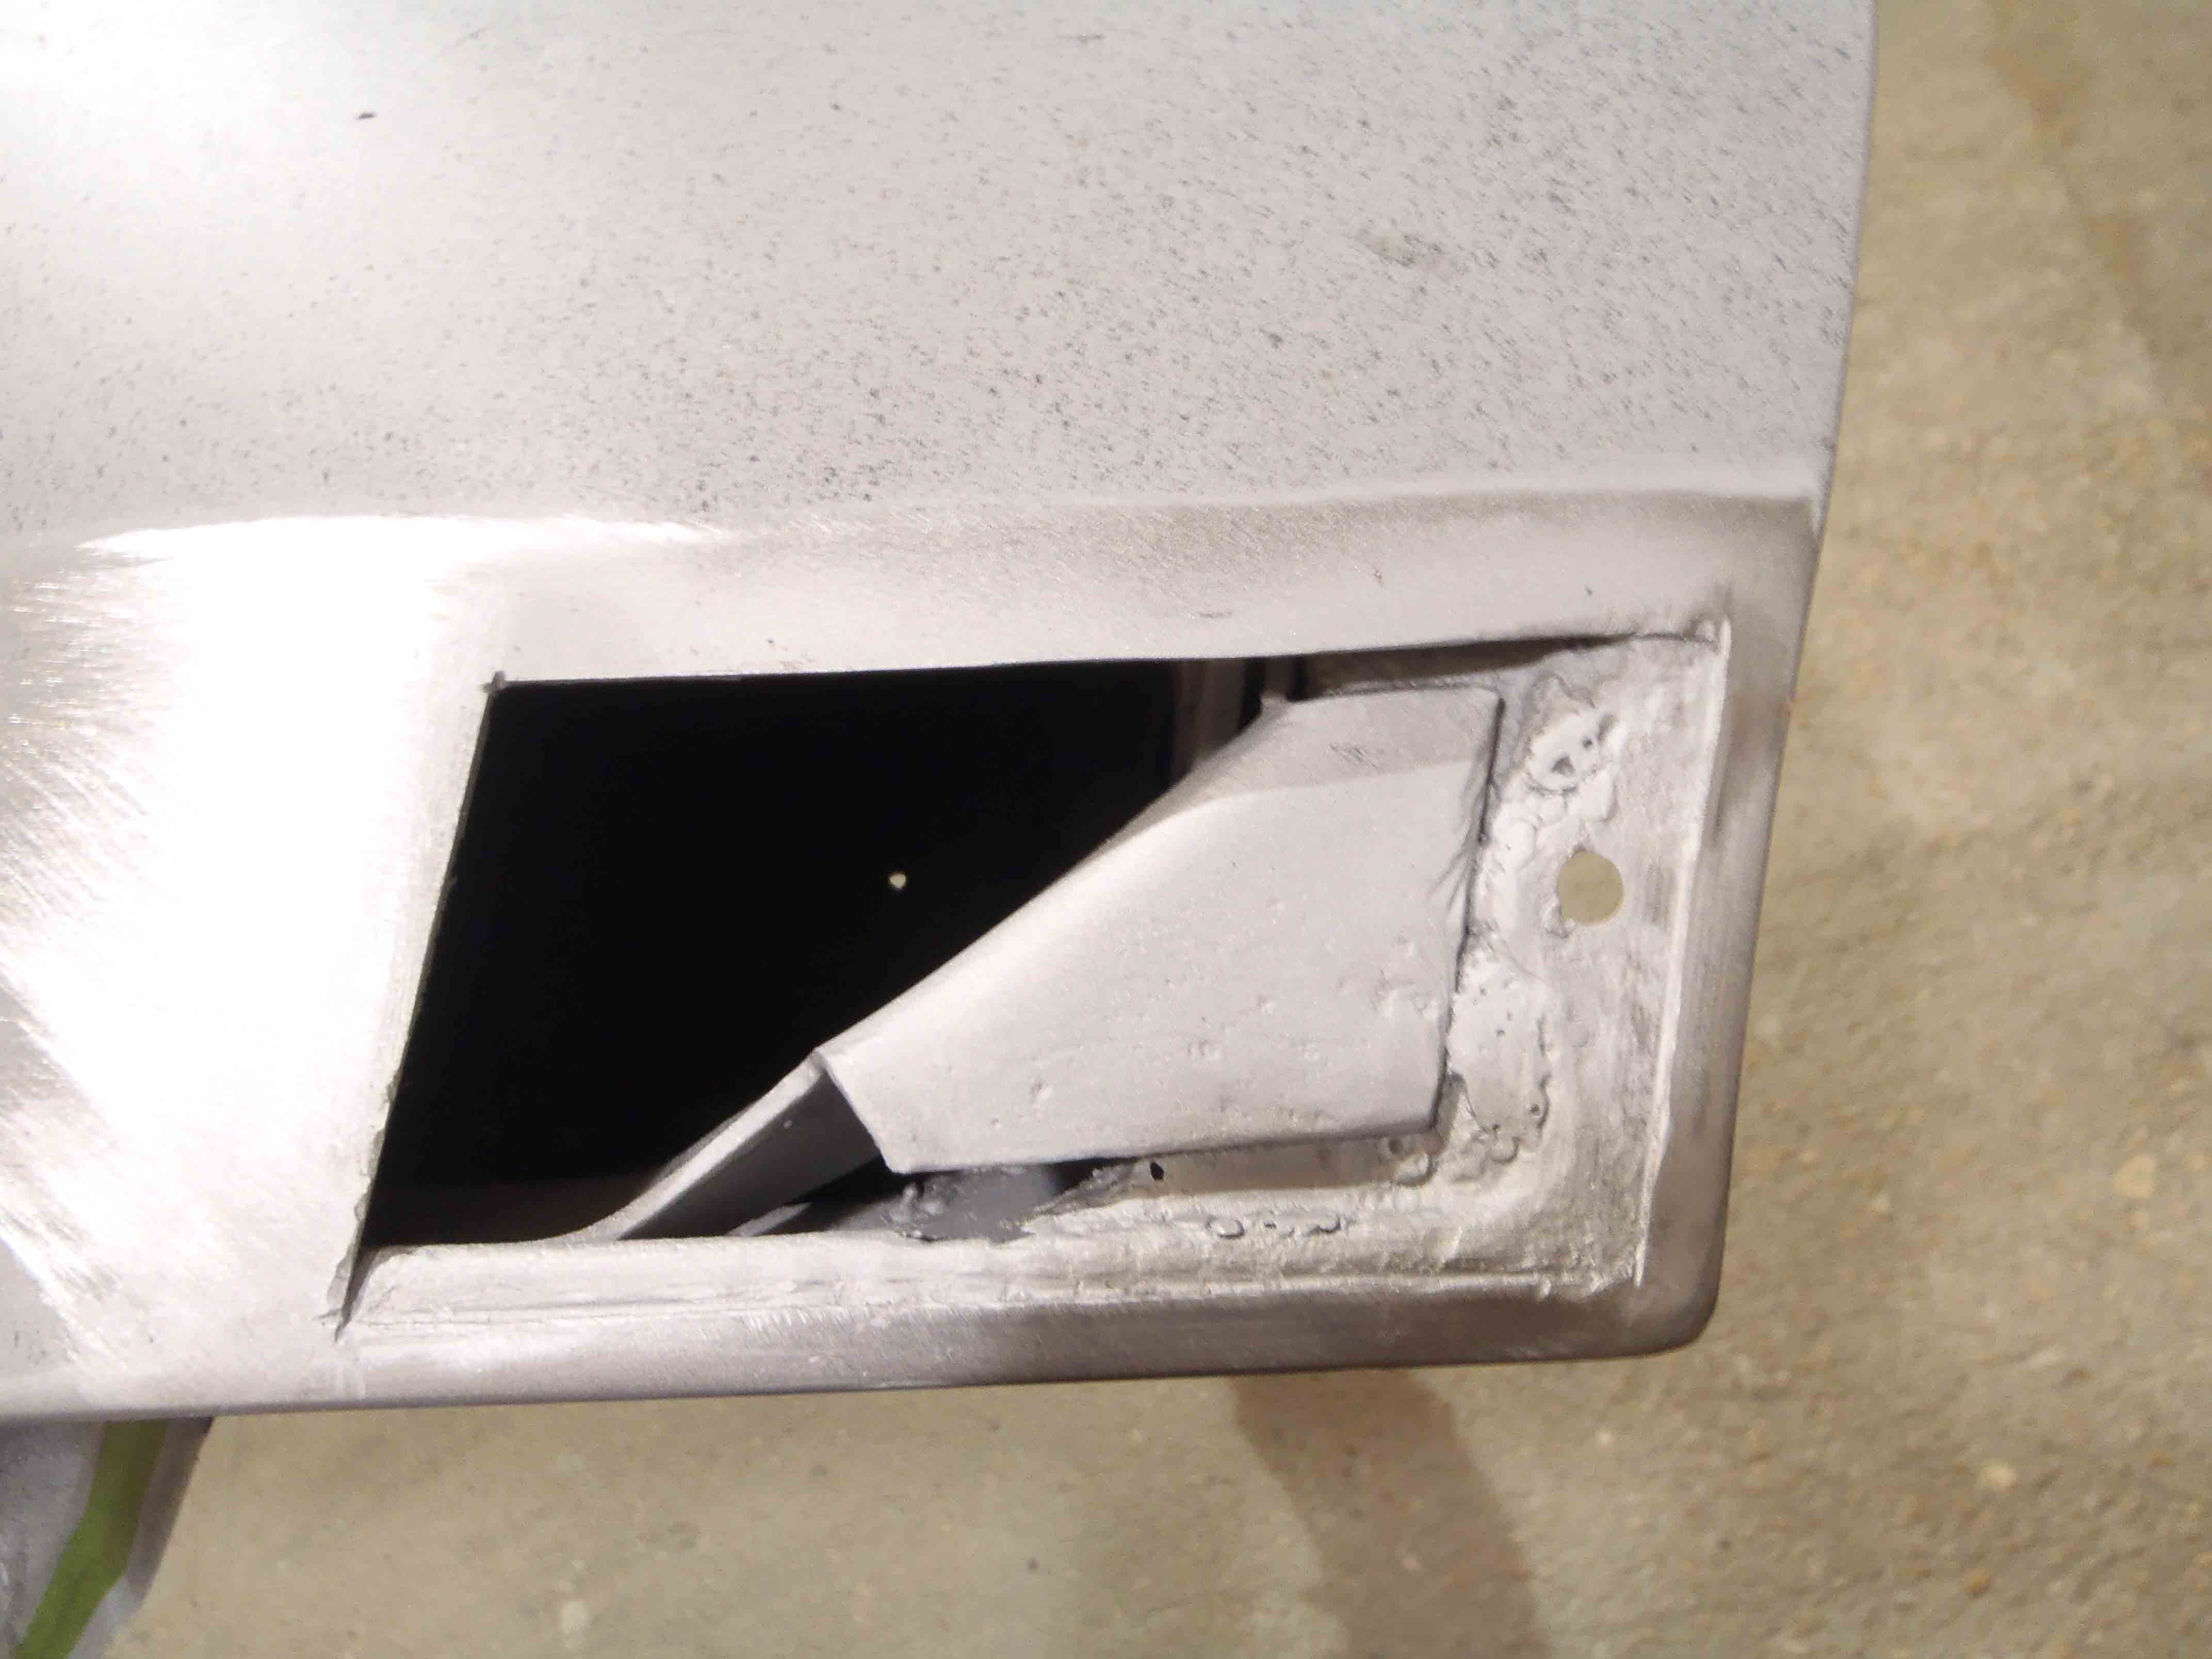
In our shop with us now is a 1970 Mustang Mach1. The customer has owned the vehicle since 1979 and stopped driving it in 1989 leaving it stored since. As some of you are well aware the manufacturers did very little in the way of corrosion protection prior to the eighties. While the vehicle was not driven for a few decades helped to reduce the exposure that would cause increased corrosion some corrosion was already there slowly growing. The rust in the floor and in the left and right quarter panels was too much and required that these panels be replaced but fenders and doors were to be repaired and reused. The right front door had some corrosion on the front lower corner that would not have been obvious had the door been left on the vehicle. Our expert metal craftsman Troy cut out all of the corroded material, cleaned the dust and residue inside the door, measured, marked and fabricated replacement patches. After ensuring the proper fit and profile of the pieces he had fabricated it was then coated with 3M Weld Thru Primer and the interior portion of the door and the support was coated as well. It is important to note how much damage was visible versus the actual damage found when the panel was cut open.

Weld Thru Primer
While not necessarily a new product it has steadily grown in its popularity and expanded in its use in the industry. What a Weld Thru Primer does is coats the surfaces of the panel being joined and provides a degree of corrosion protection that in decades past was not there. A good example is replacement of a quarter panel. With the old panel cut out one of the mating surfaces is going to be along the wheel house. This area will be very difficult to get to in order to rustproof so the addition of the weld thru primer provides a coating one the panel being installed as well as the existing panel. As discussed in an earlier blog when tow panels are overlapped, or have more surface match than what a typical repair panel would have, moisture collects through condensation and quickly deteriorates the two panels. While this is not the end all cure to these types of concerns it’s the best protection on the market today. Our primary focus is to provide a flawless repair that cannot be detected by the naked eye and will last decades.
After the proper steps were taken to protect this panel from further damage the patches were welded into place by means of a TIG welder. TIG welding will be reviewed in the next installment of this series. The welds were then ground down flush and, as you can see, the repairs are virtually invisible. A slight amount of filler was used, not much more than a skim coat and the panel was then primed with an “etching” primer. Etching primers will be covered in future installments. While some may have just condemned the door for the damage found more time would have been spent trying to align an aftermarket door and a used door may have had this much or more damage that would have taken as much time to repair.
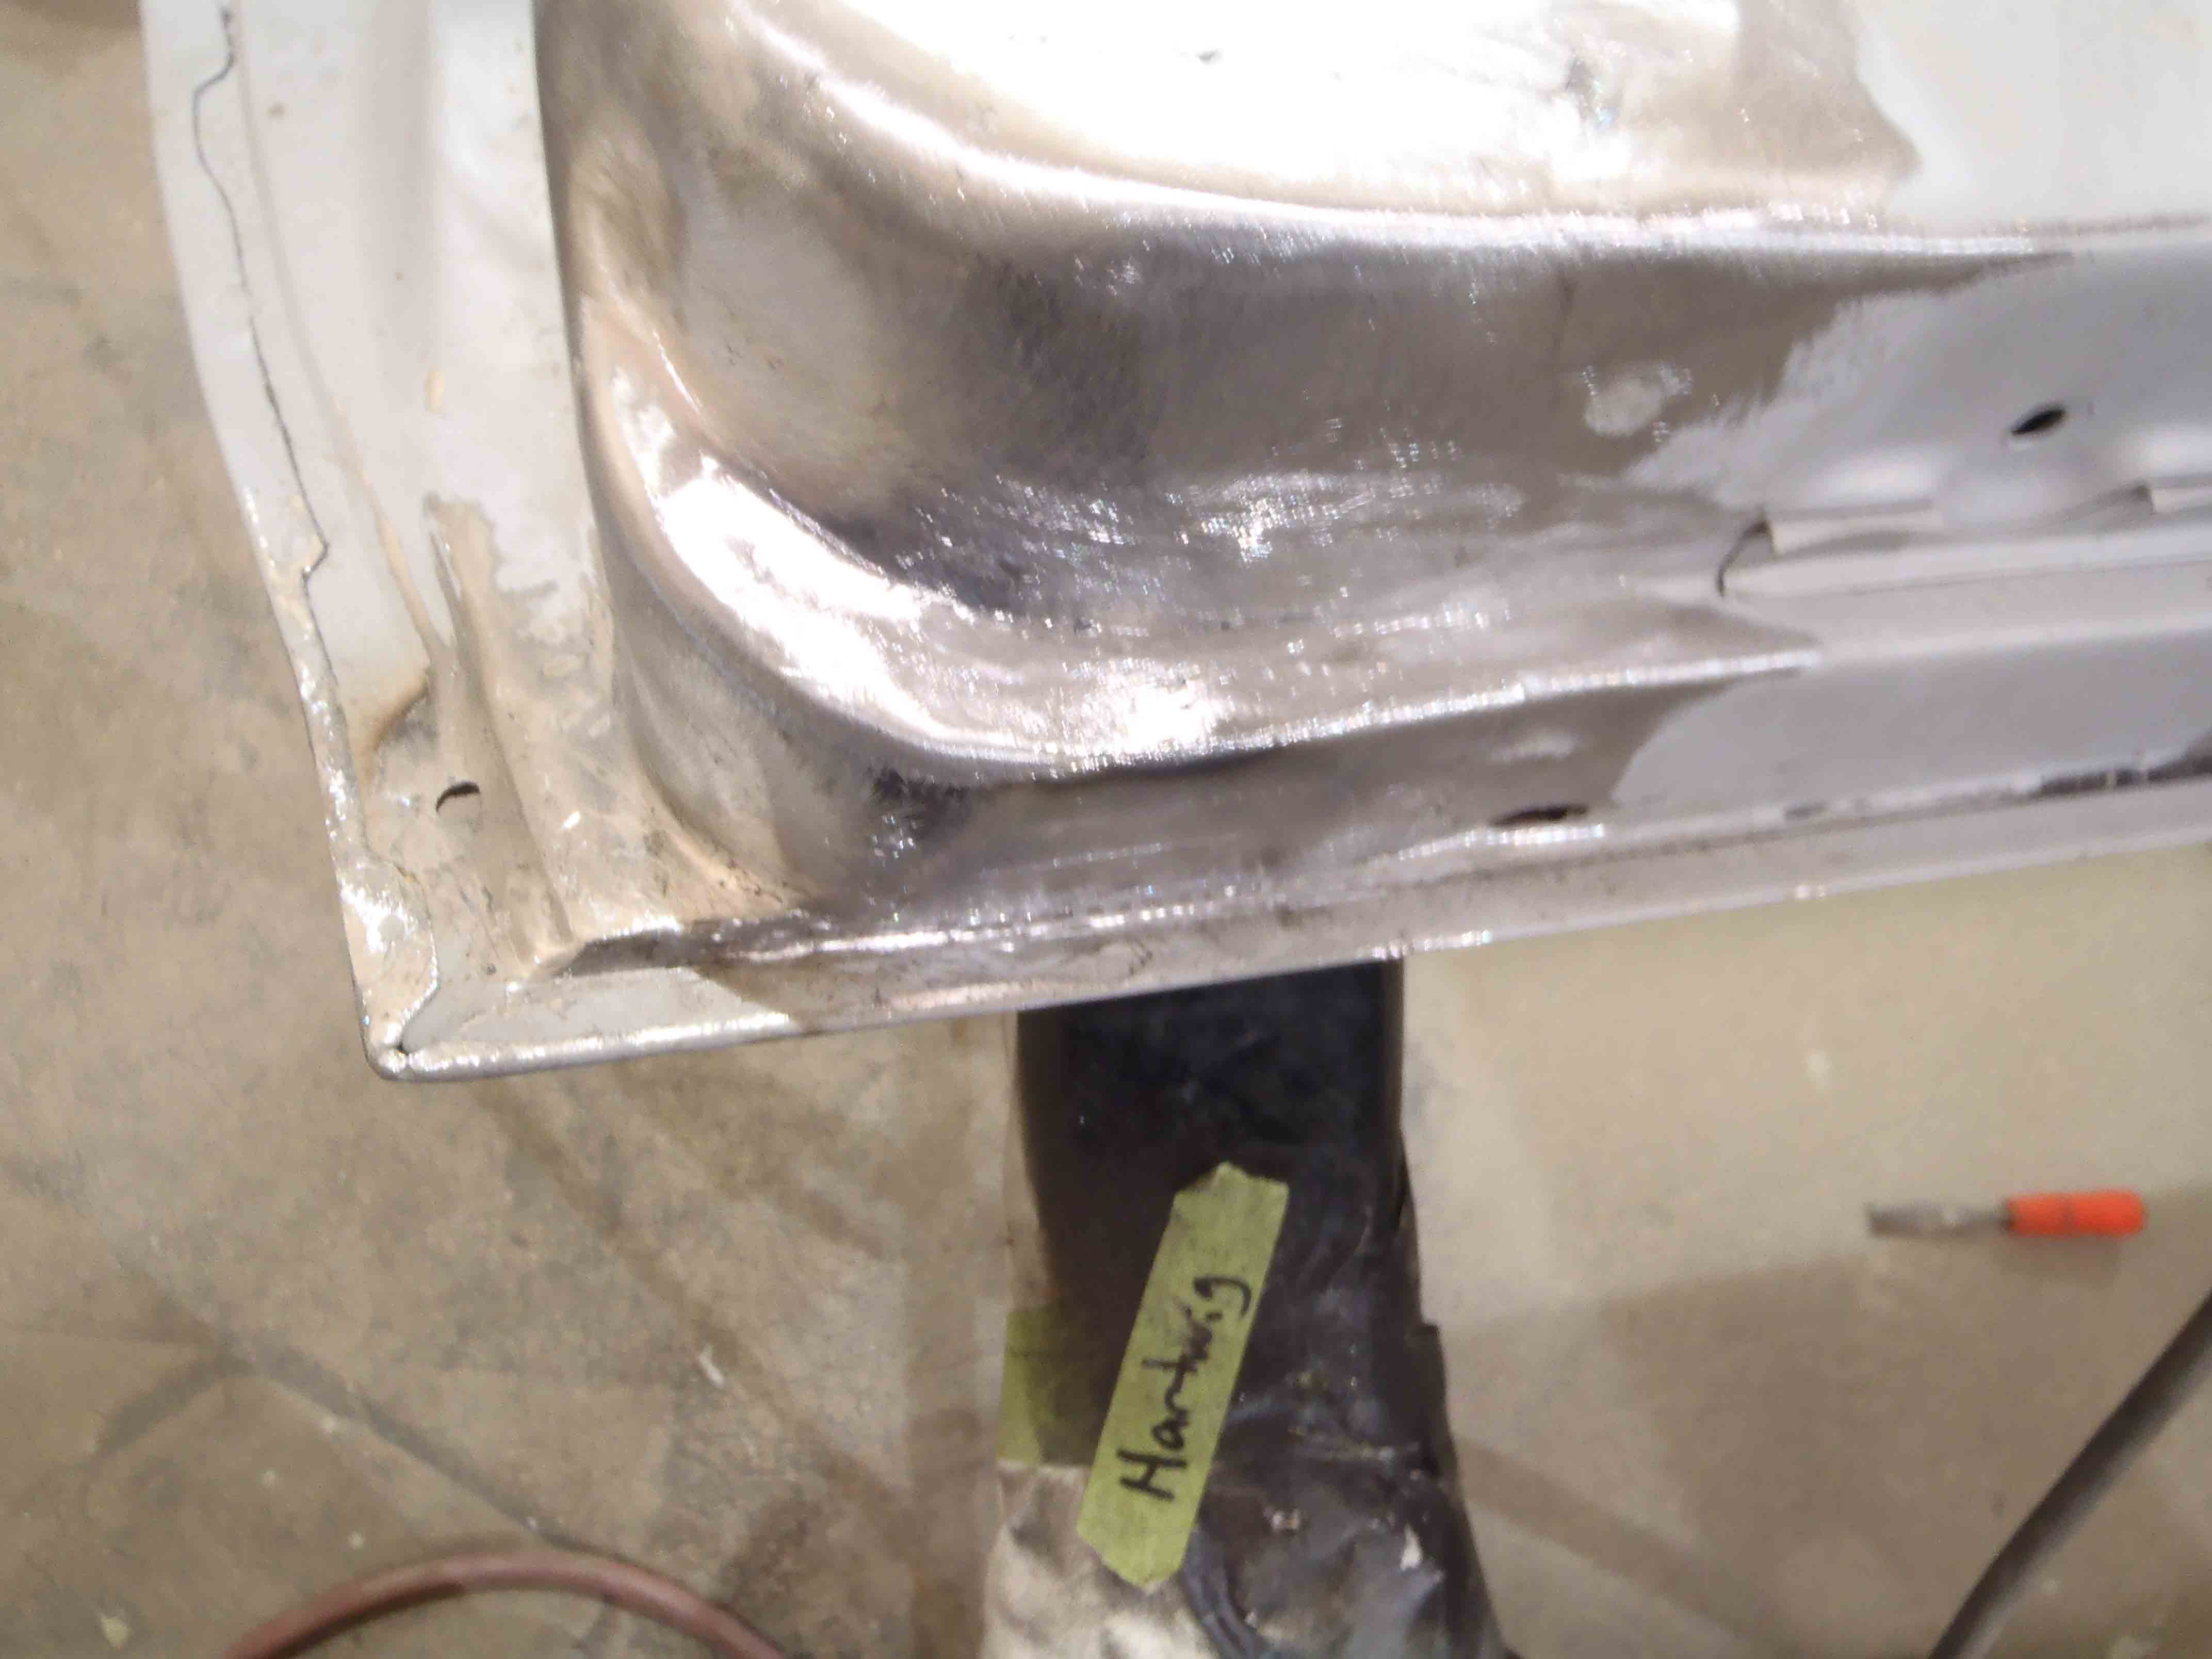
Fabricating metal patches such as these takes experience, the flat piece would be a great first piece to make but it takes years of experience and good eye to form the curved piece for the inside jamb on this door. With multiple contours and angles the patch needs to fit properly, maintain shape and blend in without detection. Troy is a very accomplished fabricator and Precision Restoration is fortunate to have someone of his skill working with our customers projects.
Next week we will give an overview of the floor pan replacement on this same car.