Evolution
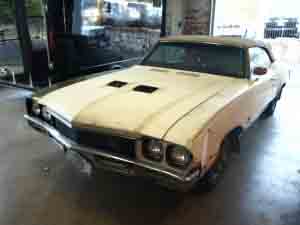
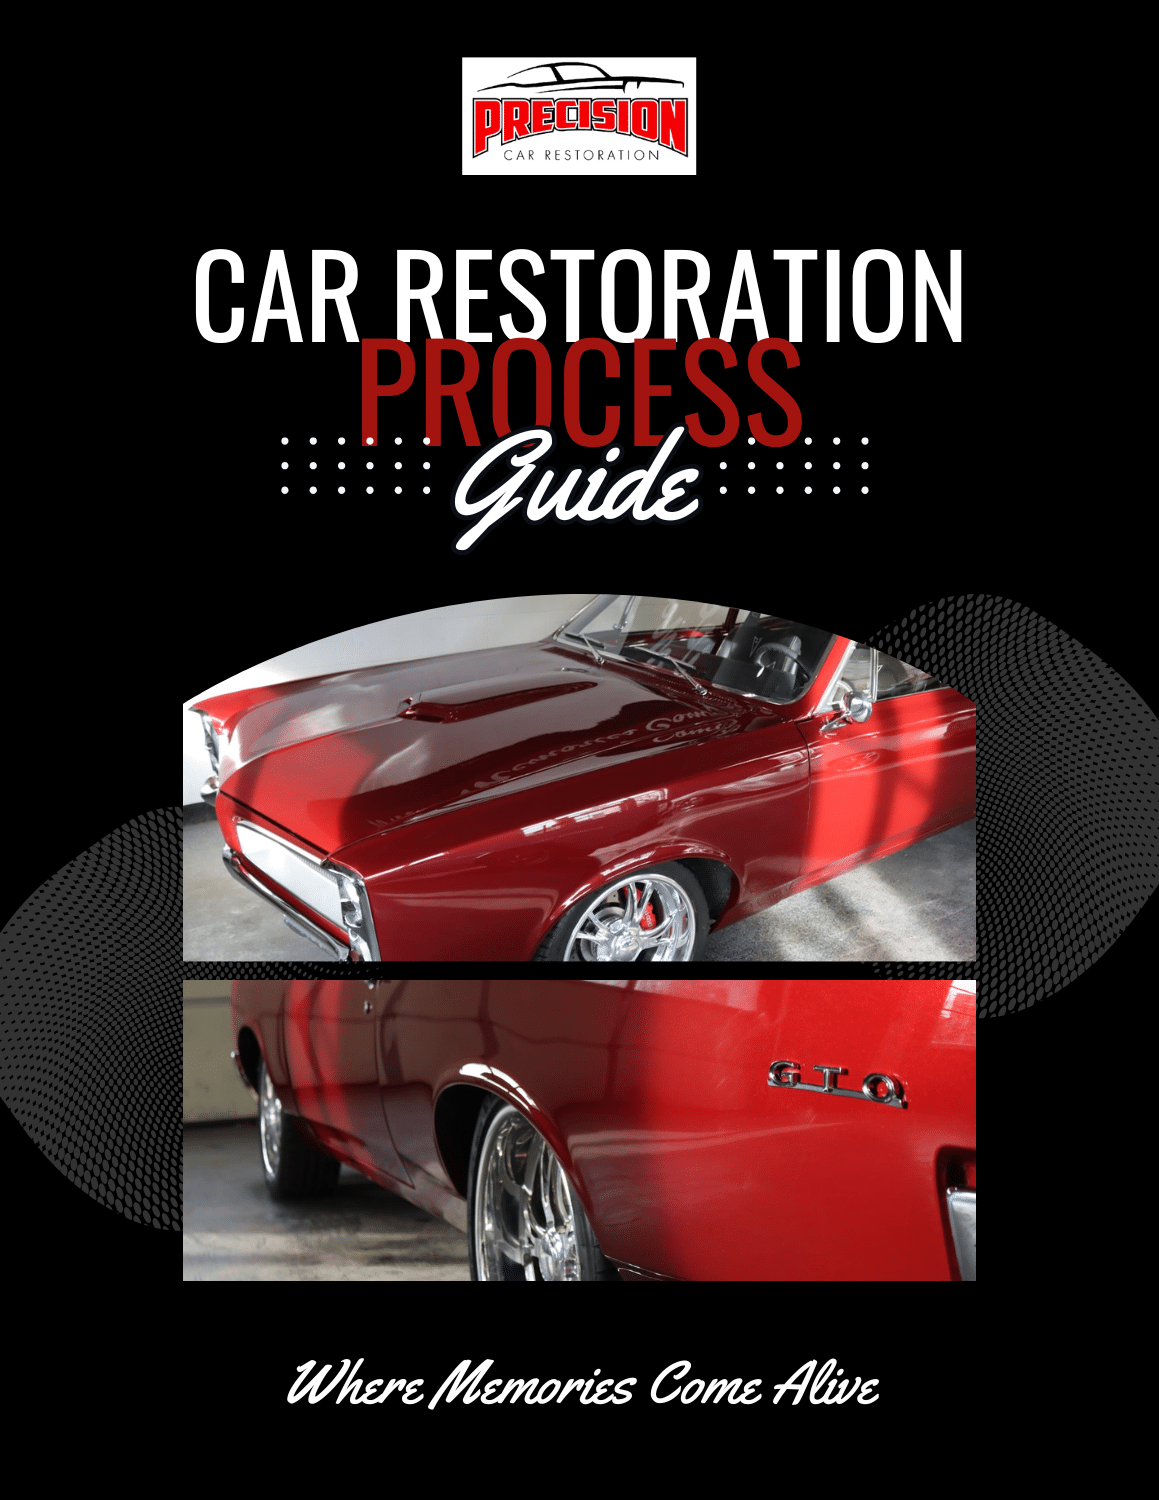
Ever wonder how a classic goes from this,
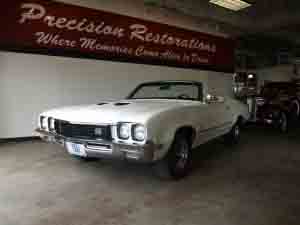
To this?
It
A lot of planning goes into any project, a complete review of the current status and condition should be performed first. Evaluating what you are going to need, components you may reuse, what you are going to have to replace and figuring out how to source those hard to source components takes time. This project, recently completed and delivered to the customer at Precision Restoration is a perfect example of some of the difficulties a person may run into. Projects like this are not for the faint of heart and not for those that do not have the resources and skills to perform numerous different tasks. You will also need quality vendors that know your project and know how to source what you are looking for, not everything is going to be available through one company. Precision Restoration has been persistent in building relationships with our vendors and has earned the right to be a retail outlet for companies such as Wildwood Brake Systems and Edelbrock, both highly respected names in the automotive aftermarket industry.
We would like to share with you the process and the different facets of a factory original restoration such as the one above. Over the next few weeks we want to bring you into the shop, show the work and explain the steps as we go through each phase of the build.
Following a review of what the vehicle and customer needs are the first step is, obviously, disassembly. There are a few important things that must be done during this step. Take lots and lots of pictures, this will help when reassembling the vehicle as a reference for how wiring may have been ran from the factory, what goes where and what was painted and what wasn’t. Another important step is to make sure that all fasteners are labeled and catalogued upon removal. Although many of the nuts and bolts look alike and seem generic length and size can be very important to fit and finish during reassembly. Storage for small parts may be as simple as a baggie with some masking tape to write on. We may also suggest that sets of bolts be taped together to keep them together. We are fortunate at Precision Restoration in that we have a sufficient amount of space where all of our parts can be stored outside of the production area in individual storage areas dedicated to each job therefore eliminating any overlap.
I once rebuilt a 1953 Studebaker Champion that belonged to a dentist. I received the car totally disassembled but was fortunate that he had used, seemingly, hundreds of small cans that had previously contained the plaster used for dental molds to keep each fastener in. Each can was also clearly marked for what they were for and location on that individual component. Having this information made all the difference in the world as I knew what bolts were used for the control arms, what bolts were used for the bell housing and which were for the motor mounts.
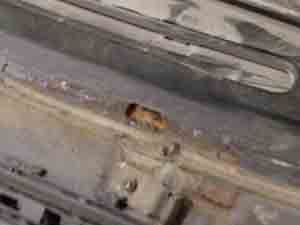
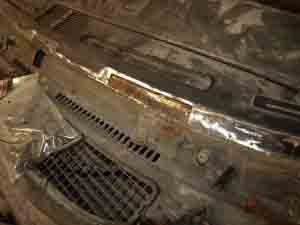
As you progress through the steps of disassembly you will more than likely find more items that require attention, keep notes and document through a photo history. What you are trying to prevent at this step is having the project being held up at a later date. Trying to reinstall a bumper and finding that you failed to order those replacement bumper brackets is a real drag and presents a delay even if it is only for a few days. We would also suggest that all glass removed and stored somewhere safe. Trim around glass holds dirt and moisture that may not always be cleaned out when a car is washed and after years of build up can cause serious corrosion issues that will need to be repaired. Something else to consider is manufacturing processes. A large portion of the corrosion highlighted below is caused by the two pieces of metal, though welded and solid, expand and contract, collect condensation and trap air, a true recipe for corrosion.
As you progress you will begin to notice other areas that need attention that you may not have thought about. This is one of the primary reasons to do a complete disassembly of the vehicle, to provide a clearer over view of the overall condition and provide for better planning as the project progresses.
Next we will start to repair common problem areas and outline some of the work involved.

