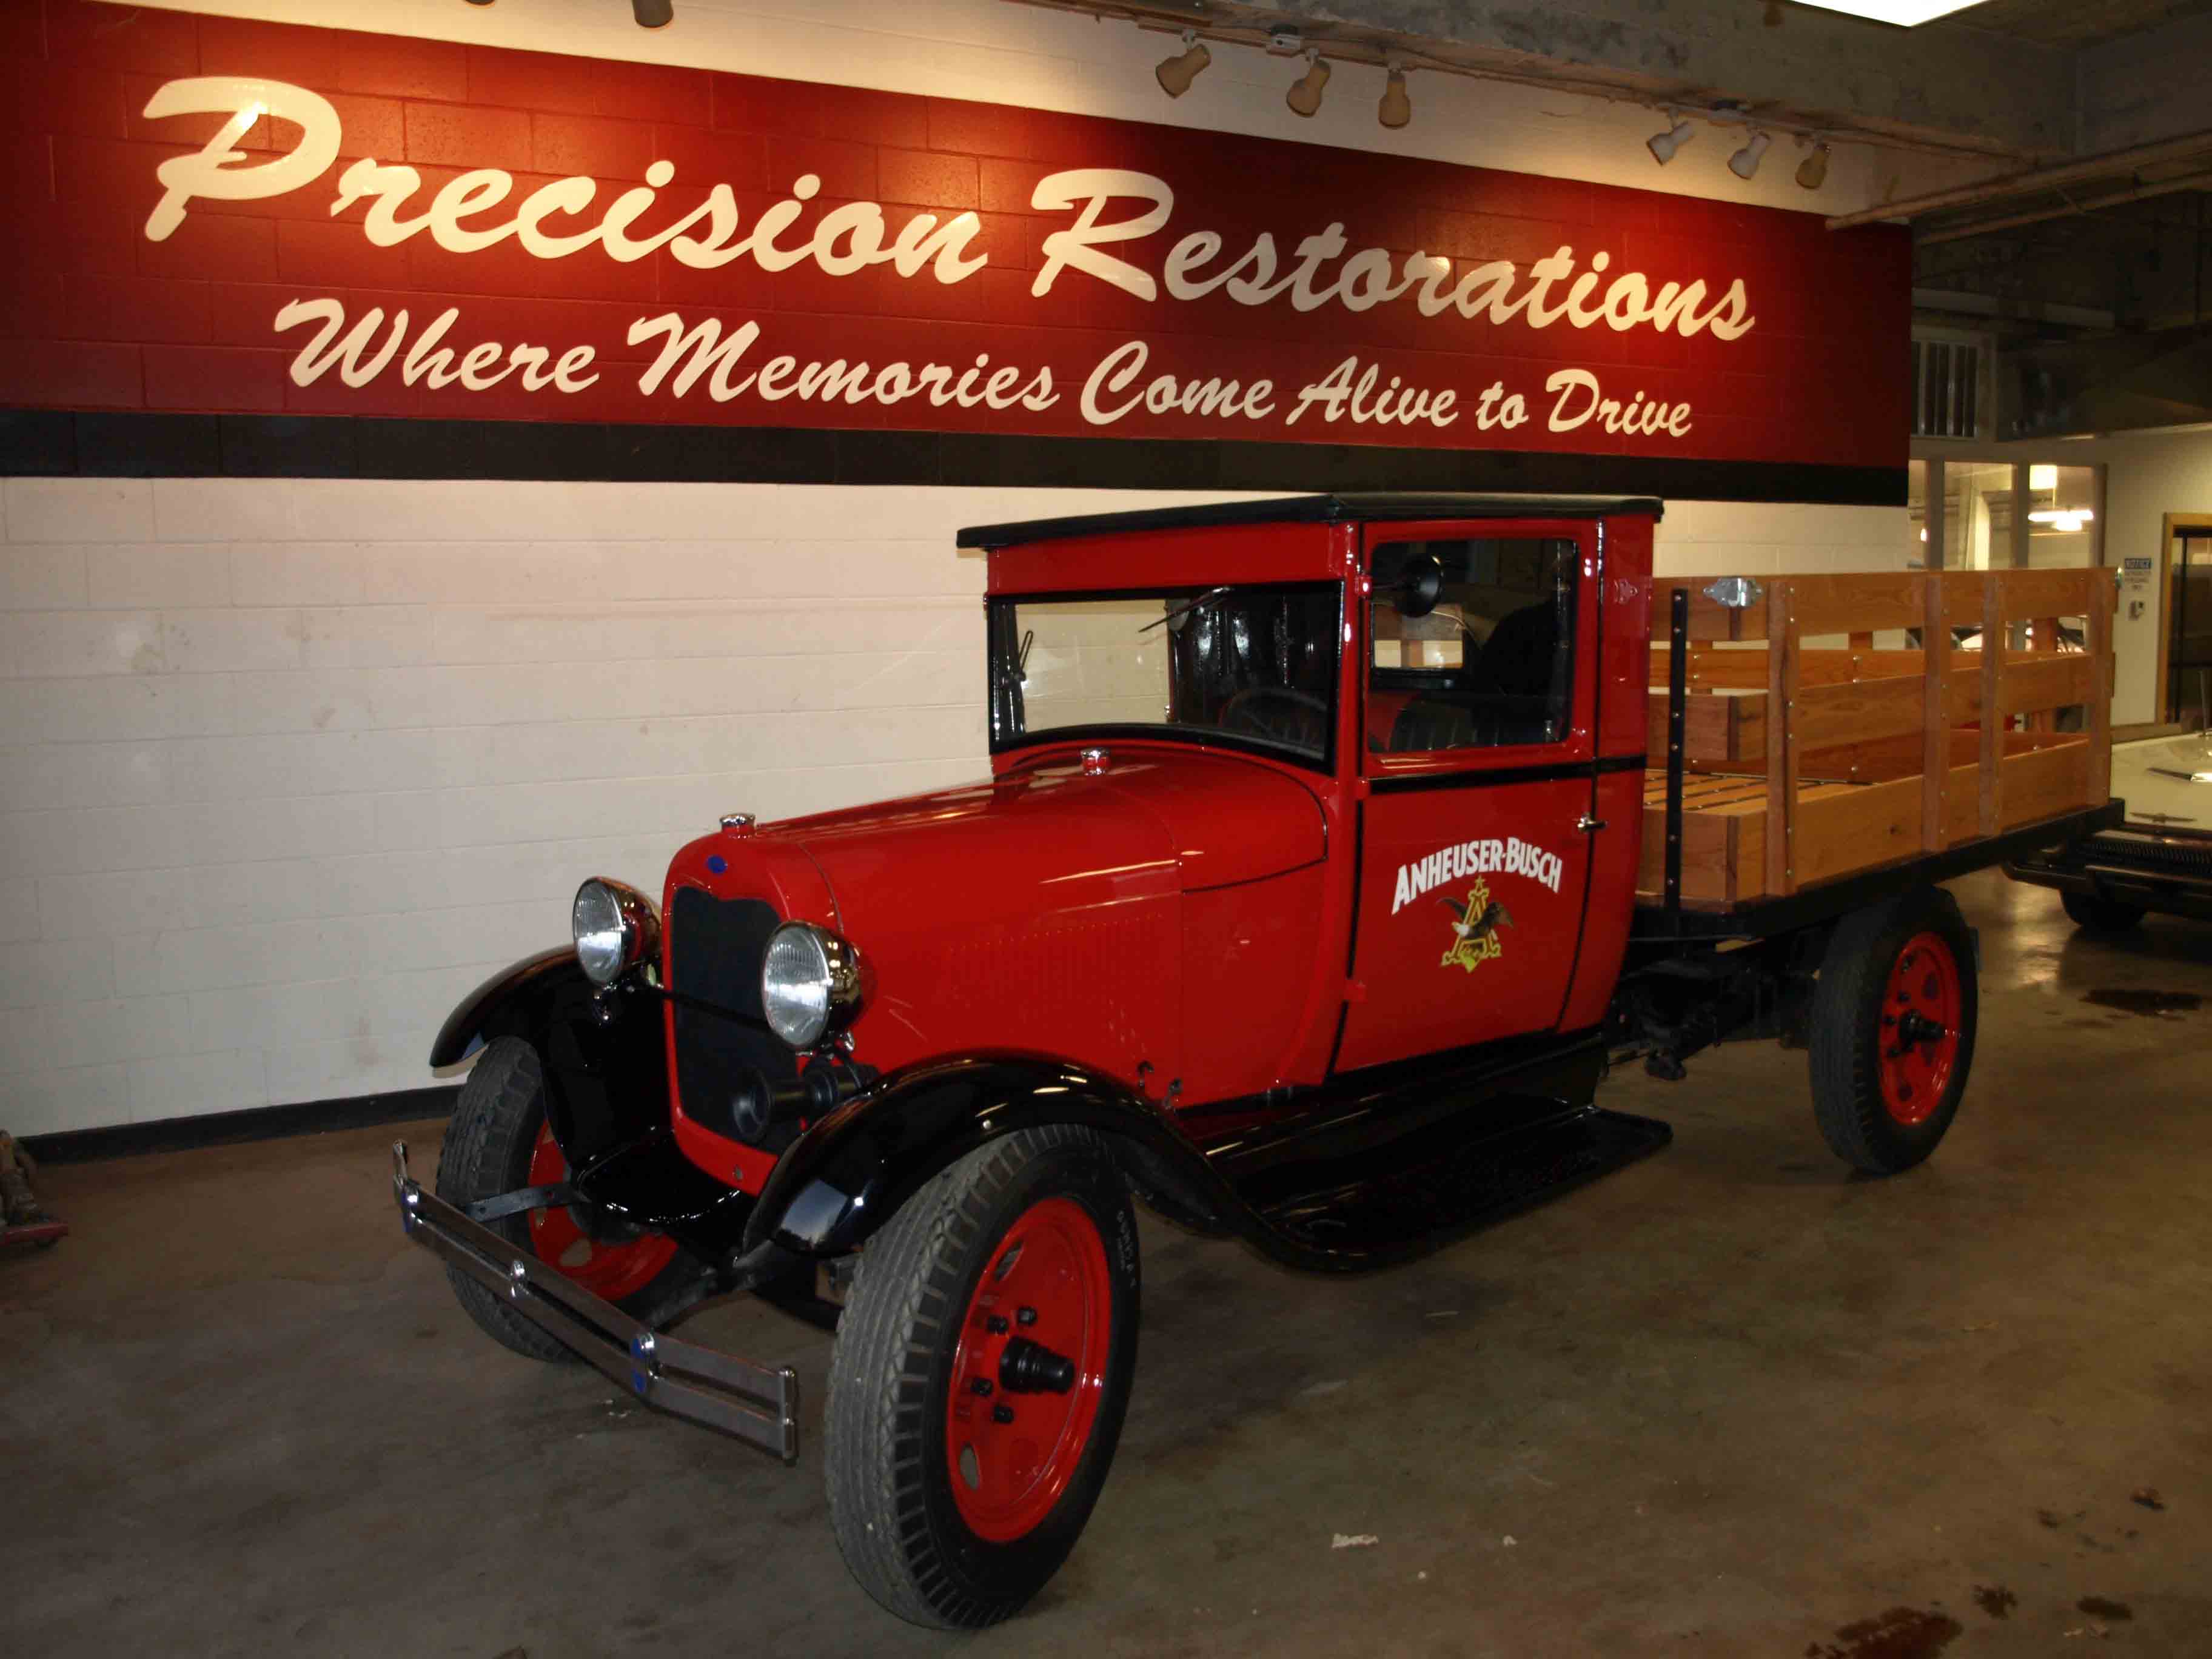
Evolution of a Restoration Pt.4
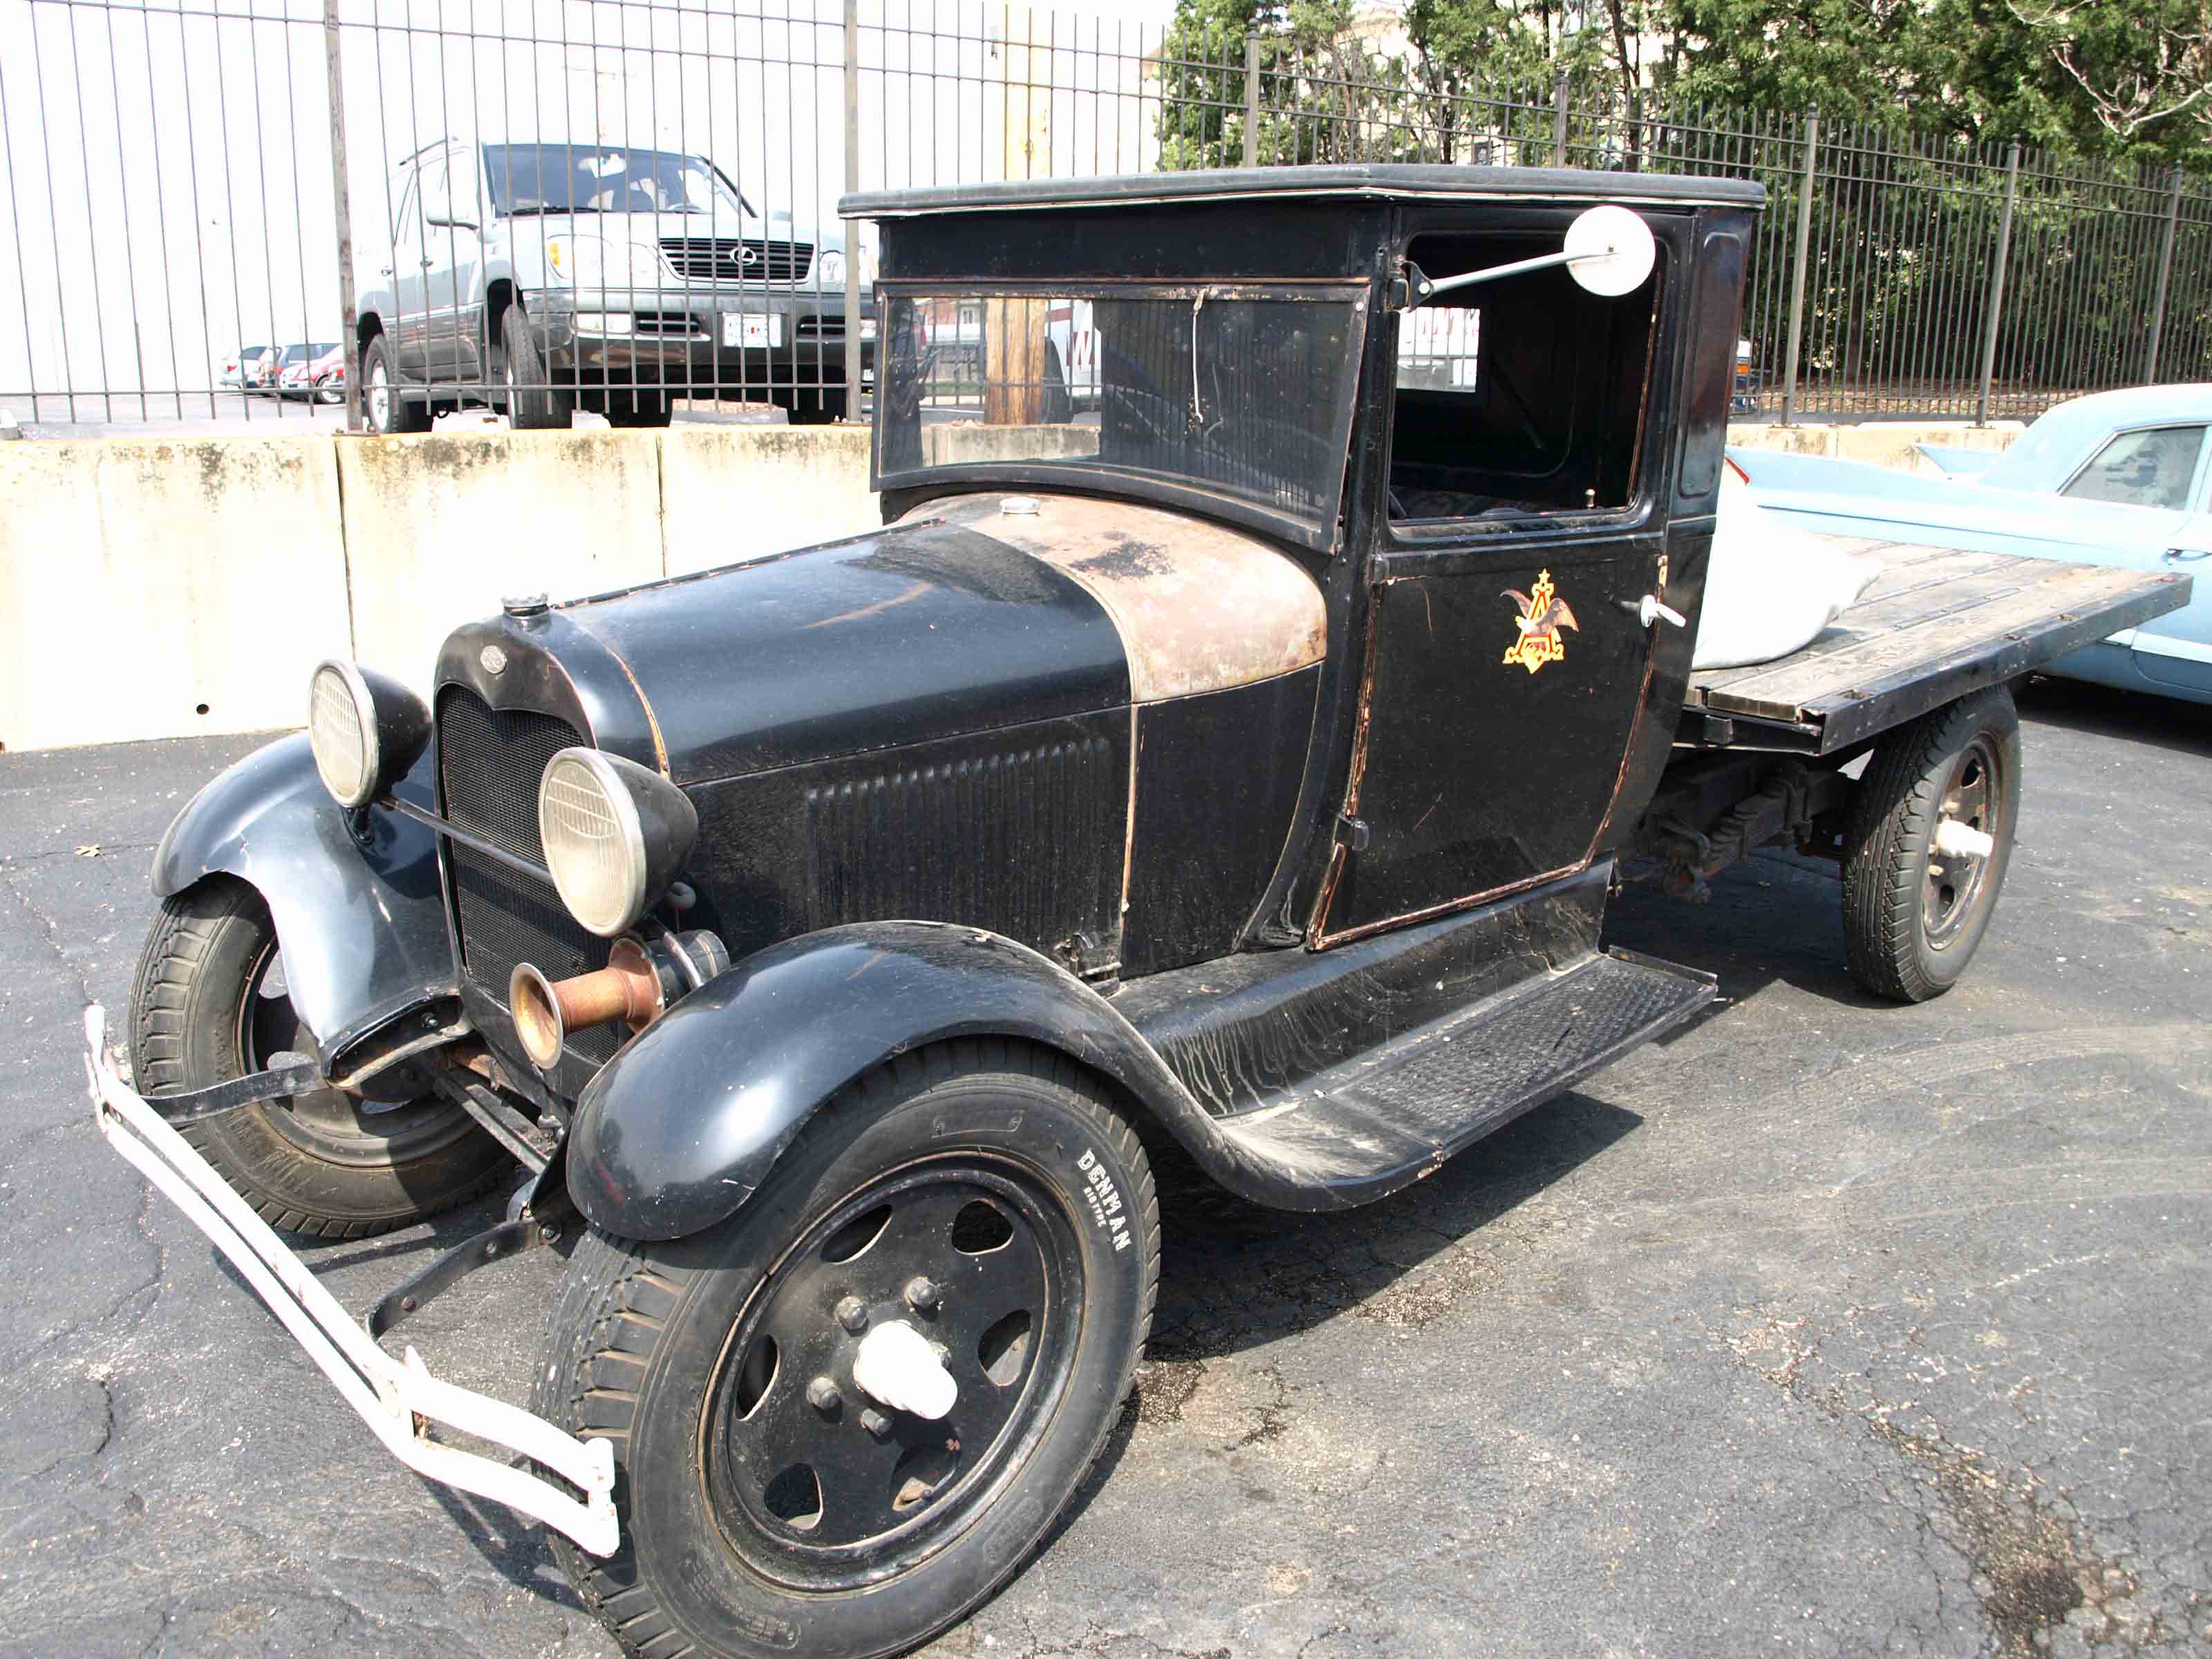
To this
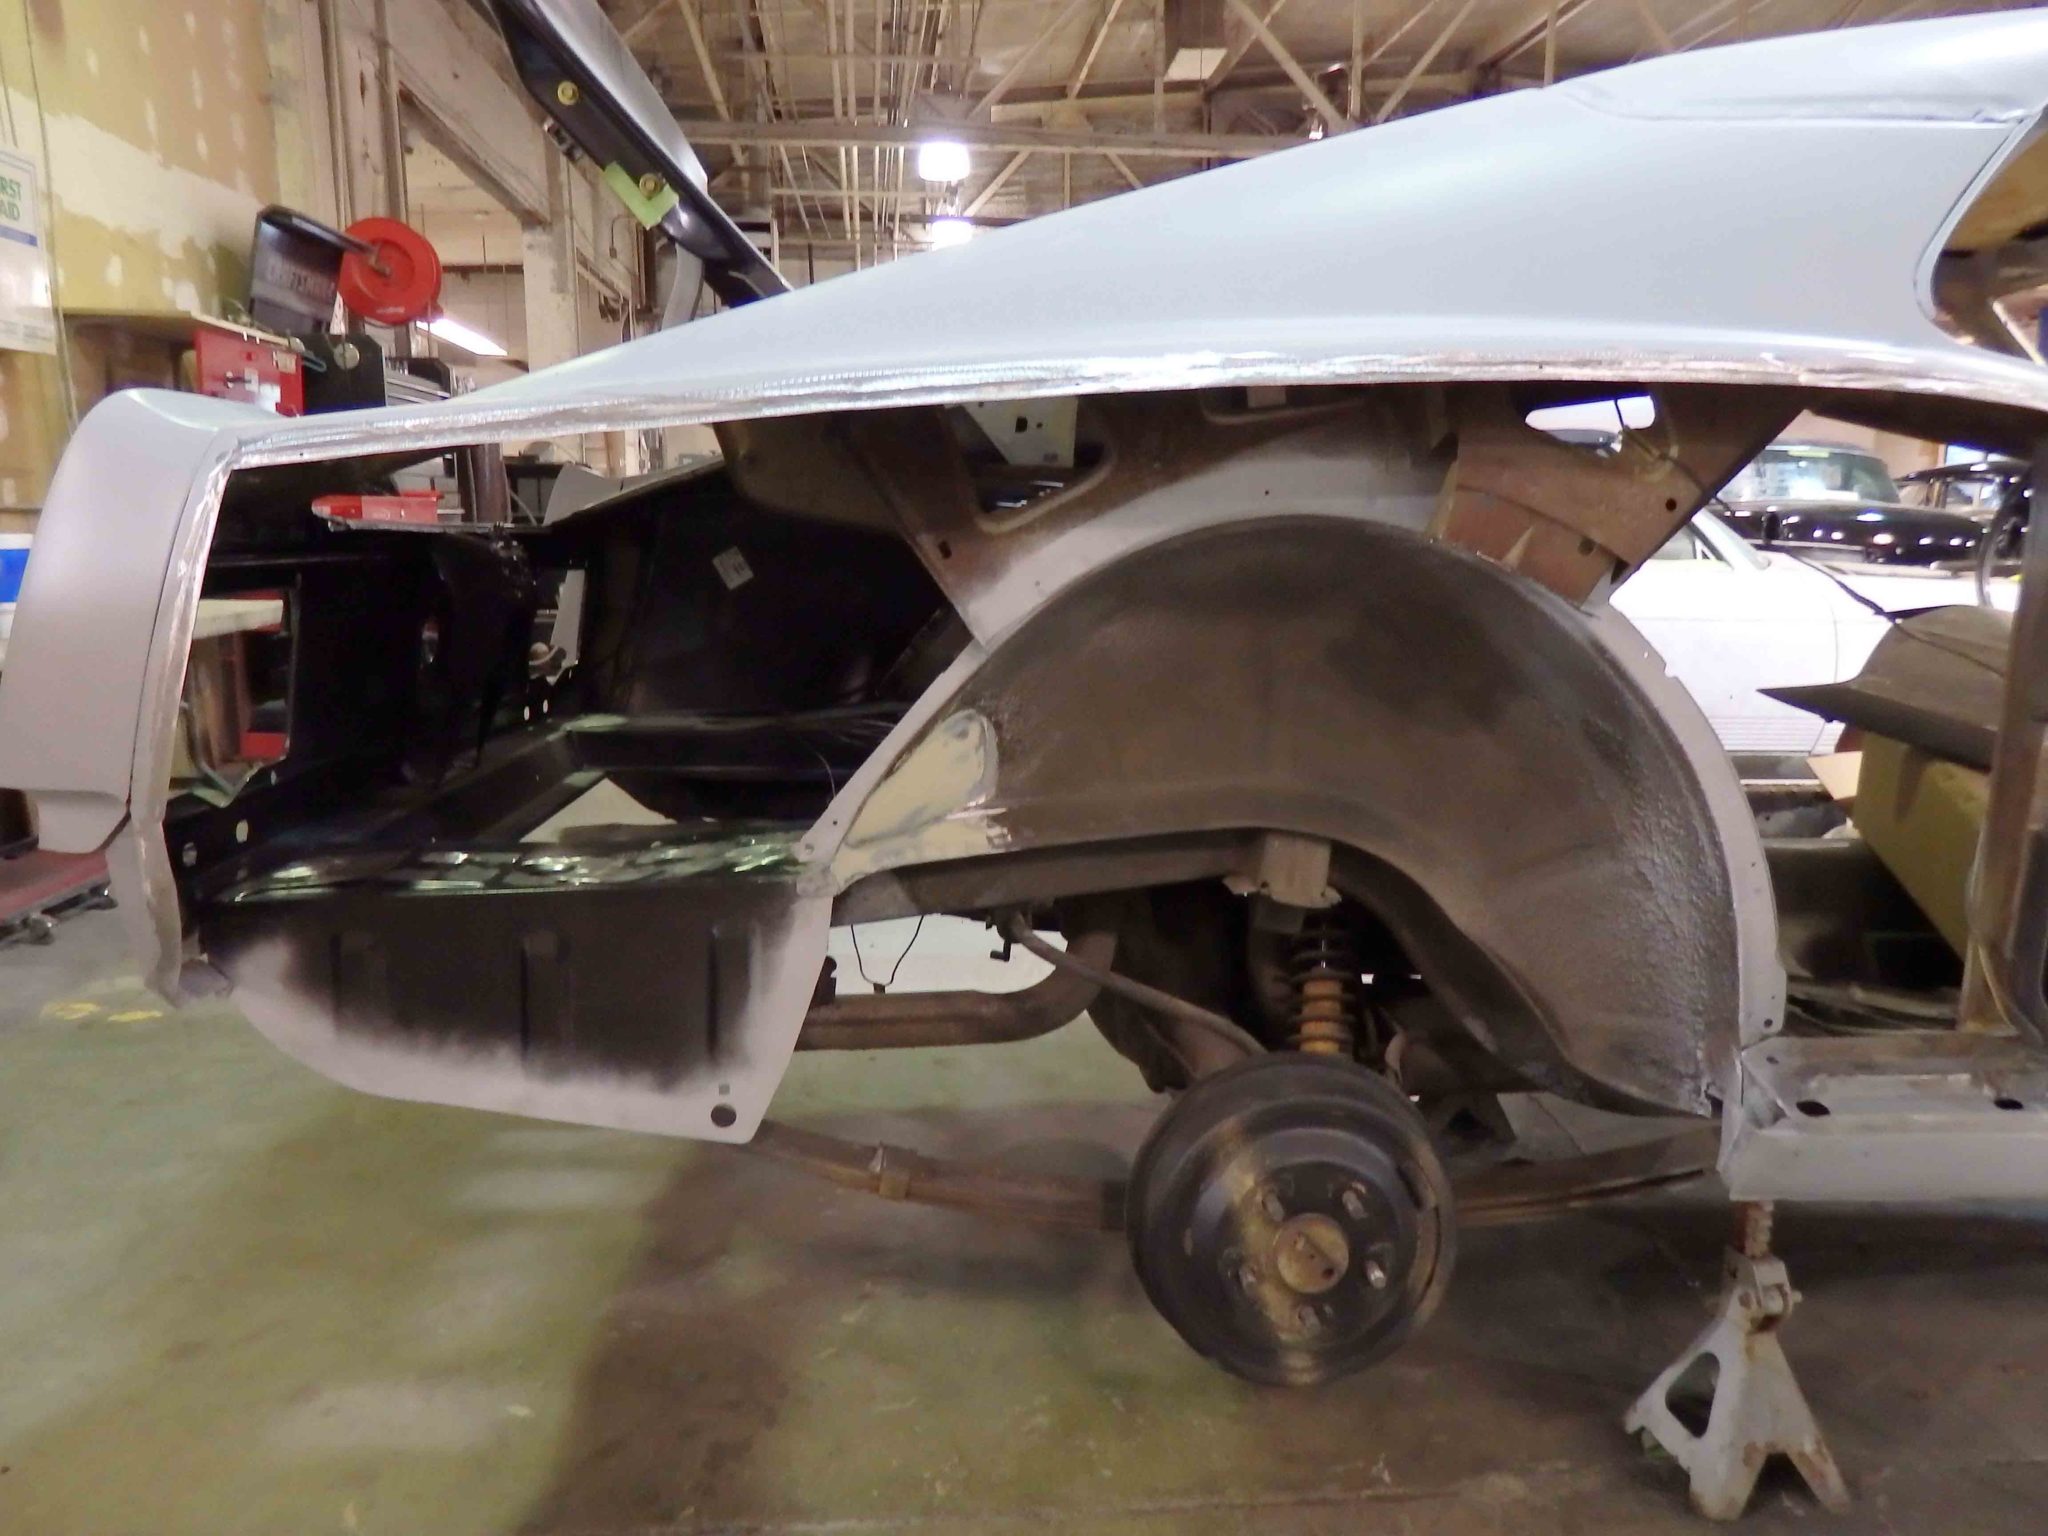
In the third part to this series we discussed some of the metal work involved with replacing floor pans and sheet metal. What comes next? We need to prep the bare metal, if you choose to use replacement panels I would recommend that they be cleaned entirely of the coating they were shipped with. What we recommend, and do, is coat the vehicle with an “etching” primer.
Etching Primer;
Self – etching primer is used to seal bare metals and used as a rust inhibitor. Made up of a base consisting of acid, often phosphoric, and zinc it is designed to impregnate the surface molecules of the metal. While this treatment does not reverse the effects of rust it does have the ability to neutralize it and prevent further deterioration.
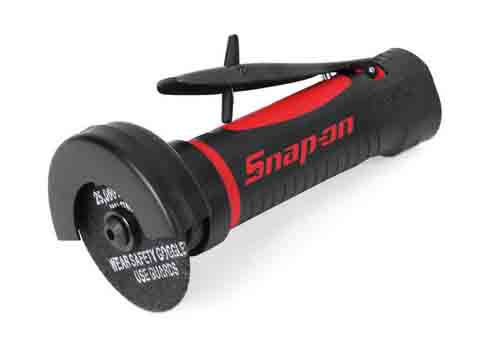
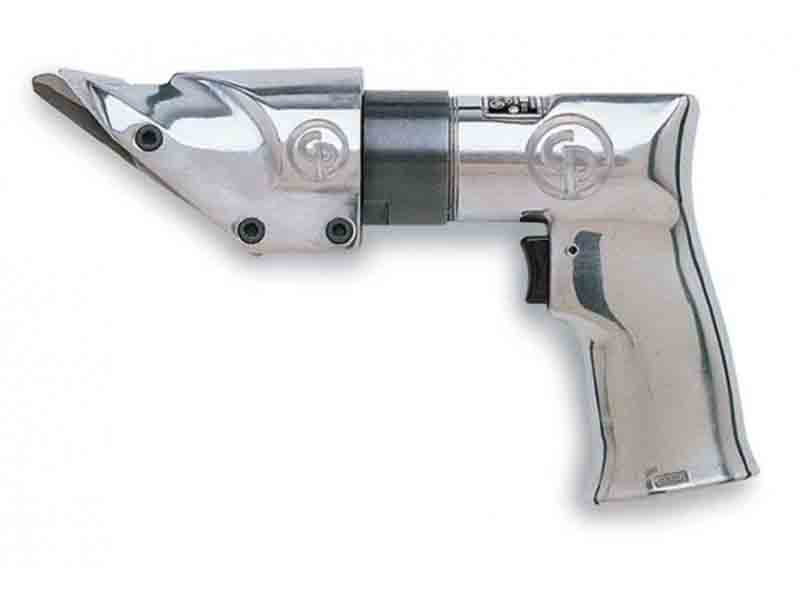
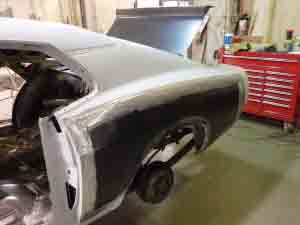
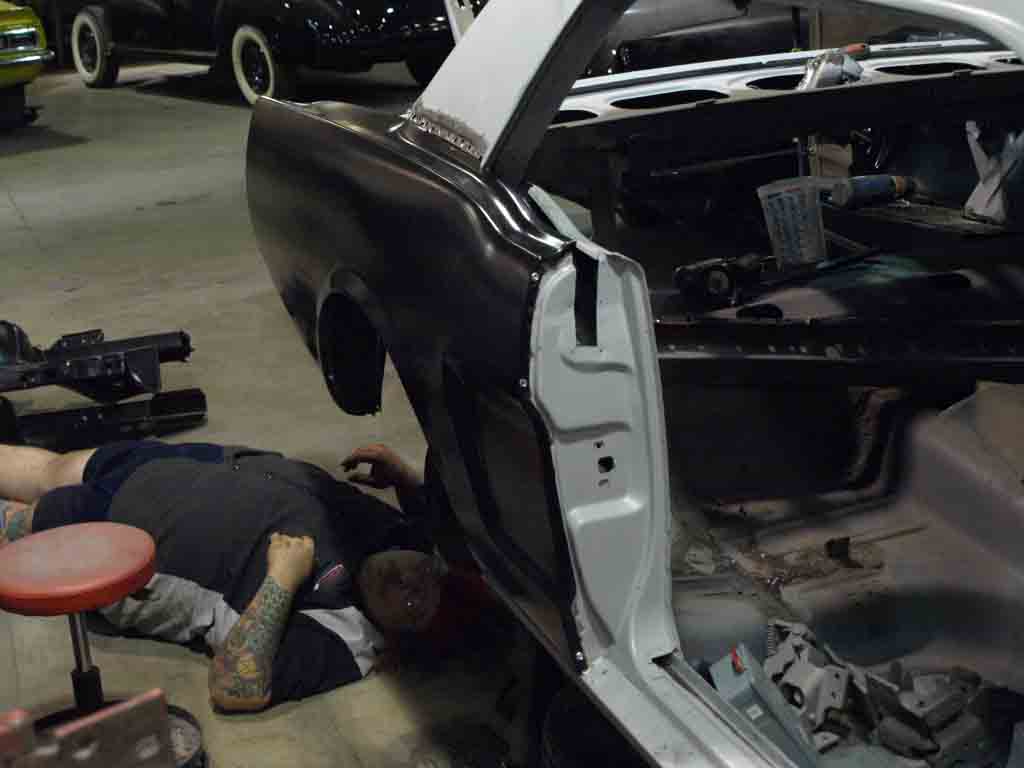
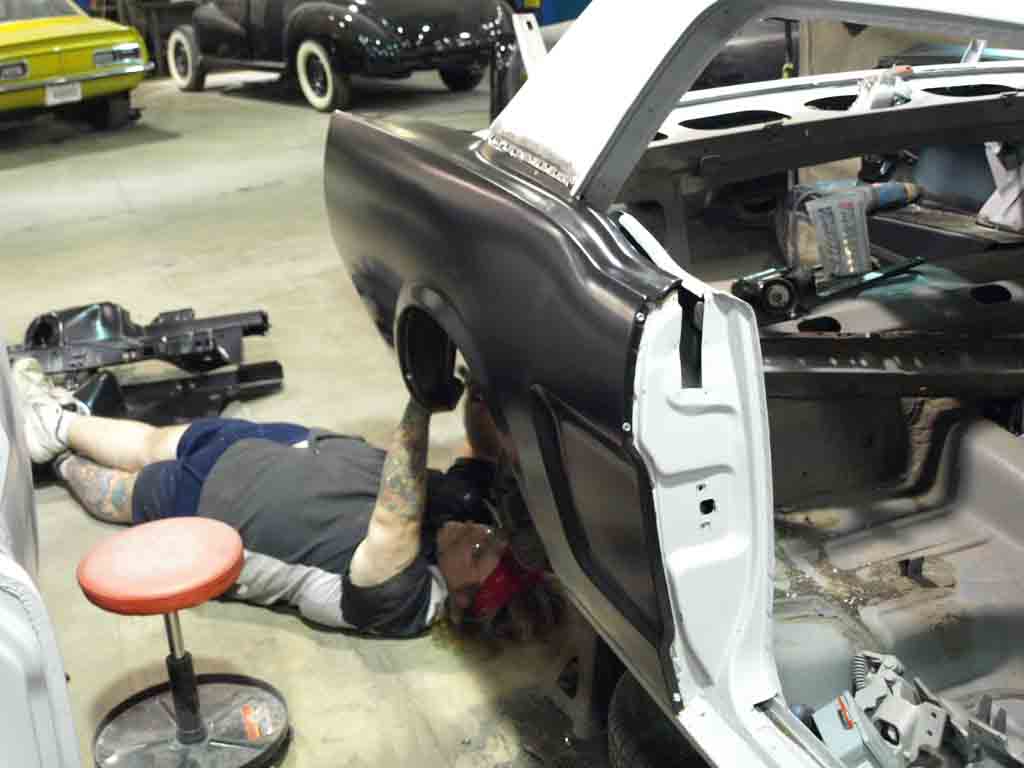
After coating the metal surfaces of the floor and the quarters we will grind down the welds on the quarter panel. While we have all seen panels overlapped and held on by nothing more than tack welds you will be disappointed in a few years when those repairs come back to haunt you. There are times when you will have to overlap metal panels, that is how much of a car is designed but not for quarter panels and most sheet metal rust repair panels. Once you have inspected the panel to ensure there is no damage that will affect the installation set the replacement panel into place over the old metal and position it to where it should go for the best fit, make a few alignment marks. Using sheet metal vice-grips clamp the replacement quarter panel into place around the wheel well, over the original sheet metal. Using you alignment marks position and secure the panel. Don’t think that everything looks better two feet away, step back and look at the positioning of the panel, how the character lines match up, how the leading and trailing panels fore and aft of the wheel look, this is one of the last opportunities you will have to make adjustments and it has to be right. If the lower half of the quarters are rotted away, measure curb height to make sure you have it placed correctly. There are many resources on the internet that can provide you that information on most cars, most importantly make sure it is right. Once you feel it is aligned correctly outline the panel with a scribe or a fine tipped marker. Step back and look it over again before removing the replacement panel, if all looks good remove the panel. You should now have a perfect outline of your replacement panel on your old sheet metal, cut it out. There are a few very effective ways to cut this out. A high speed cutting tool is simple to use but takes time and can become hard to control, electric or air powered shears work very well and then there is plasma.
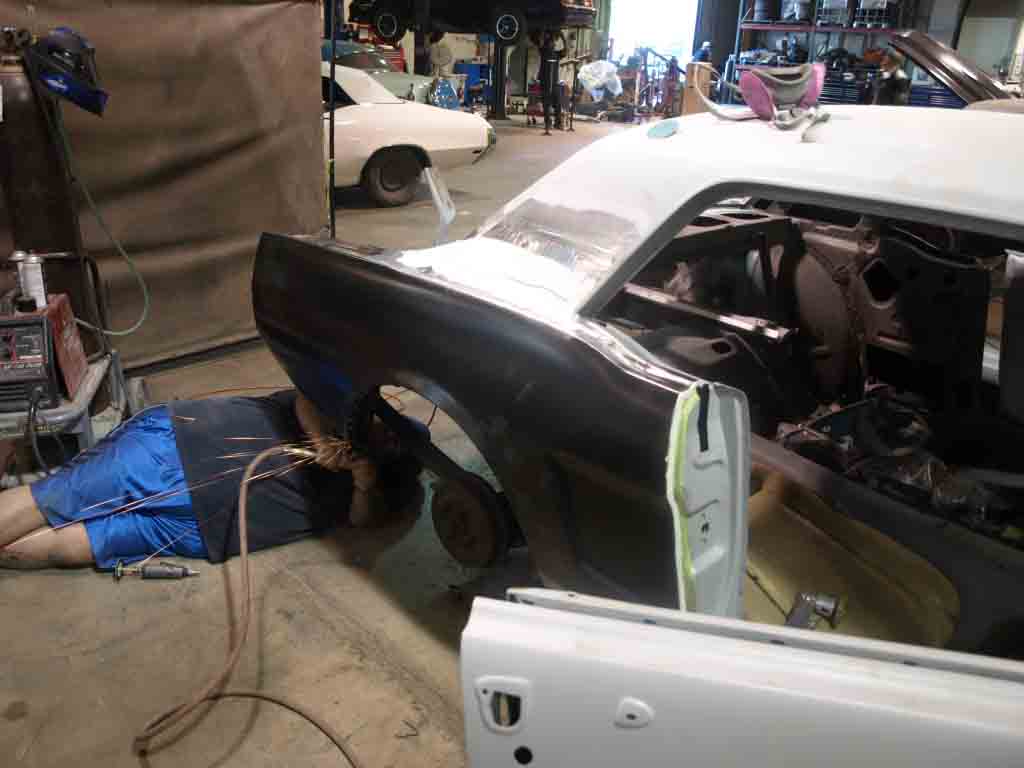
Plasma Cutter
First, doing any kind of work with a Plasma cutter requires proper eye protection. As with most repairs eye protection is required but when using Plasma cutters, TIG welders, MIG welders or when doing any type of welding you must protect your eye with the proper shields and goggles as necessary.
Plasma Cutters use an inert gas, (a gas that does not experience chemical reactions, such as oxidation, when used in certain applications) like Argon, as a shielding gas which is rapidly fed through the nozzle where an electric arc is created. This arc heats the gas and the metal to a sufficient temperature where the gas essentially passes through the metal and creates very clean precise cuts.

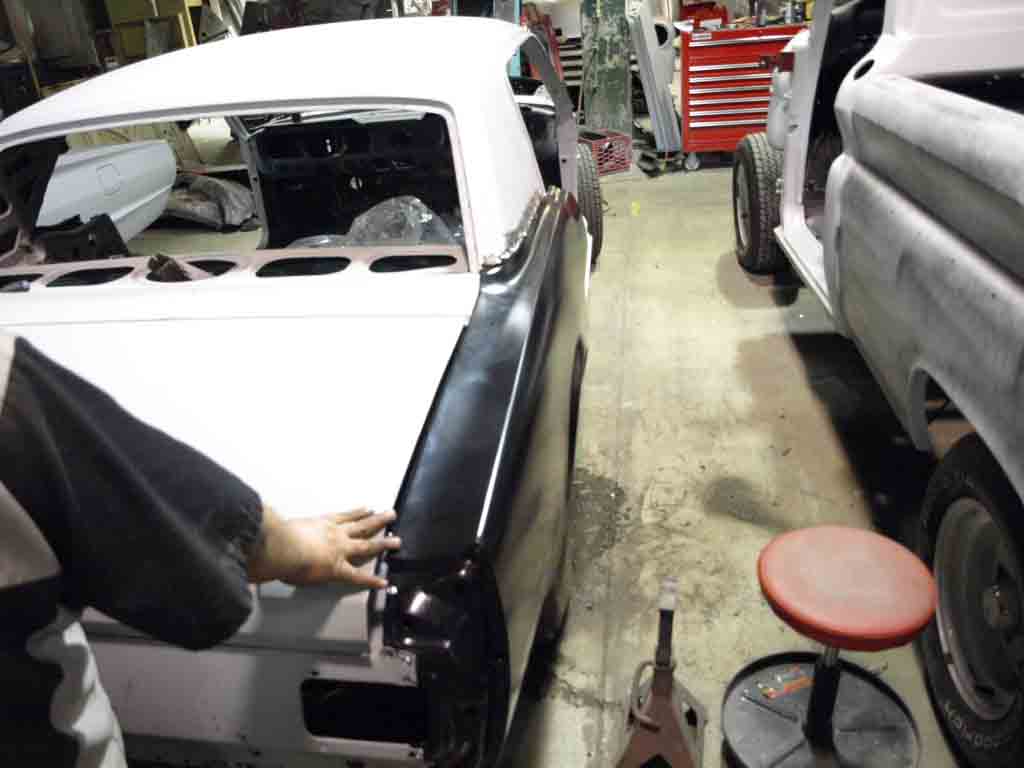
After the panel has been cut out align your replacement panel within the opening, we recommend, and use, a TIG welder to weld the panel onto the car. Start off with a few small tack welds to hold the panel in place and then join the body with the new panel by completing a full weld around the circumference of the panel.
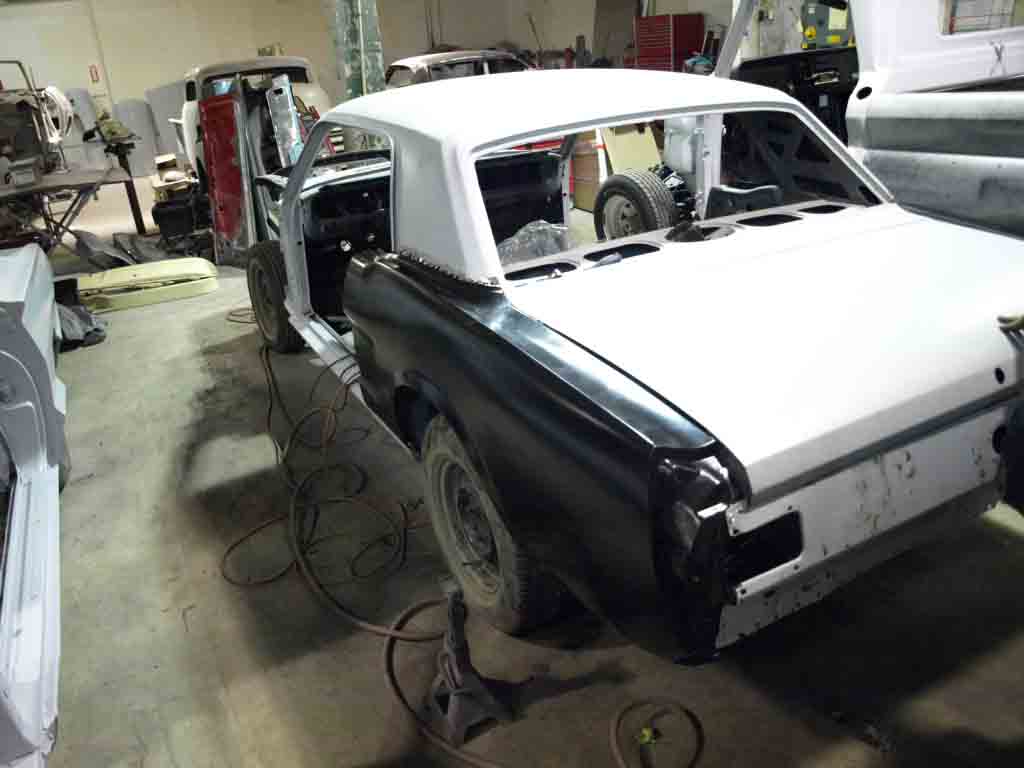
After the panel has been welded completely, with clean welds that have very few pin holes, apply a coat of etching primer. After the etching primer is dry grind the welds down flat, when done your quarter should look like one piece of metal again.


There are different types of panels, patch panels and replacement panels are not the same. There are both types of quarter panels available, a replacement panel will require removal of more of the stock sheet metal and require more precise alignment as replacement of these panels will affect door alignment. Be sure you know what you are doing before welding these panels on so that you don’t find yourself in a bind later when doing panel alignment.
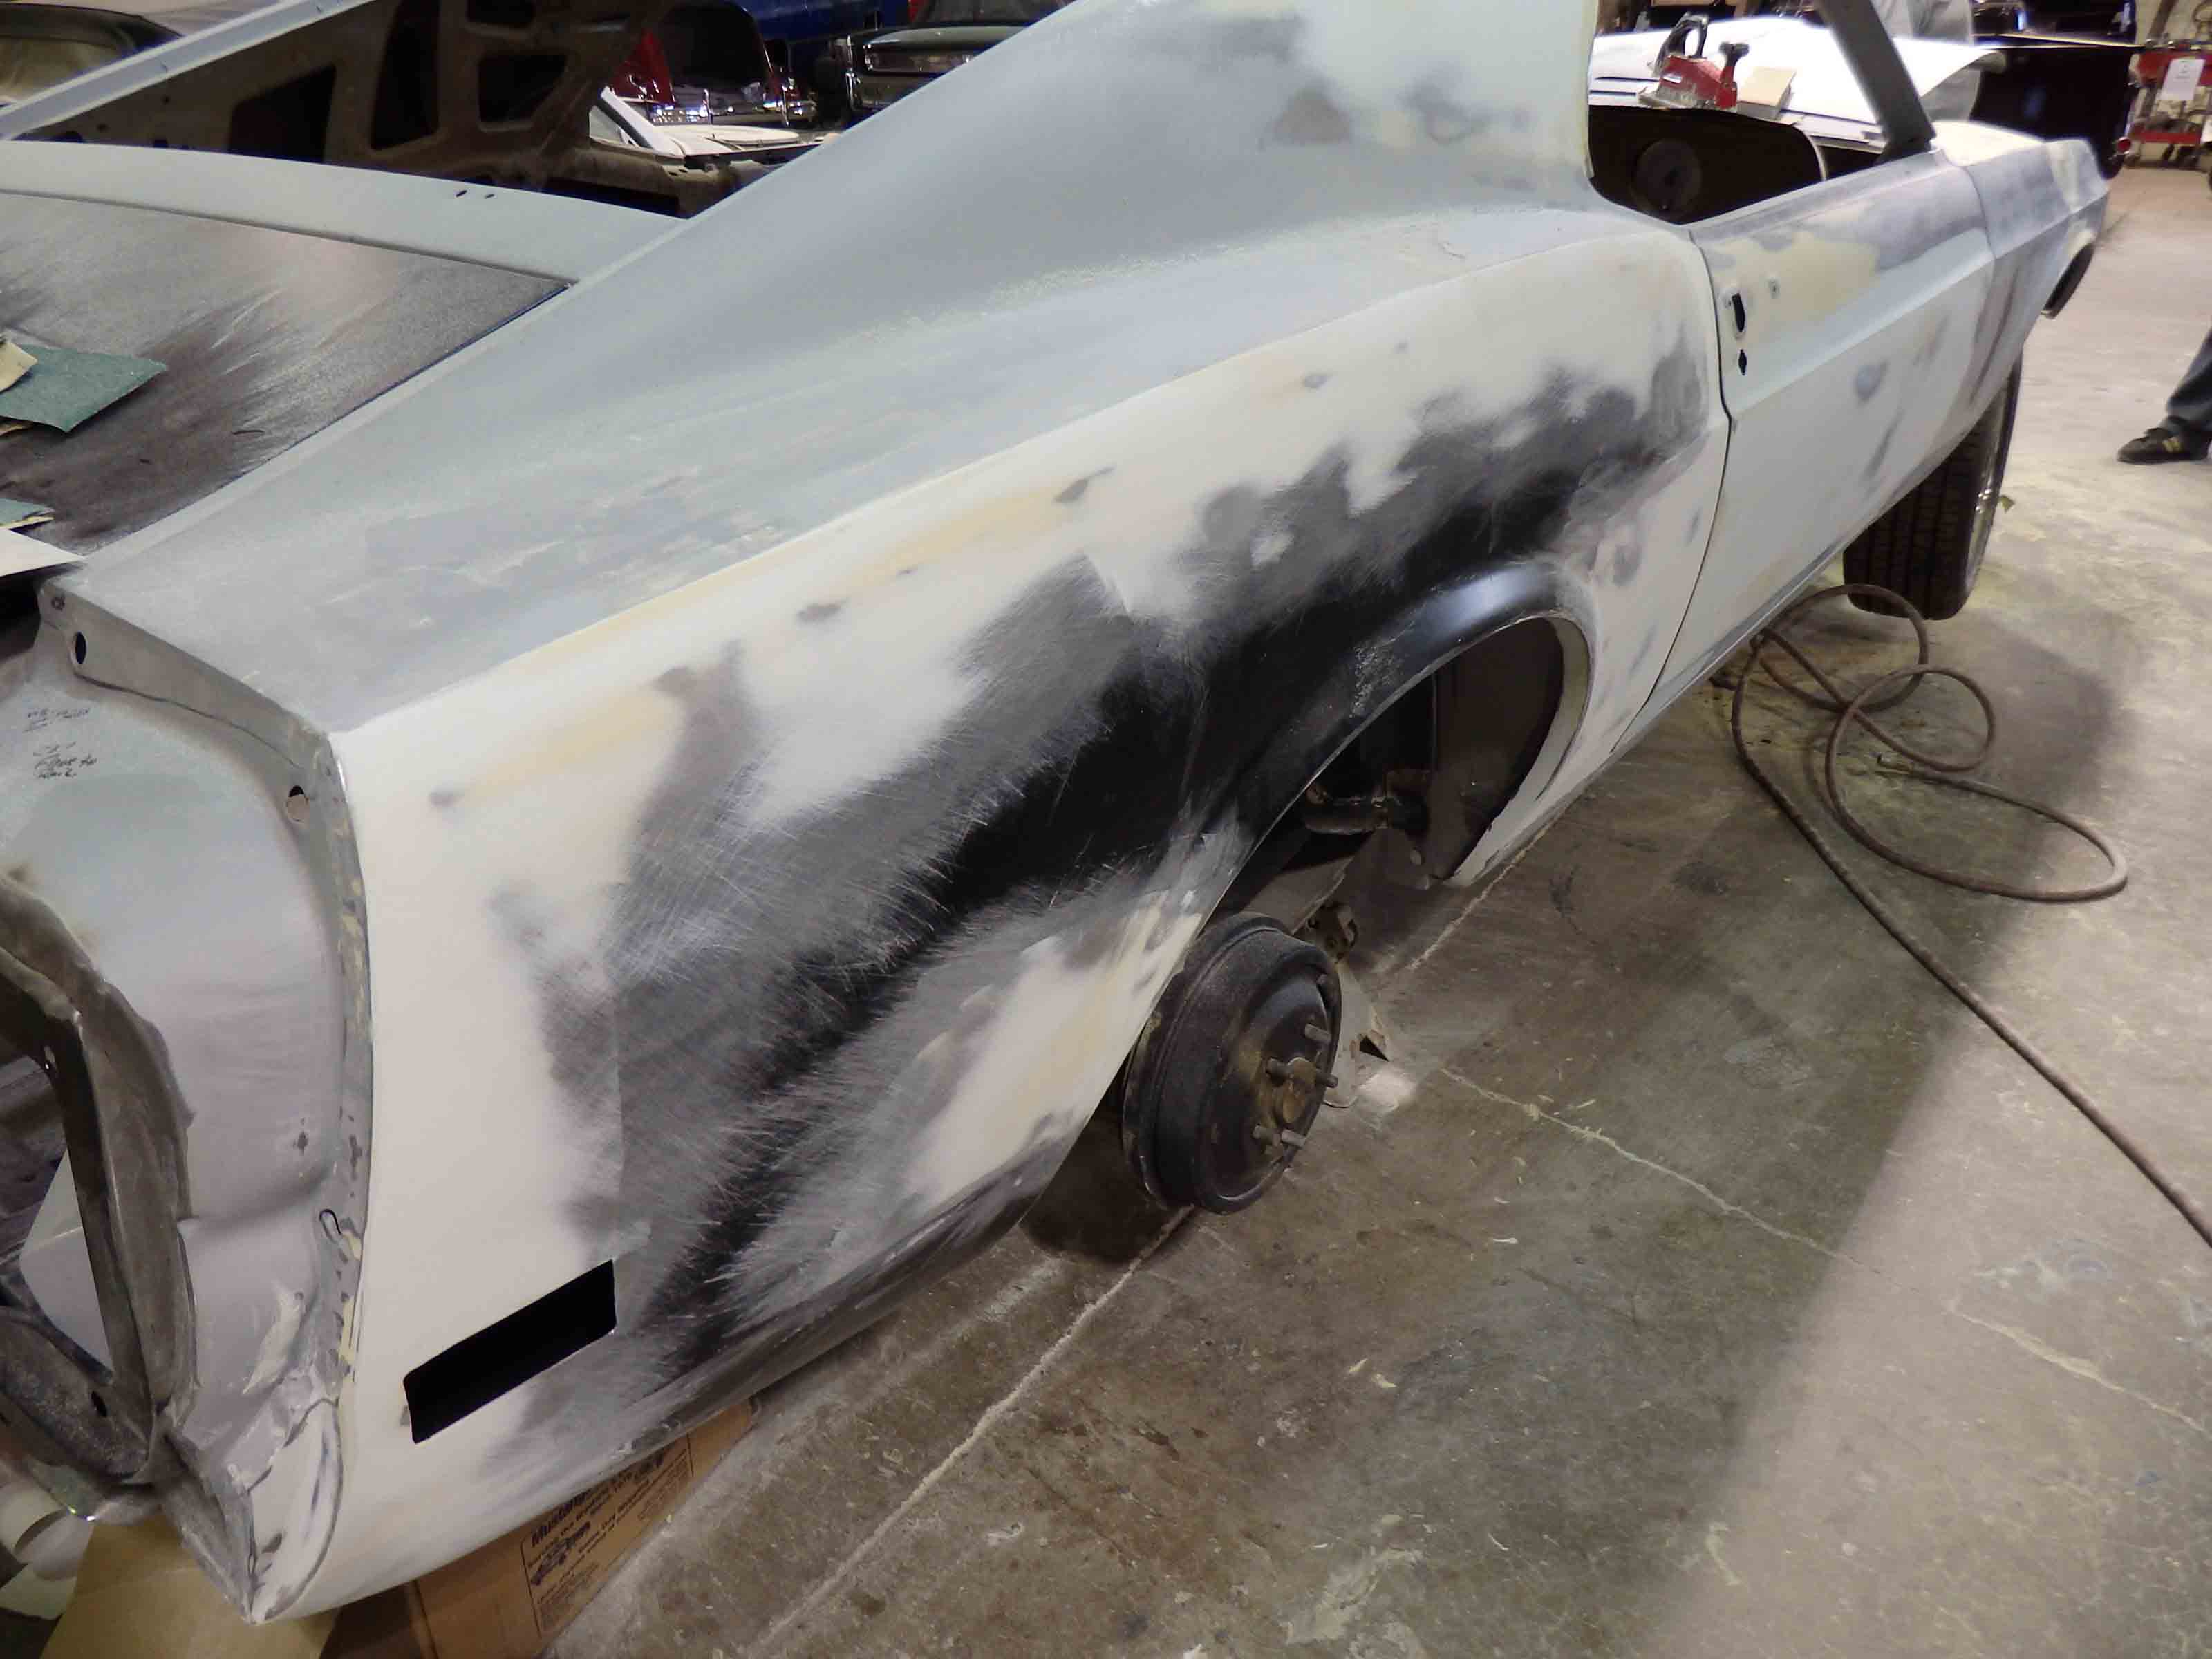
There will still be filler required, not to fill any waves or dents but a glaze coating of filler will be use to fill any imperfections in the weld and make the merge with the body complete. Very aggressive sand paper of a 36 or 40 grit will be used during the initial sanding and the final sand will be done with a 80 or 100 grit paper. Depending on the shape of the panel you may have to hand sand portions where you filled but any areas that would allow you to use a block to sand, do. Block sanding provides a straighter repair than your flexible, soft hand. Continue to sand until the surface is straight and smooth with no distinct edge to the filler. When satisfied that your repair is straight and will be invisible to the naked eye once painted apply a sanding primer.

As we continue through the project each panel is going to be coated with etching primer after all the paint, or coatings, are removed and before any additional metal work or repair is completed.
Next time we will discuss sanding primers, block sanding, sealer and paint.