Evolution of a Restoration pt3
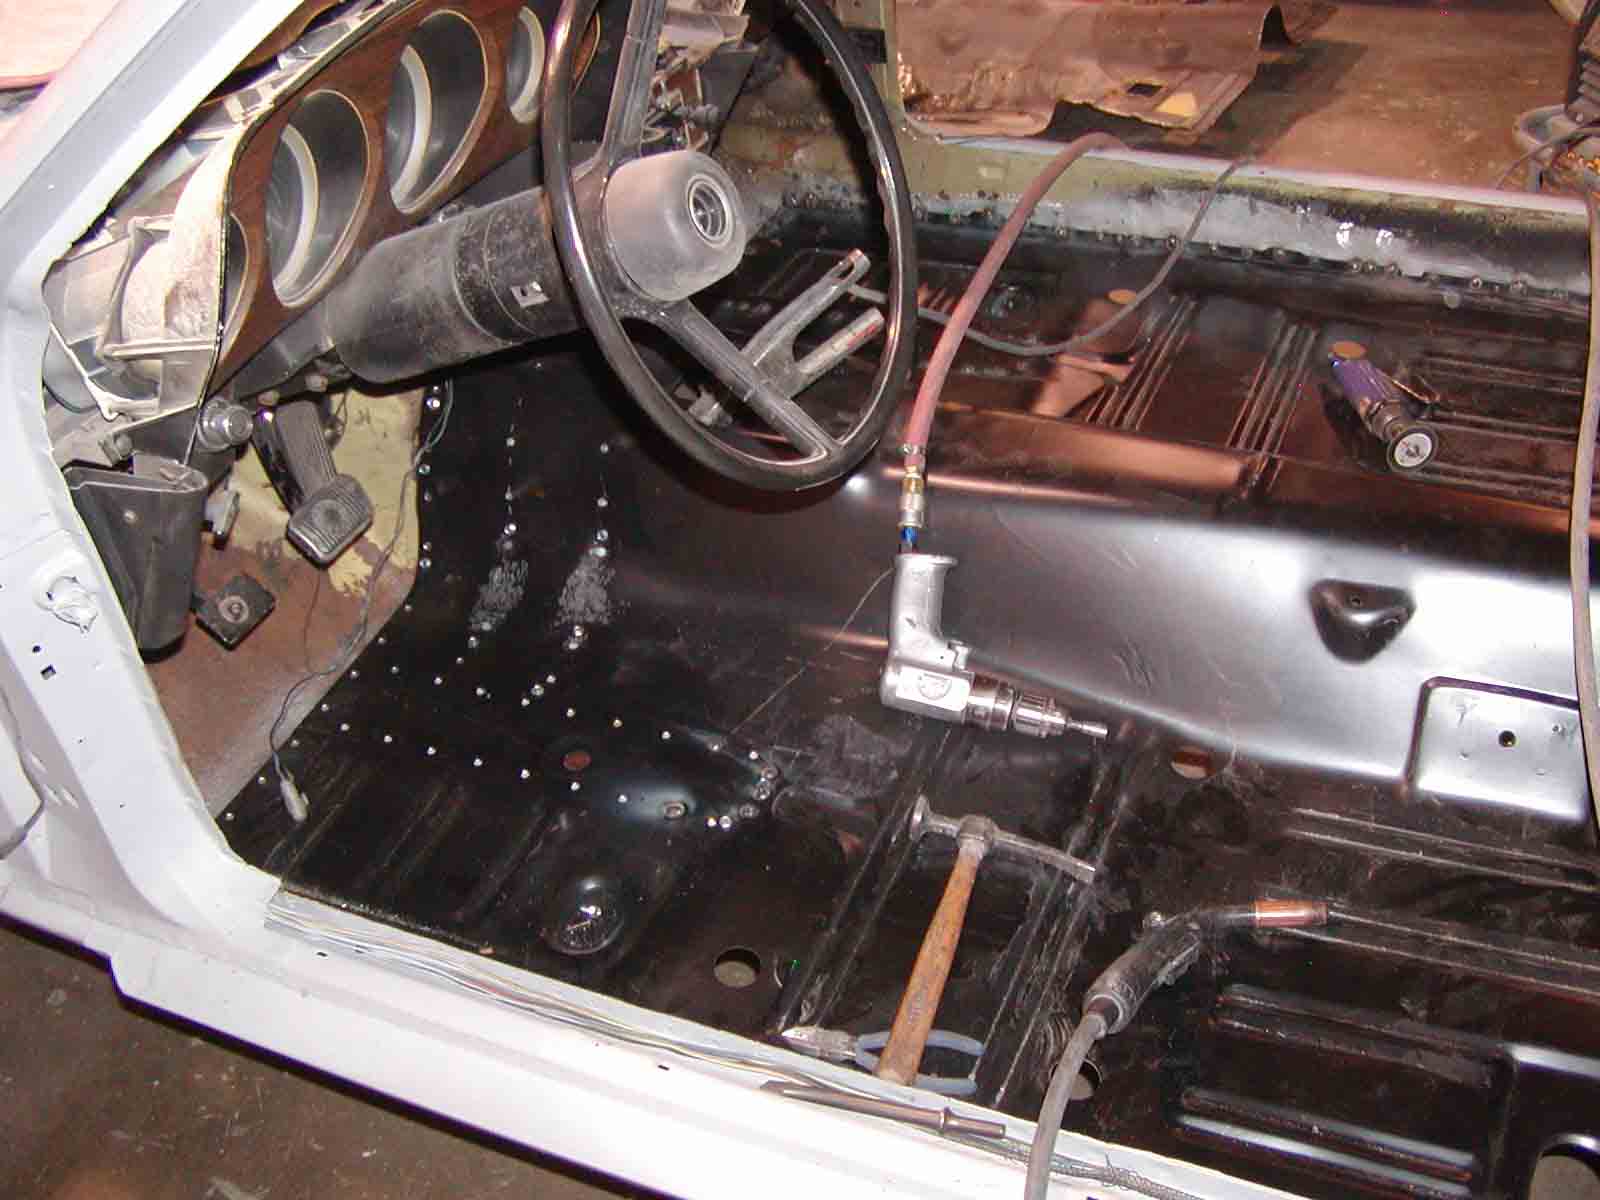
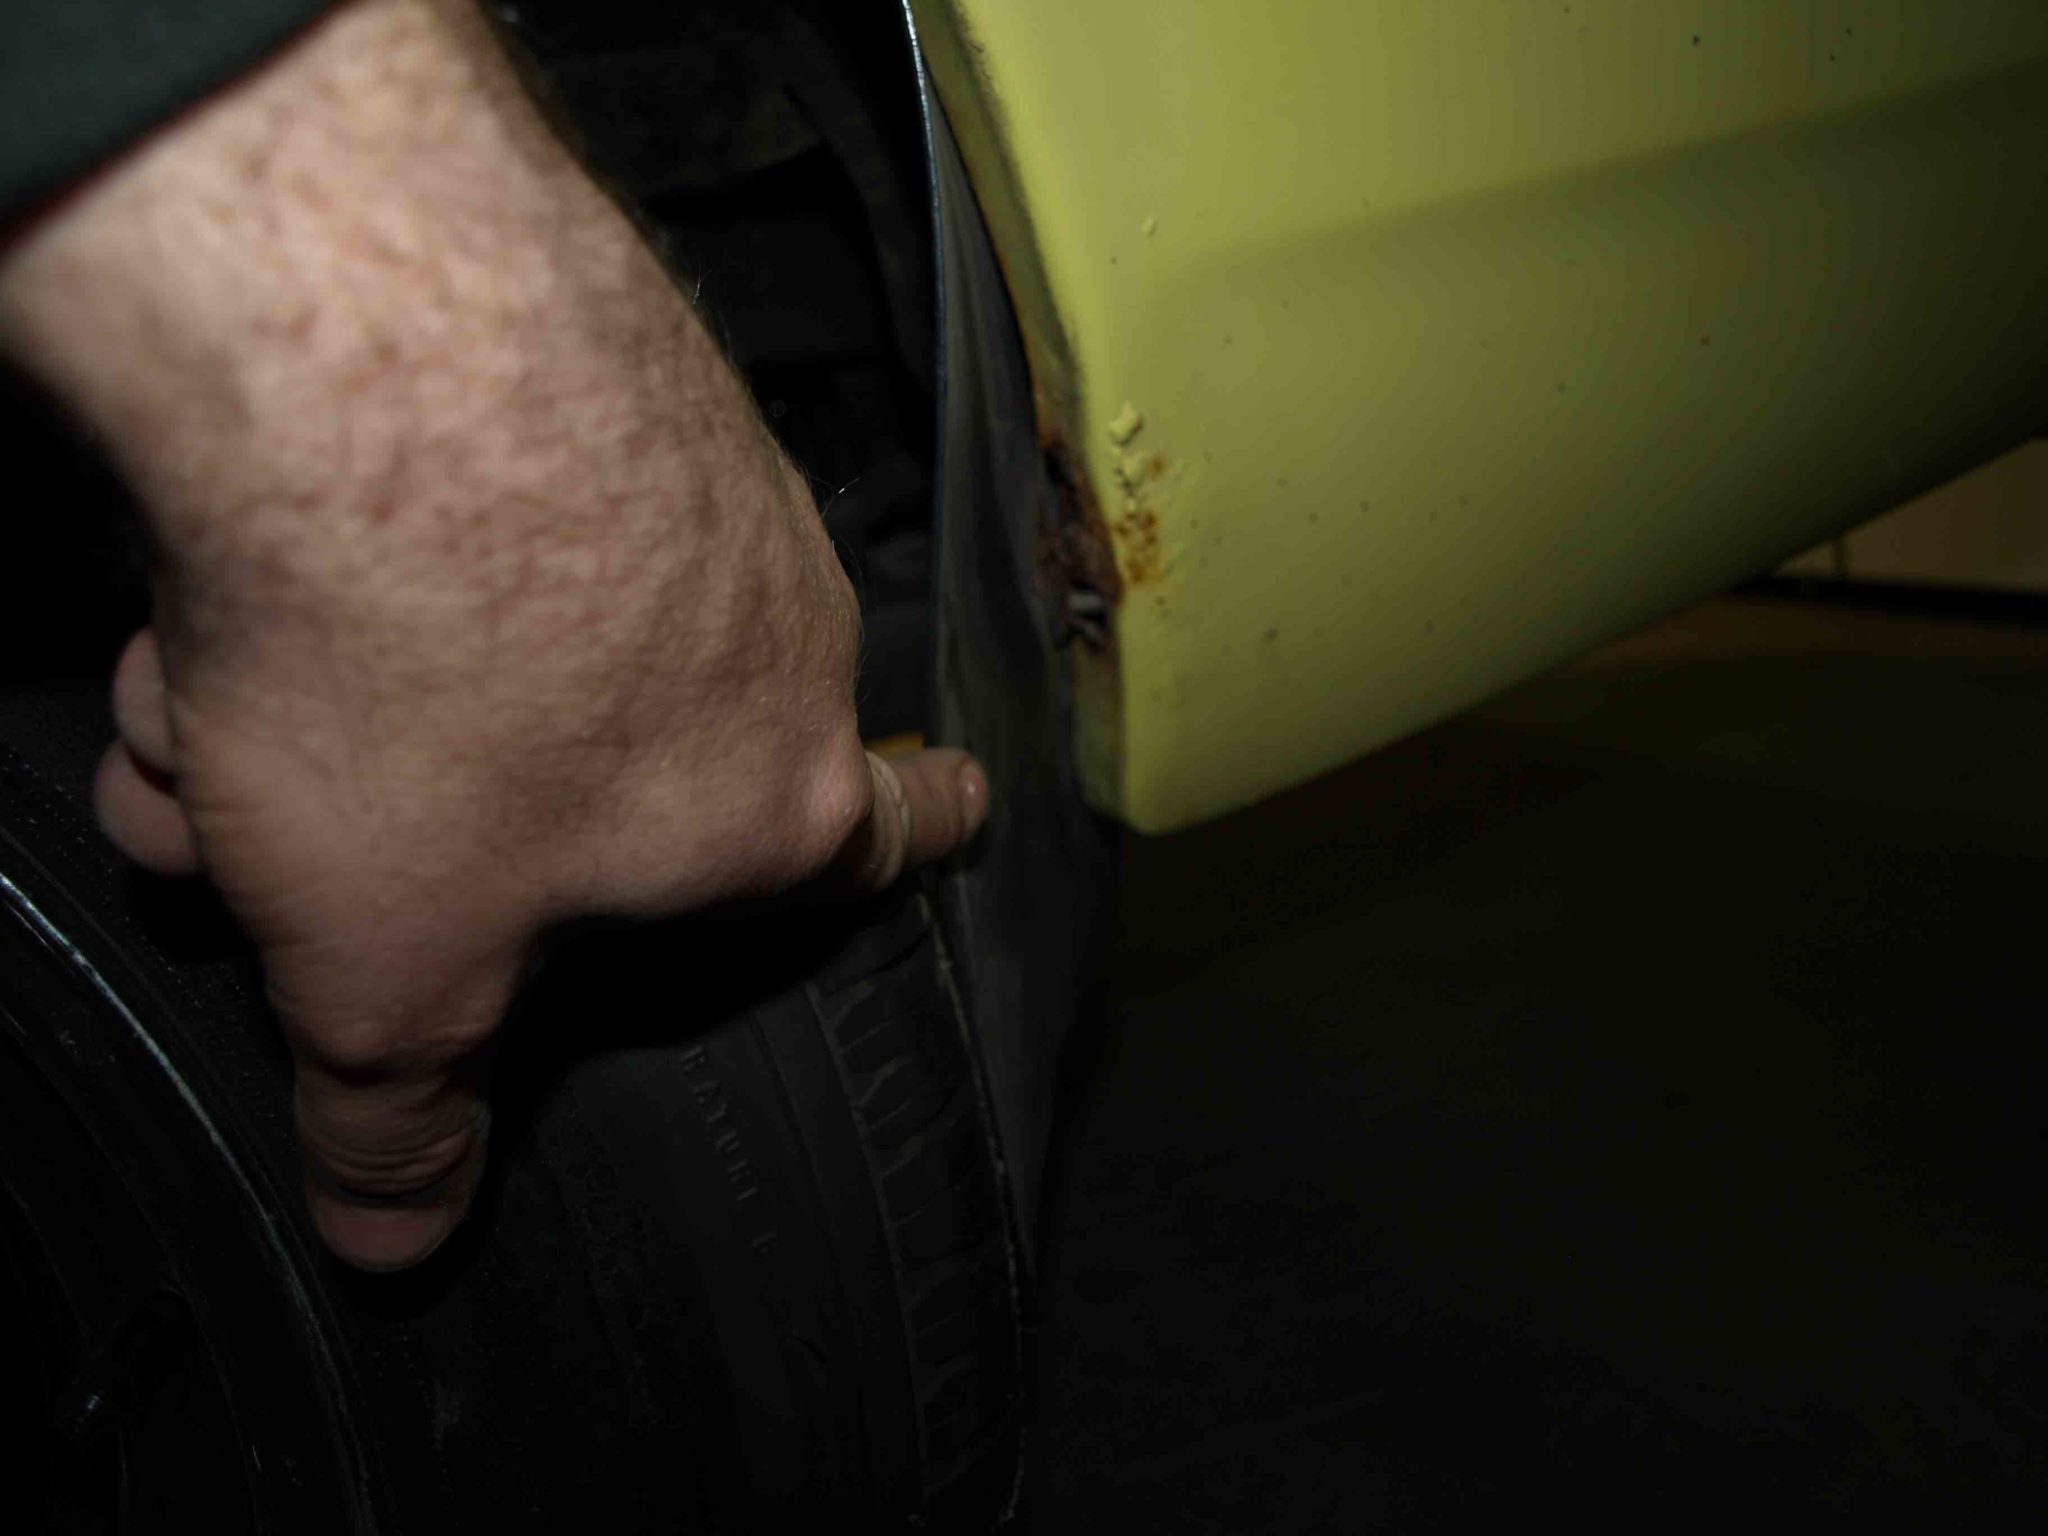
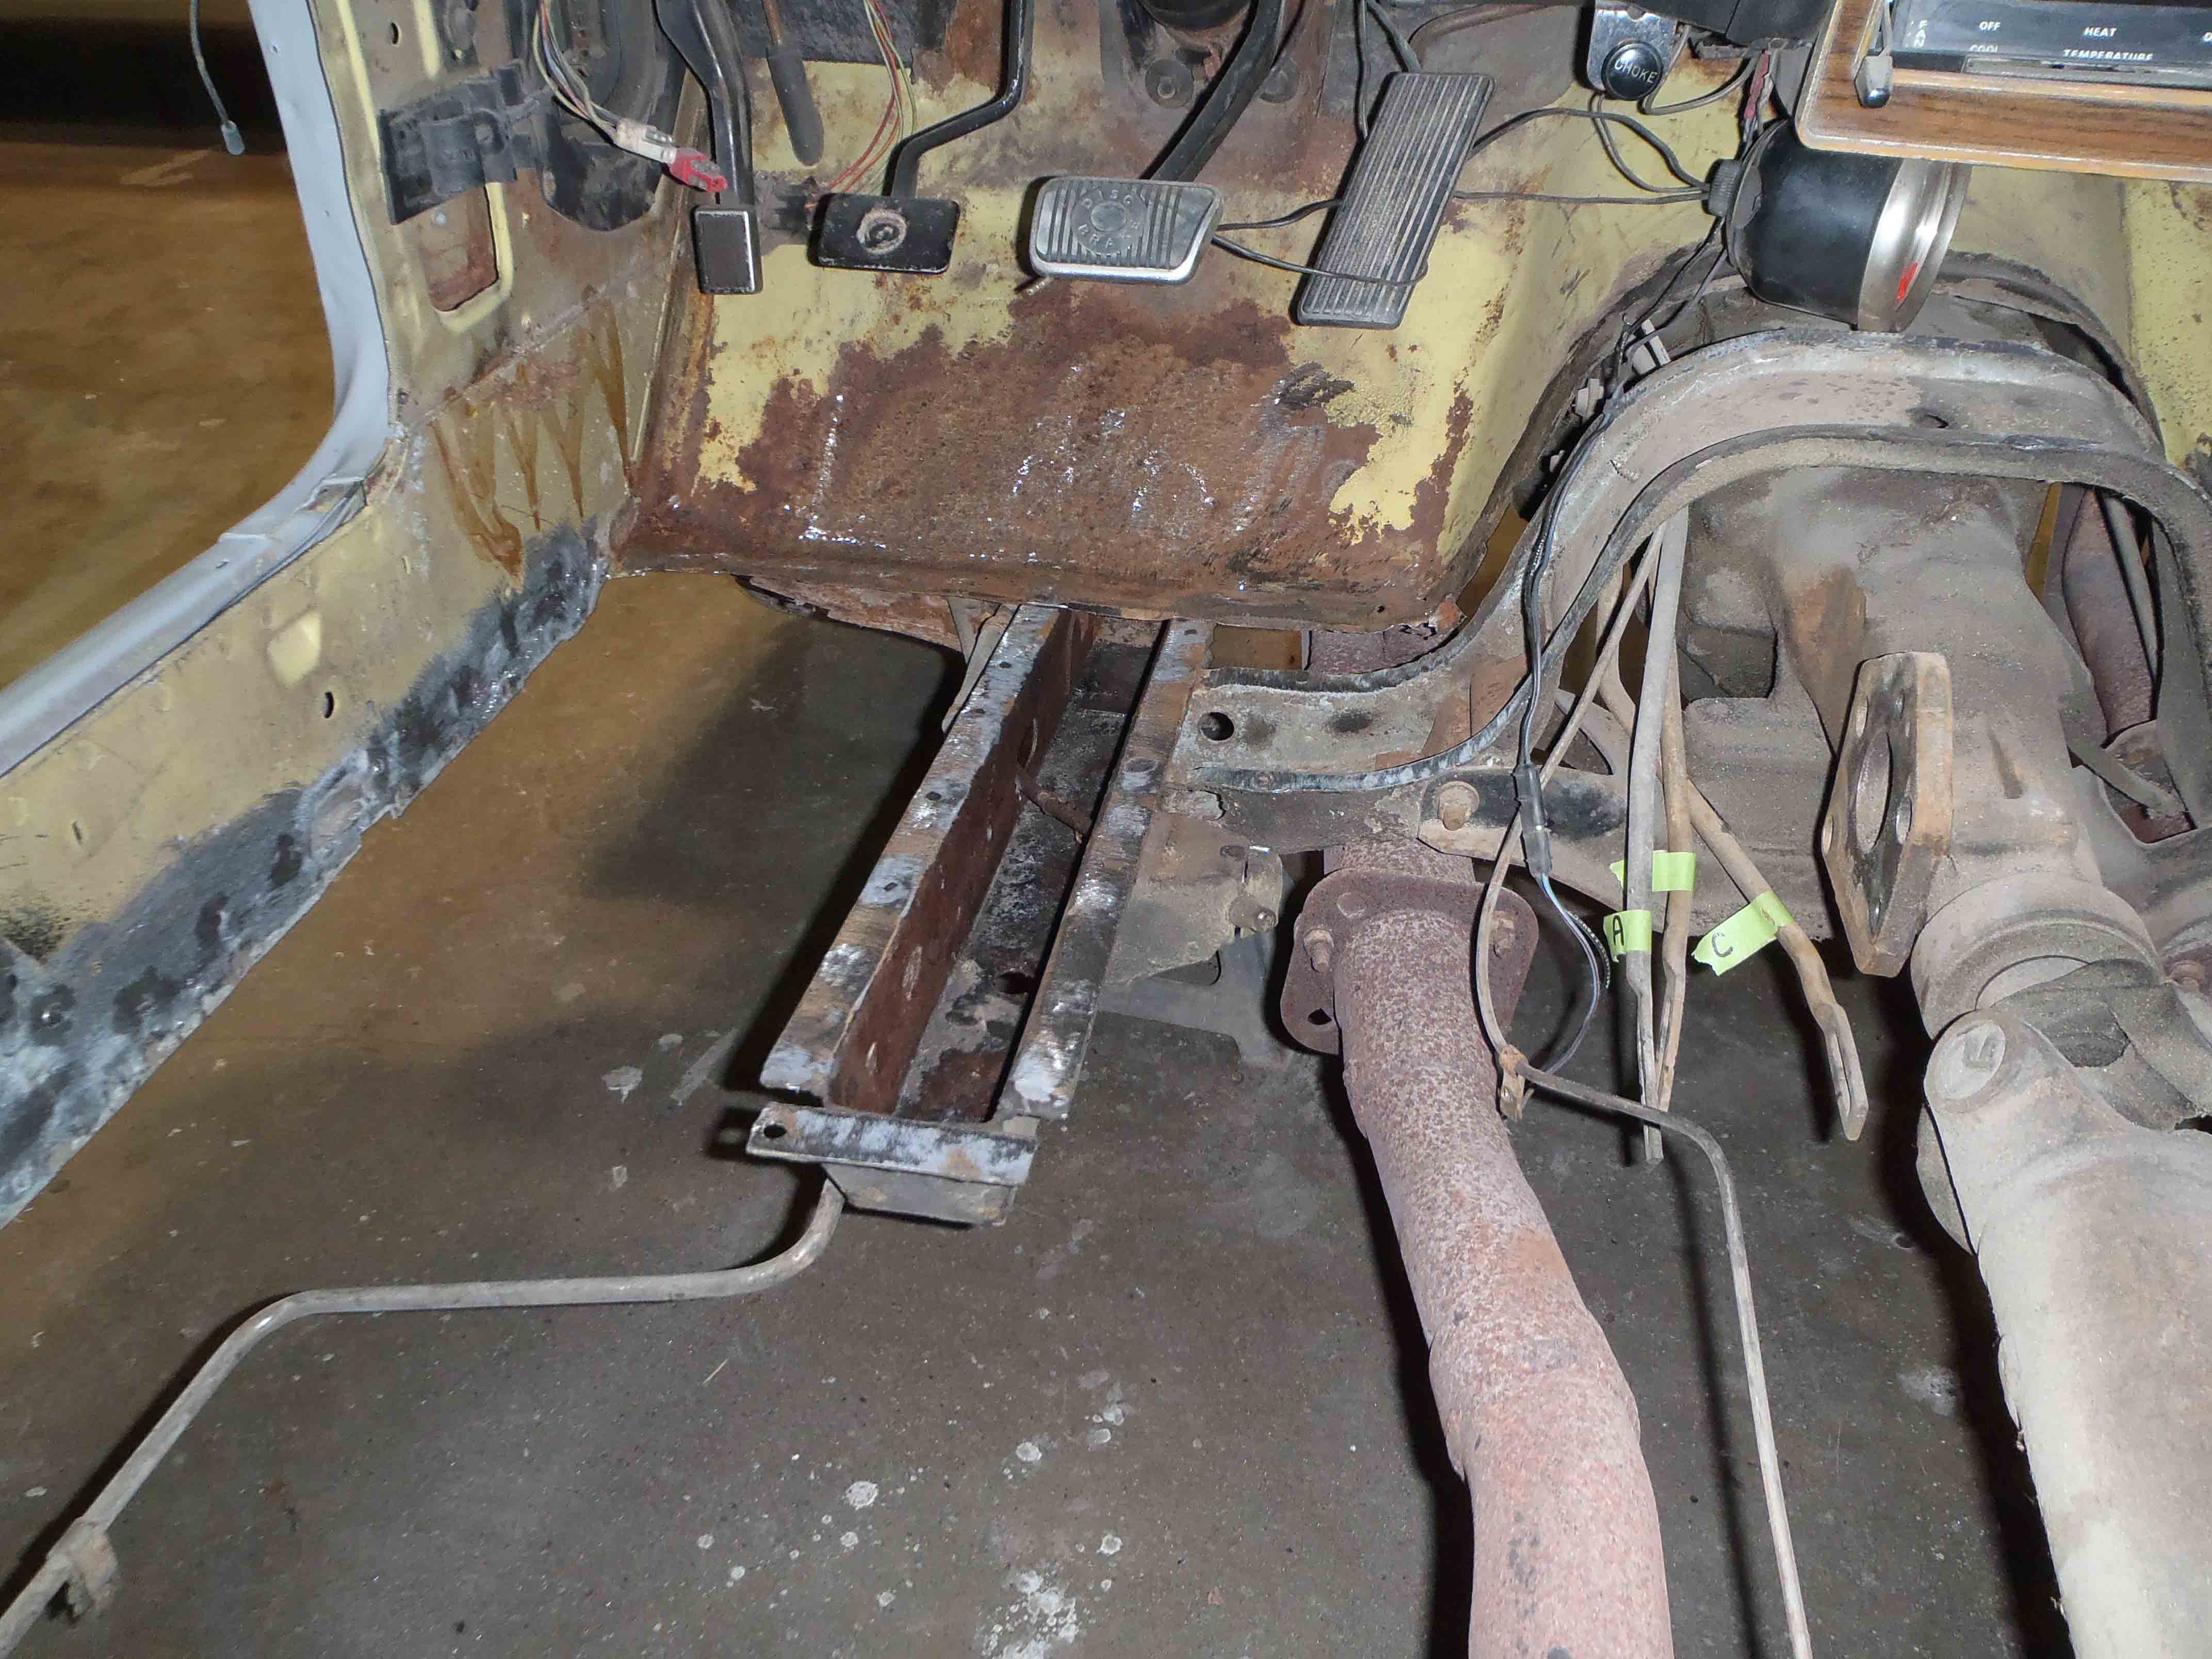
How to go from this,

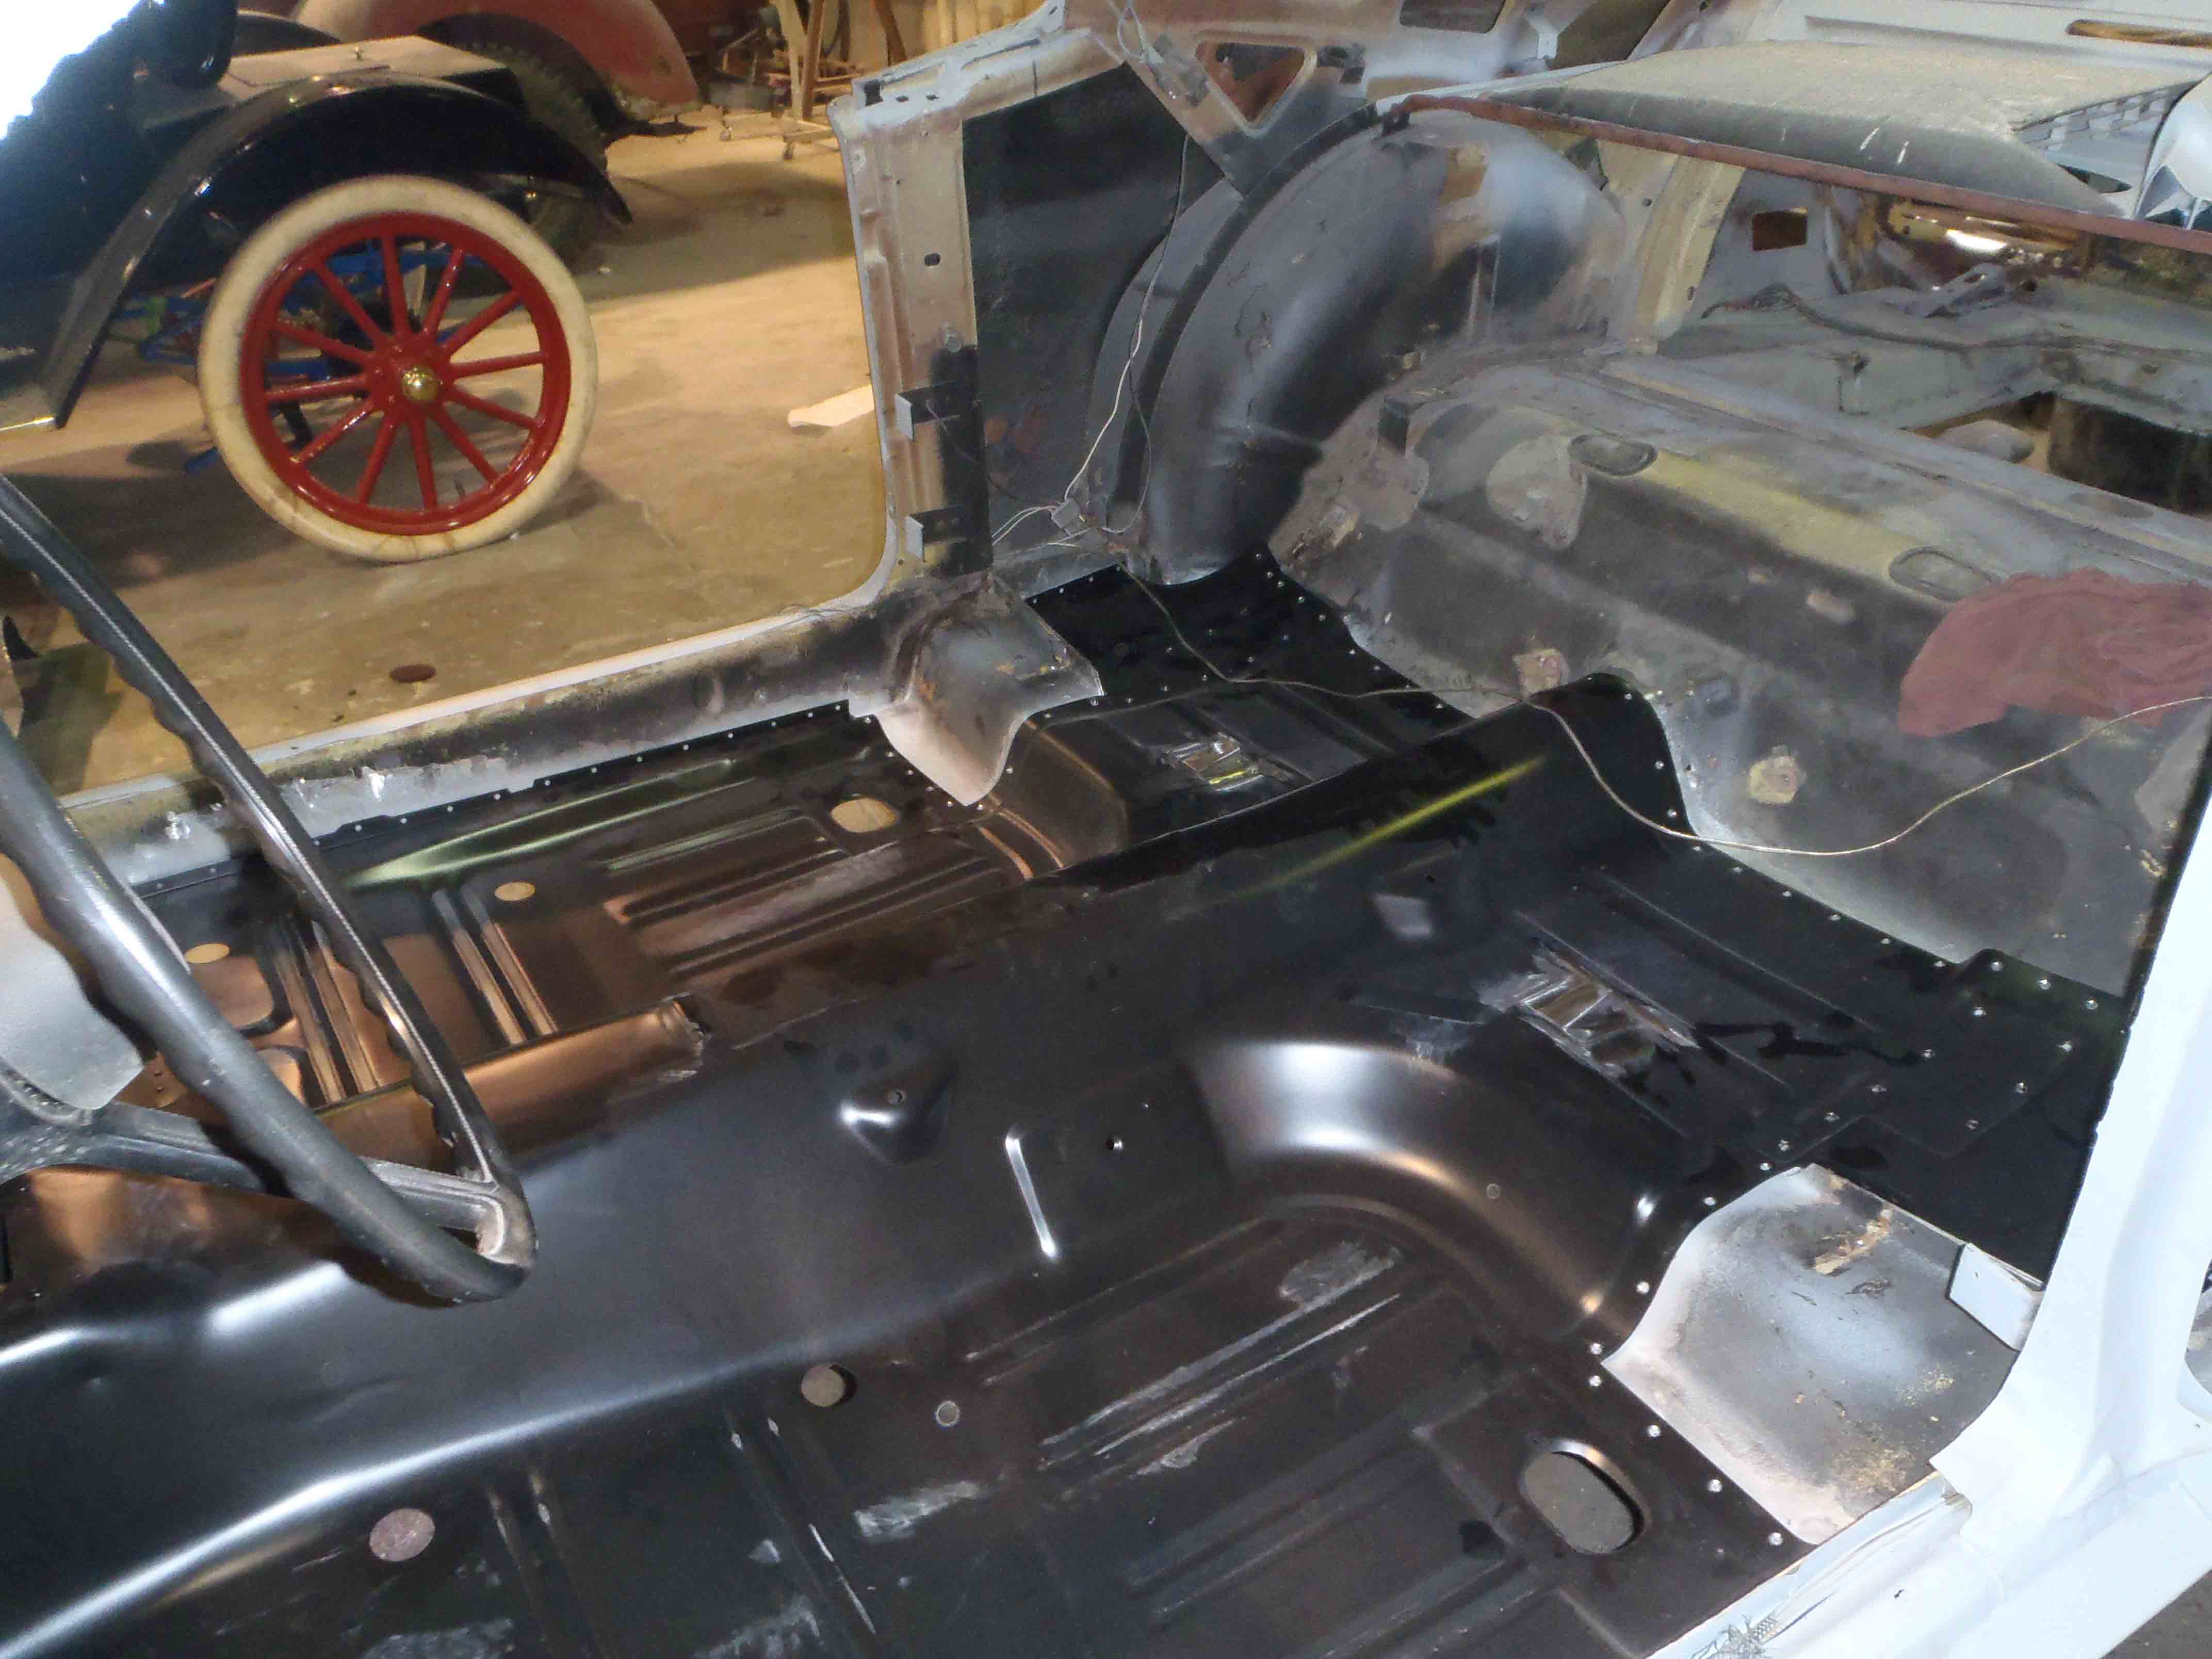
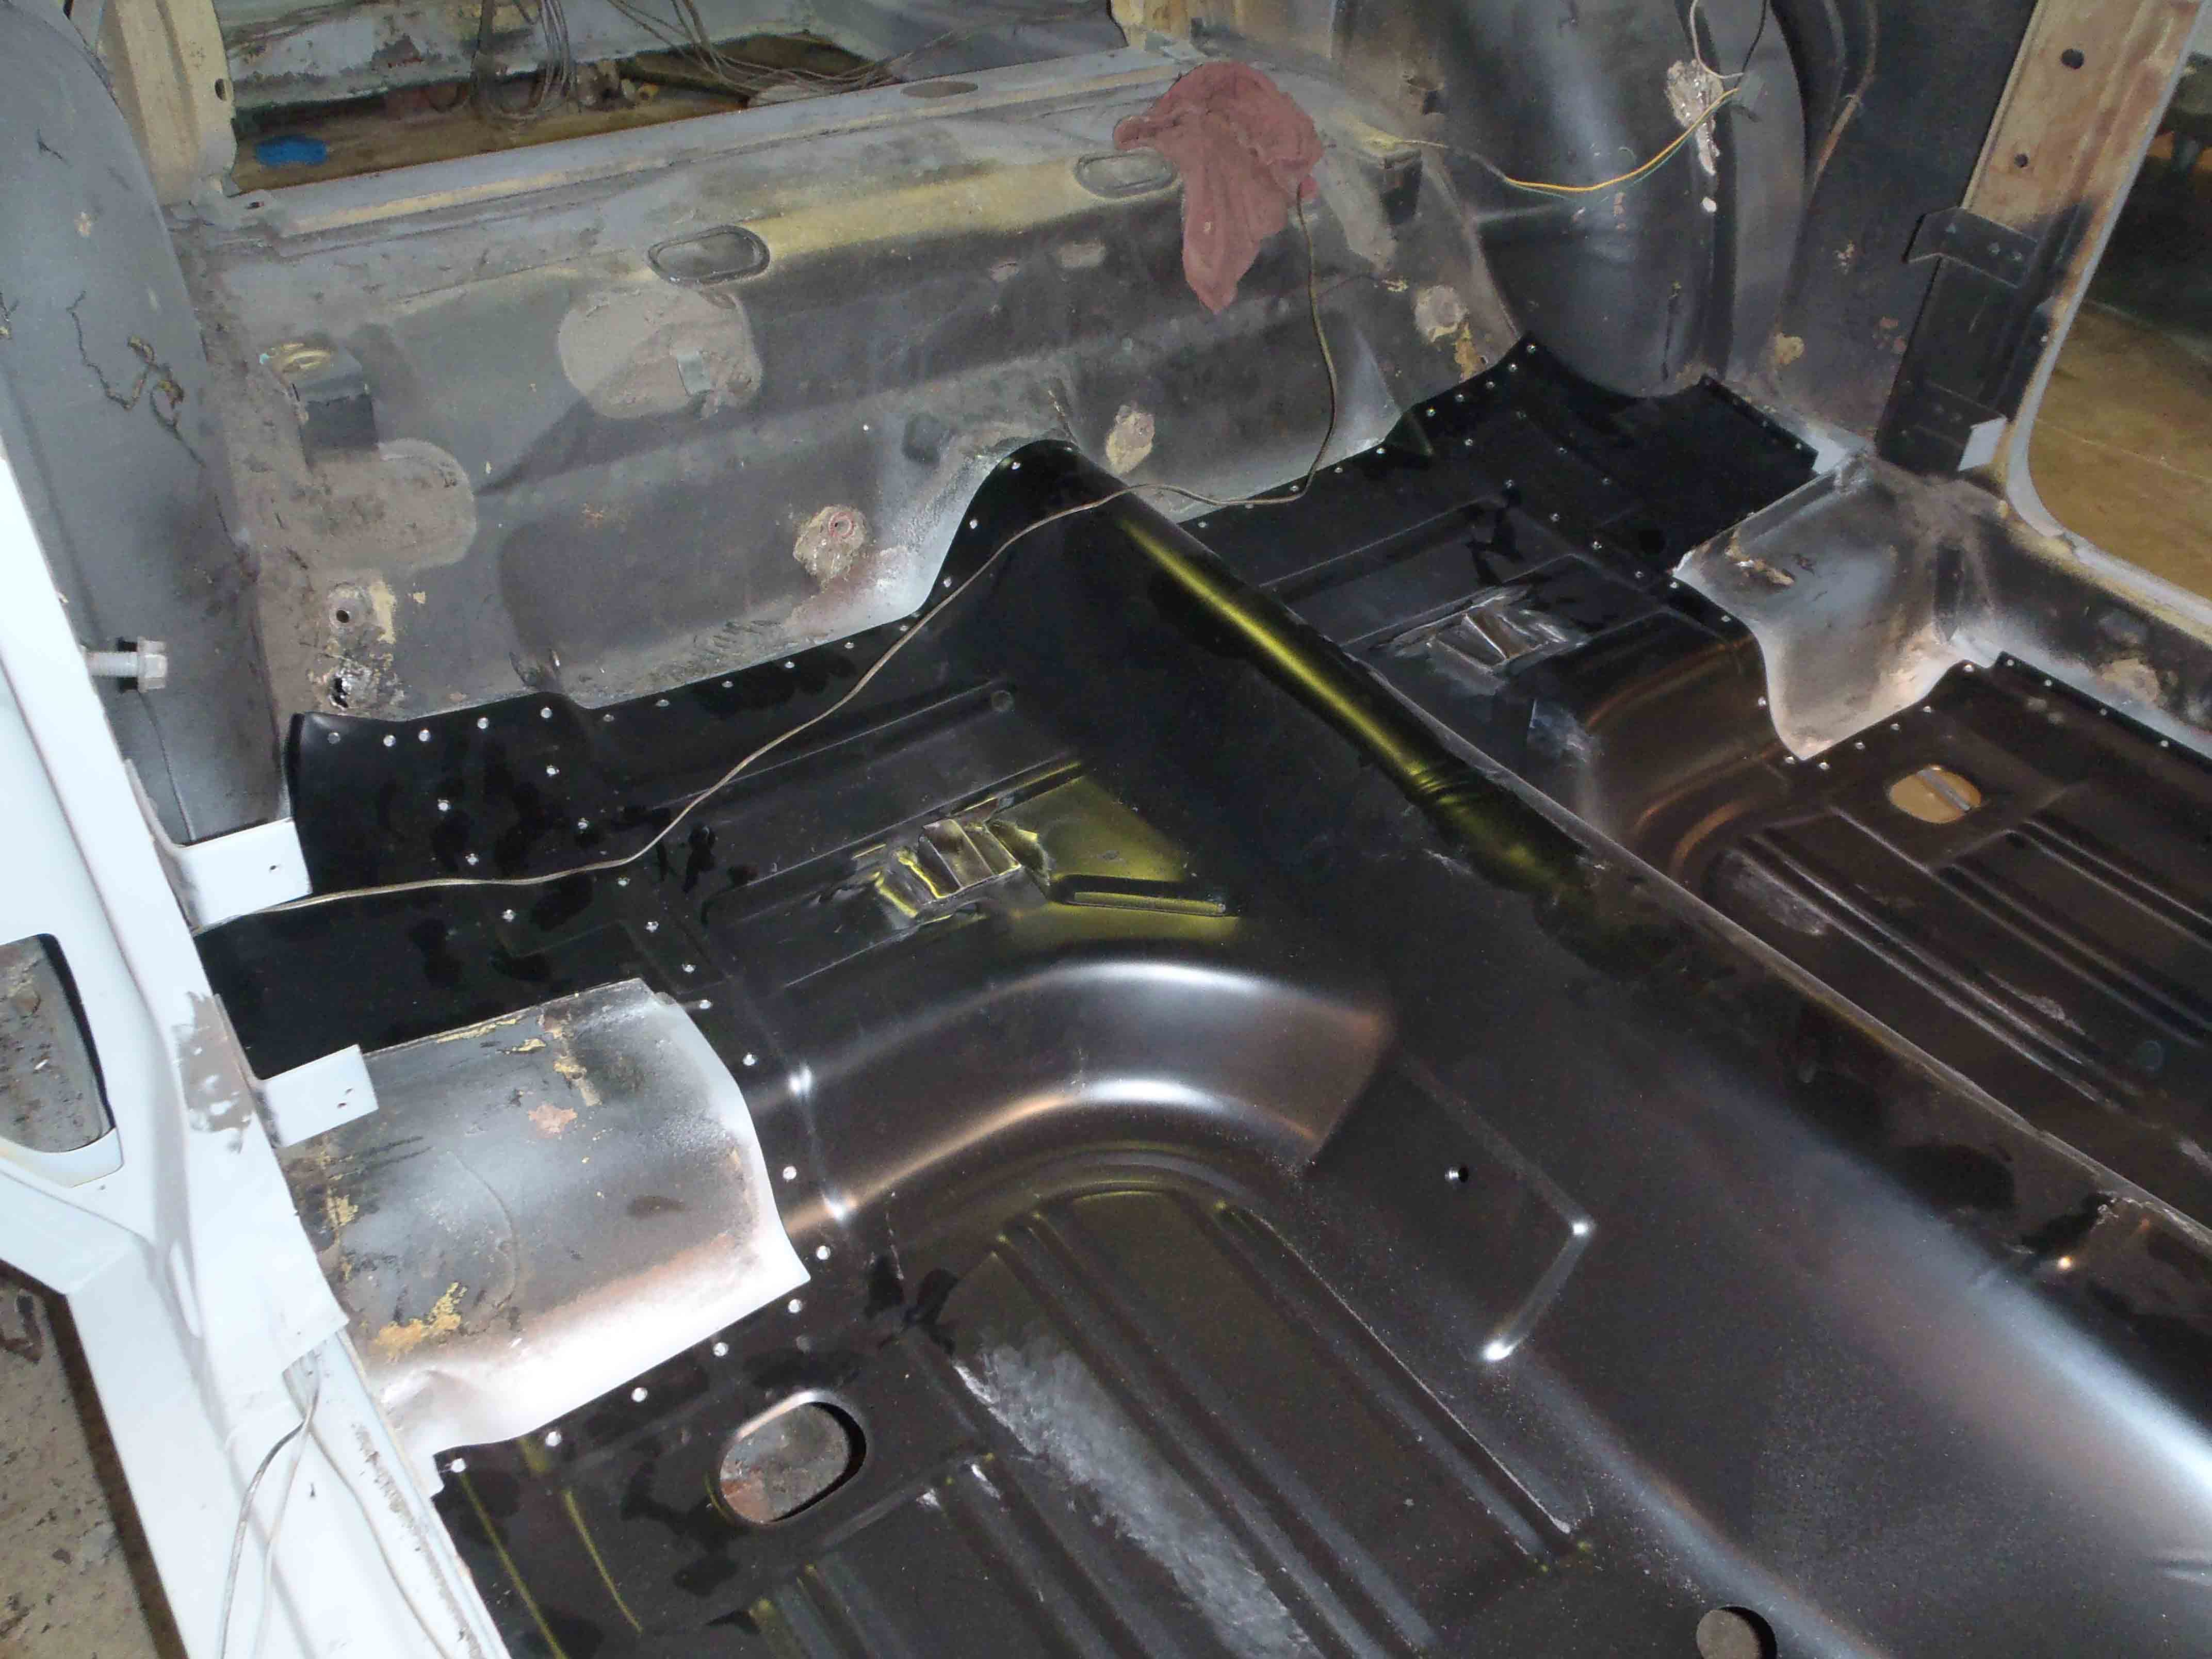
To this,
In the previous post, Evolution of a Restoration, we talked about TIG welding and basic plug welding. This week we would like to take you through the process of cutting and welding and metal finishing the panels you are replacing.
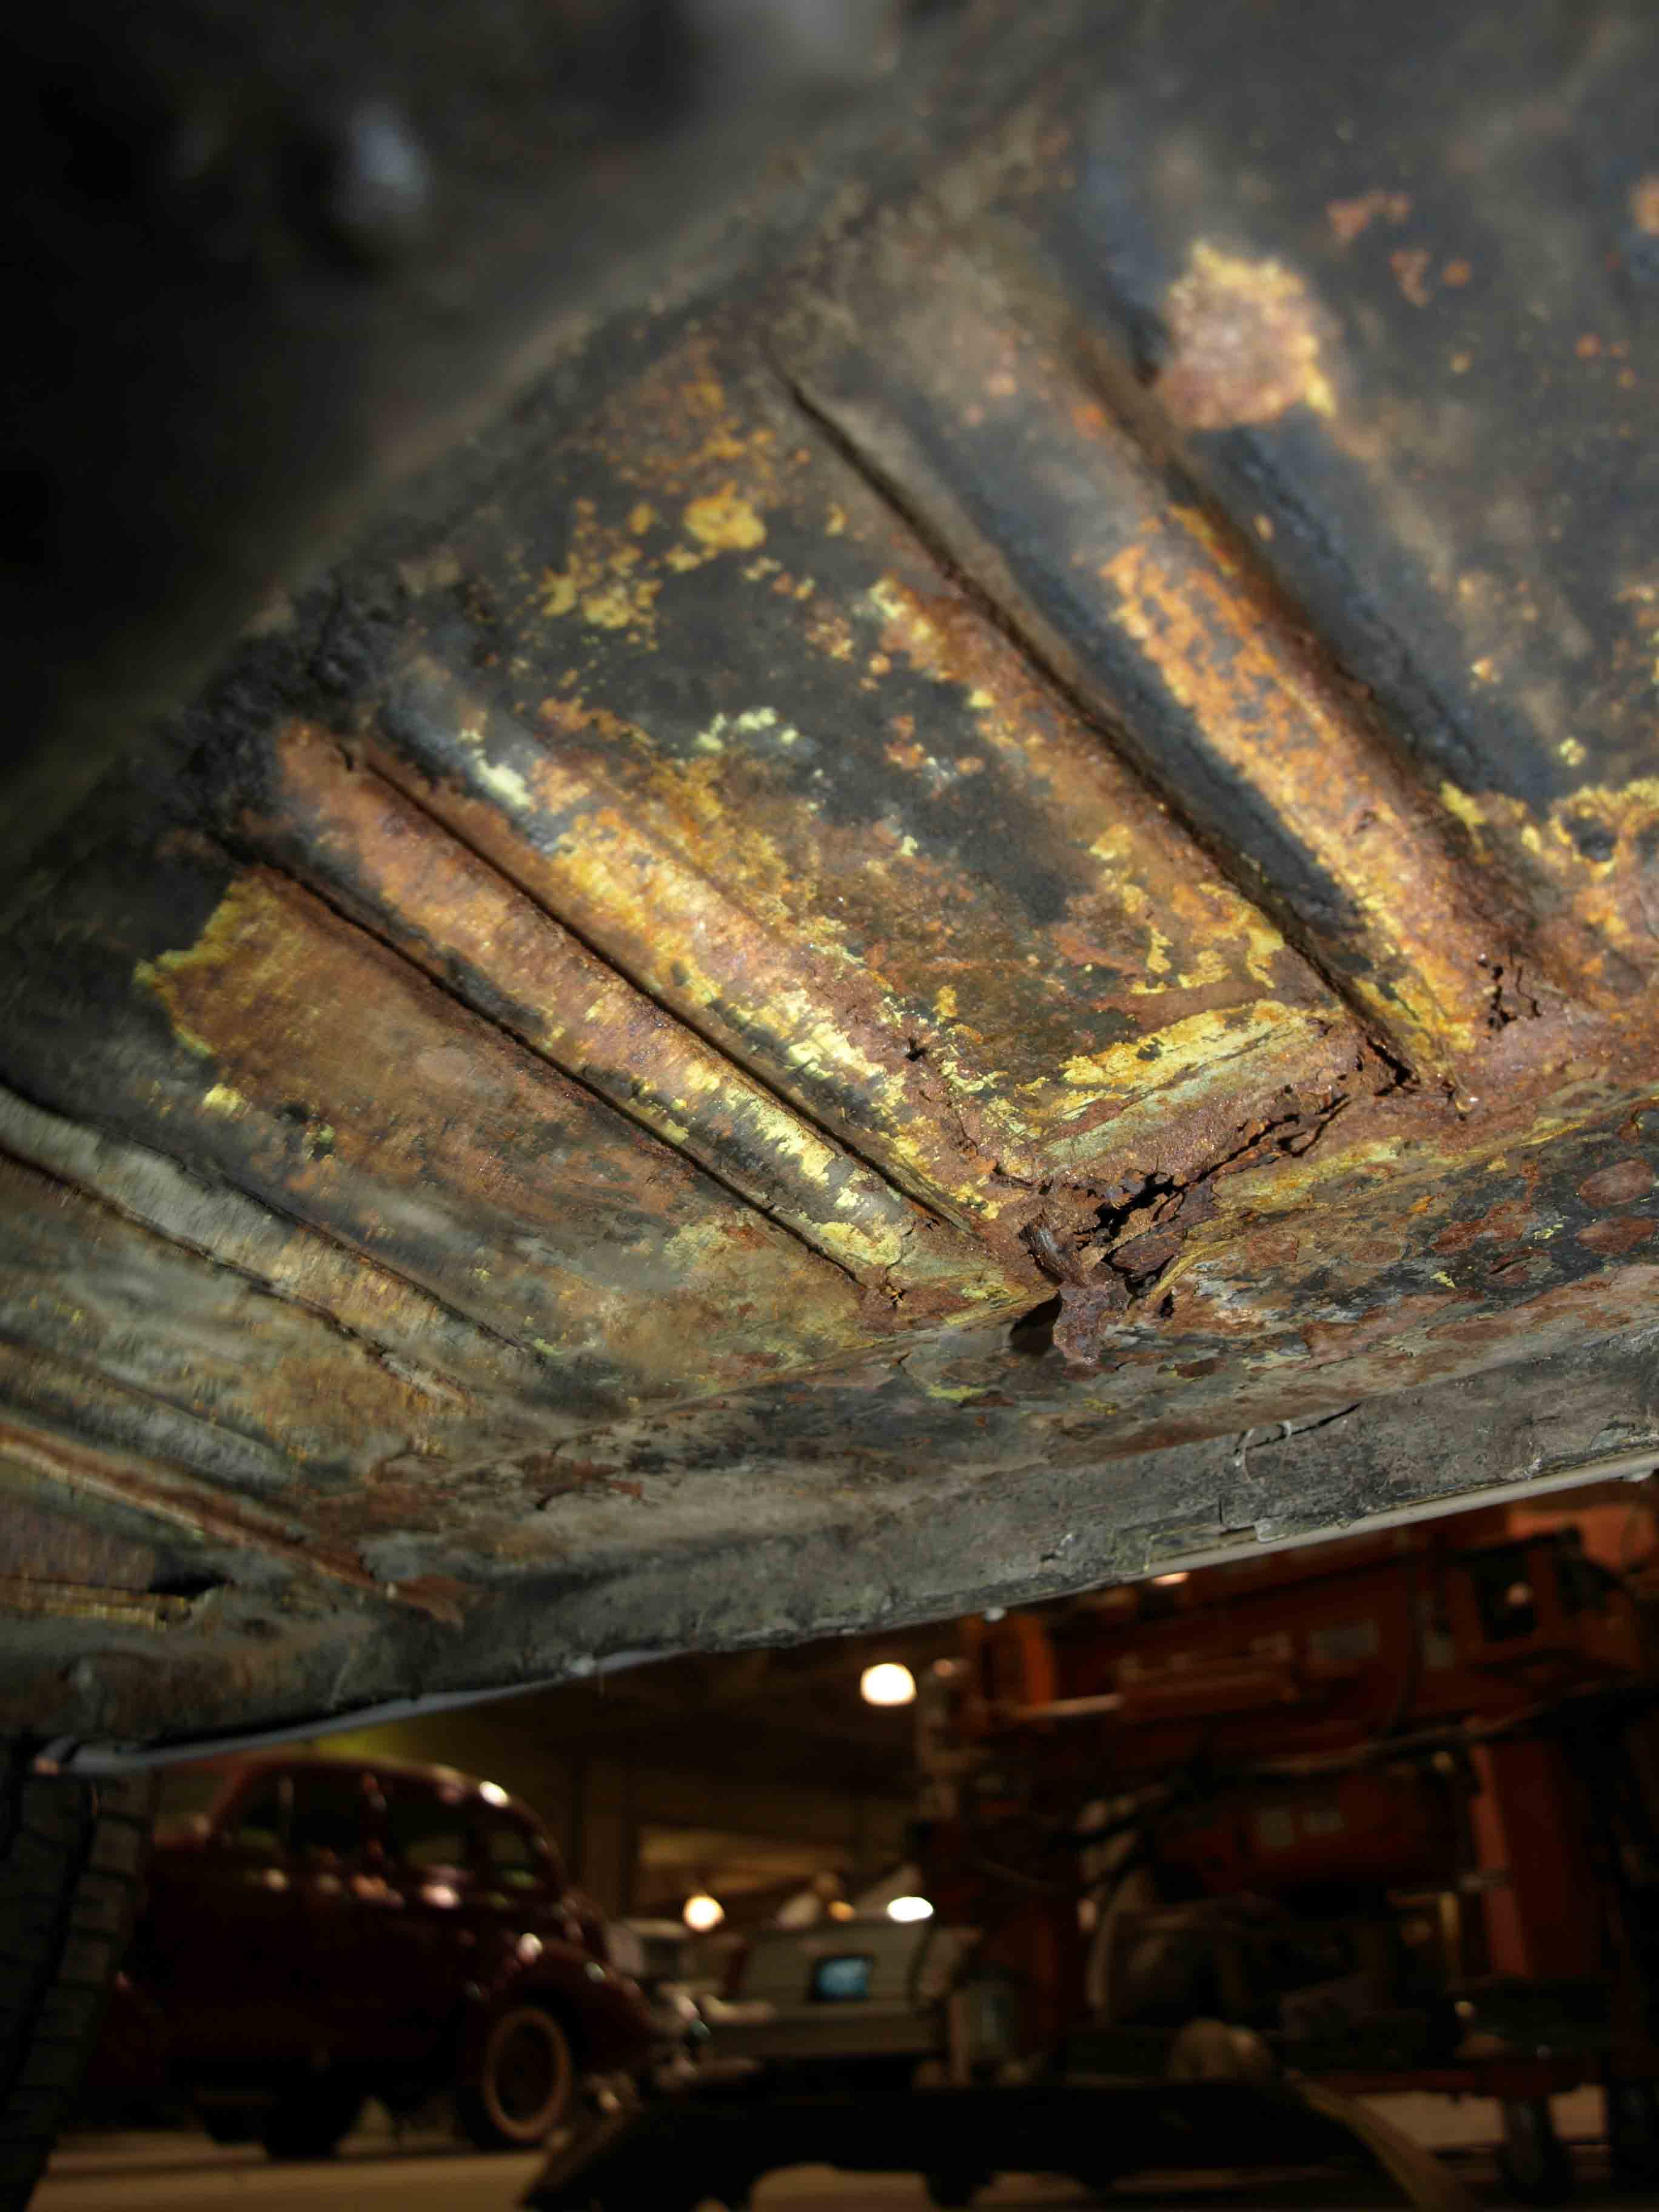
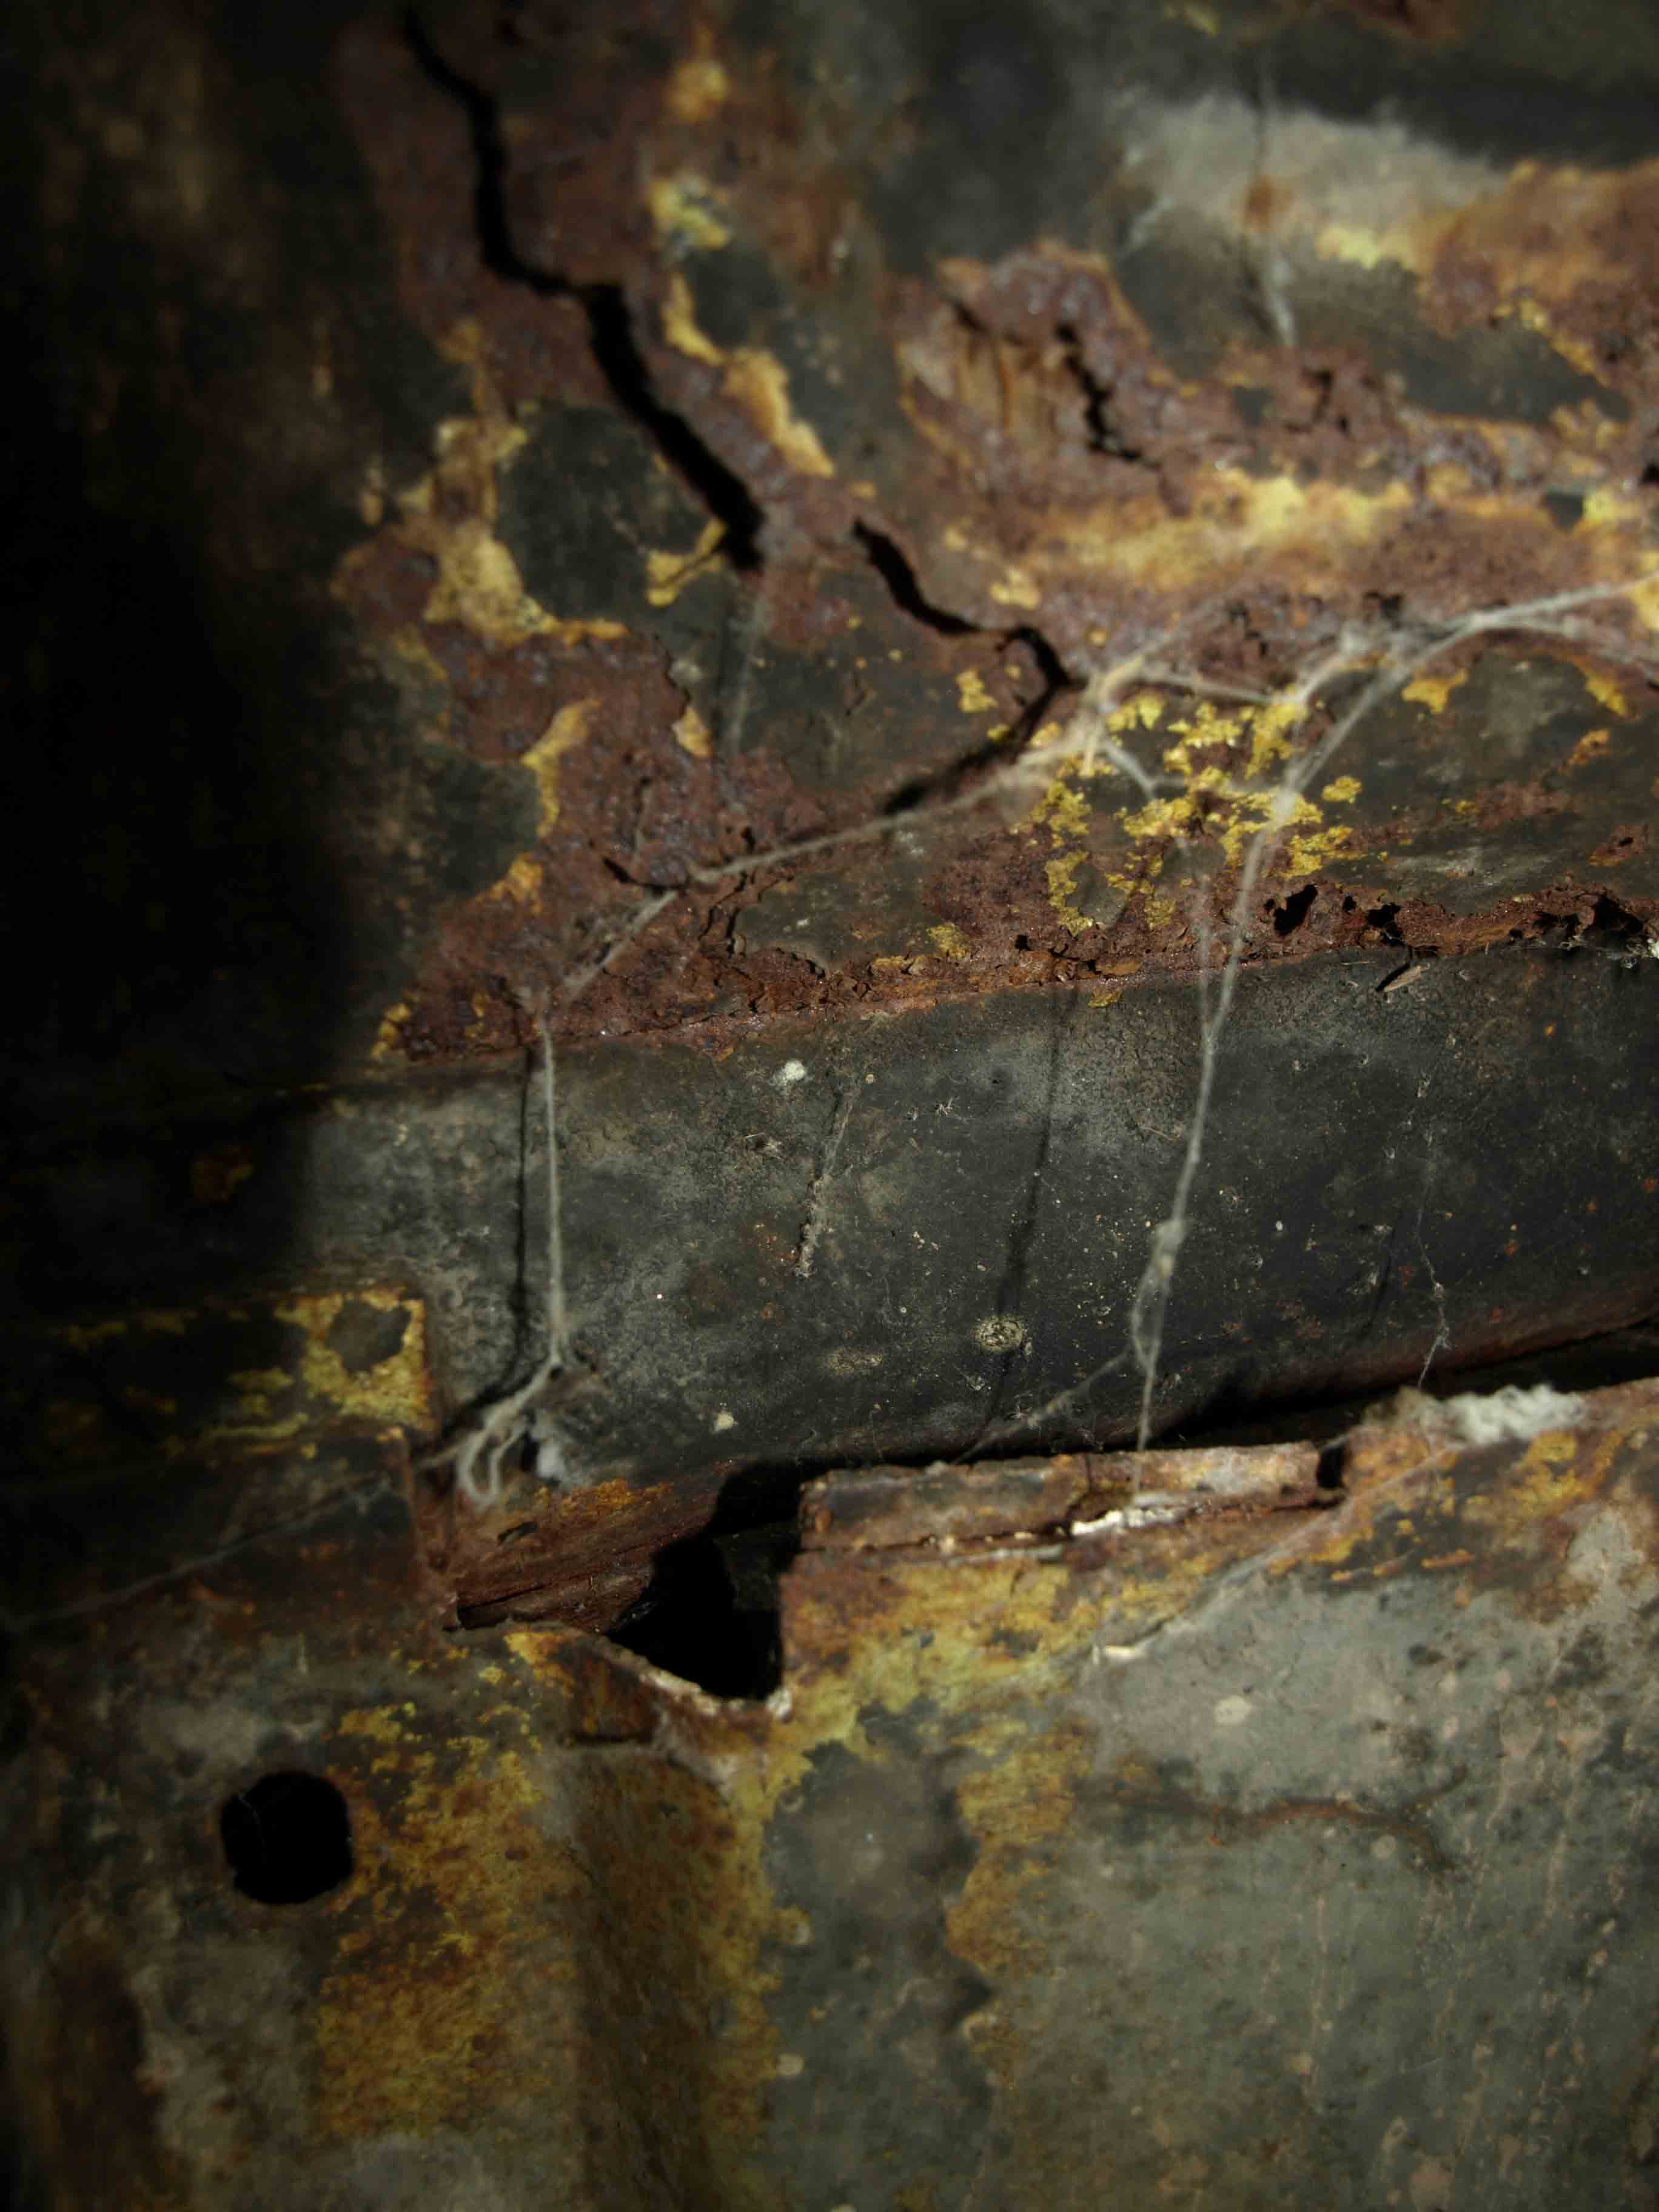
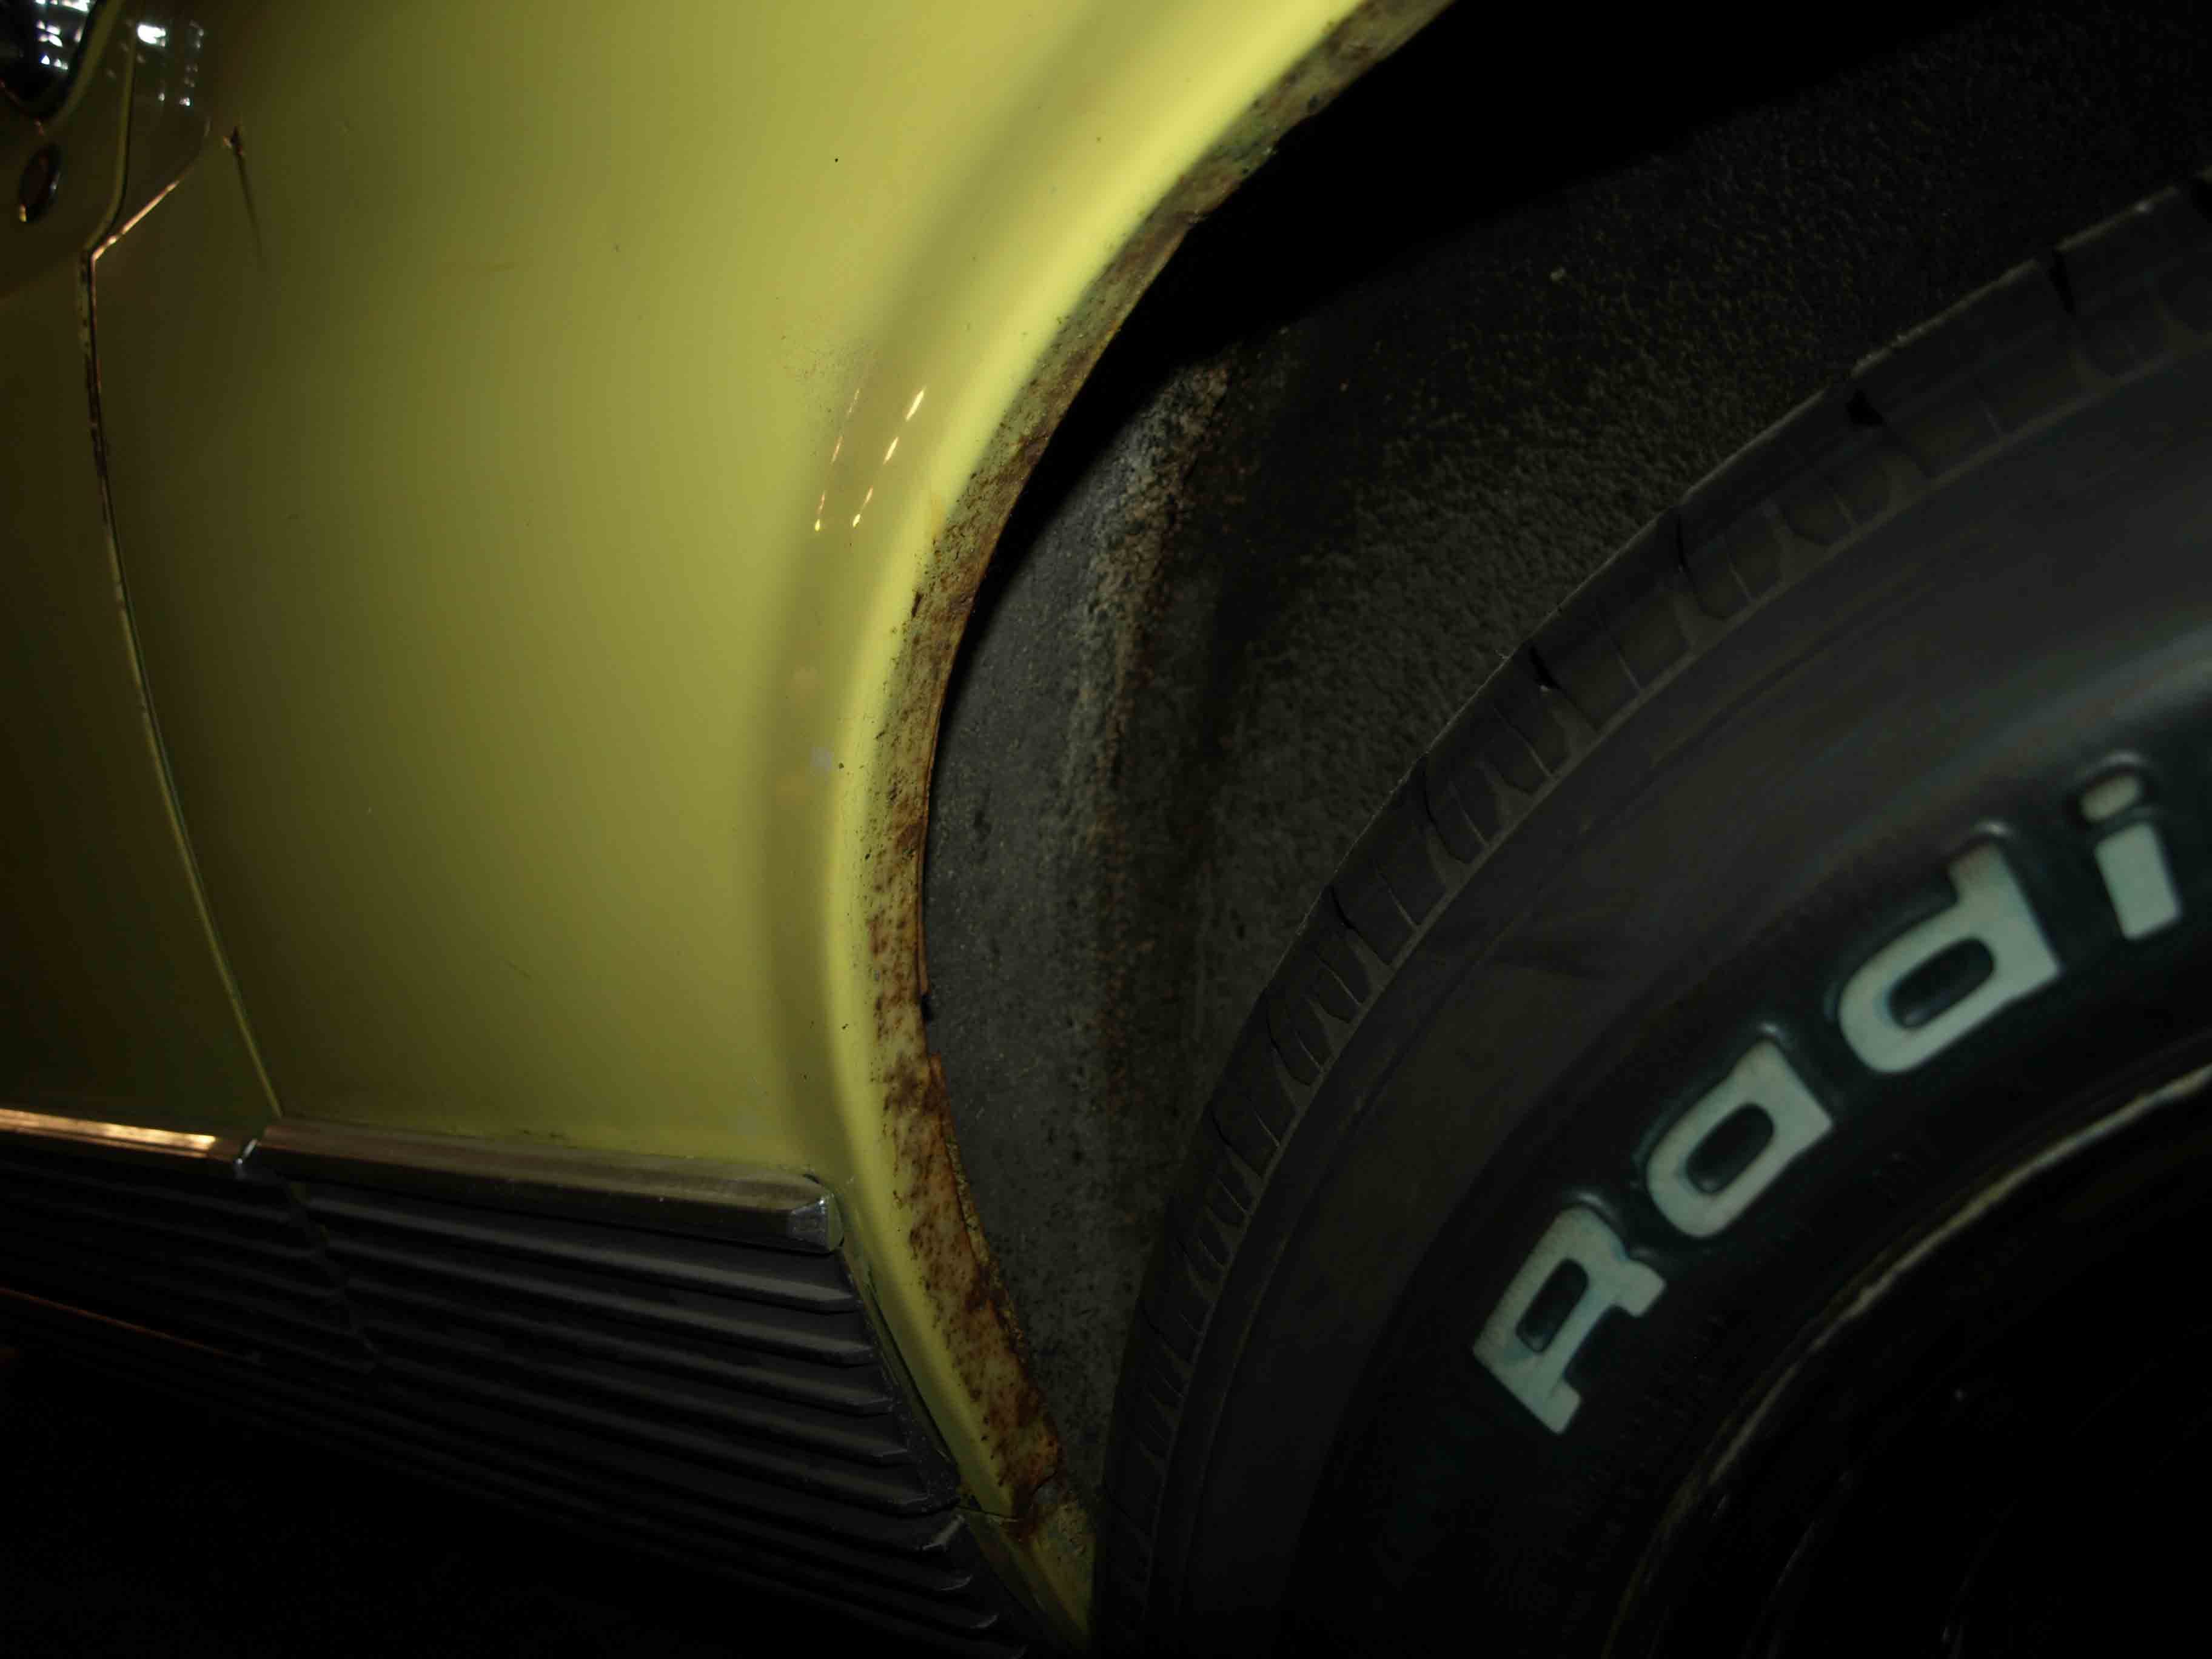
Upon our inspection of the Mustang used in these photos we found some considerable rust corrosion in the floor pans, left and right side quarter panels and some prior collision repair damage on the right side quarter panel and wheel house.
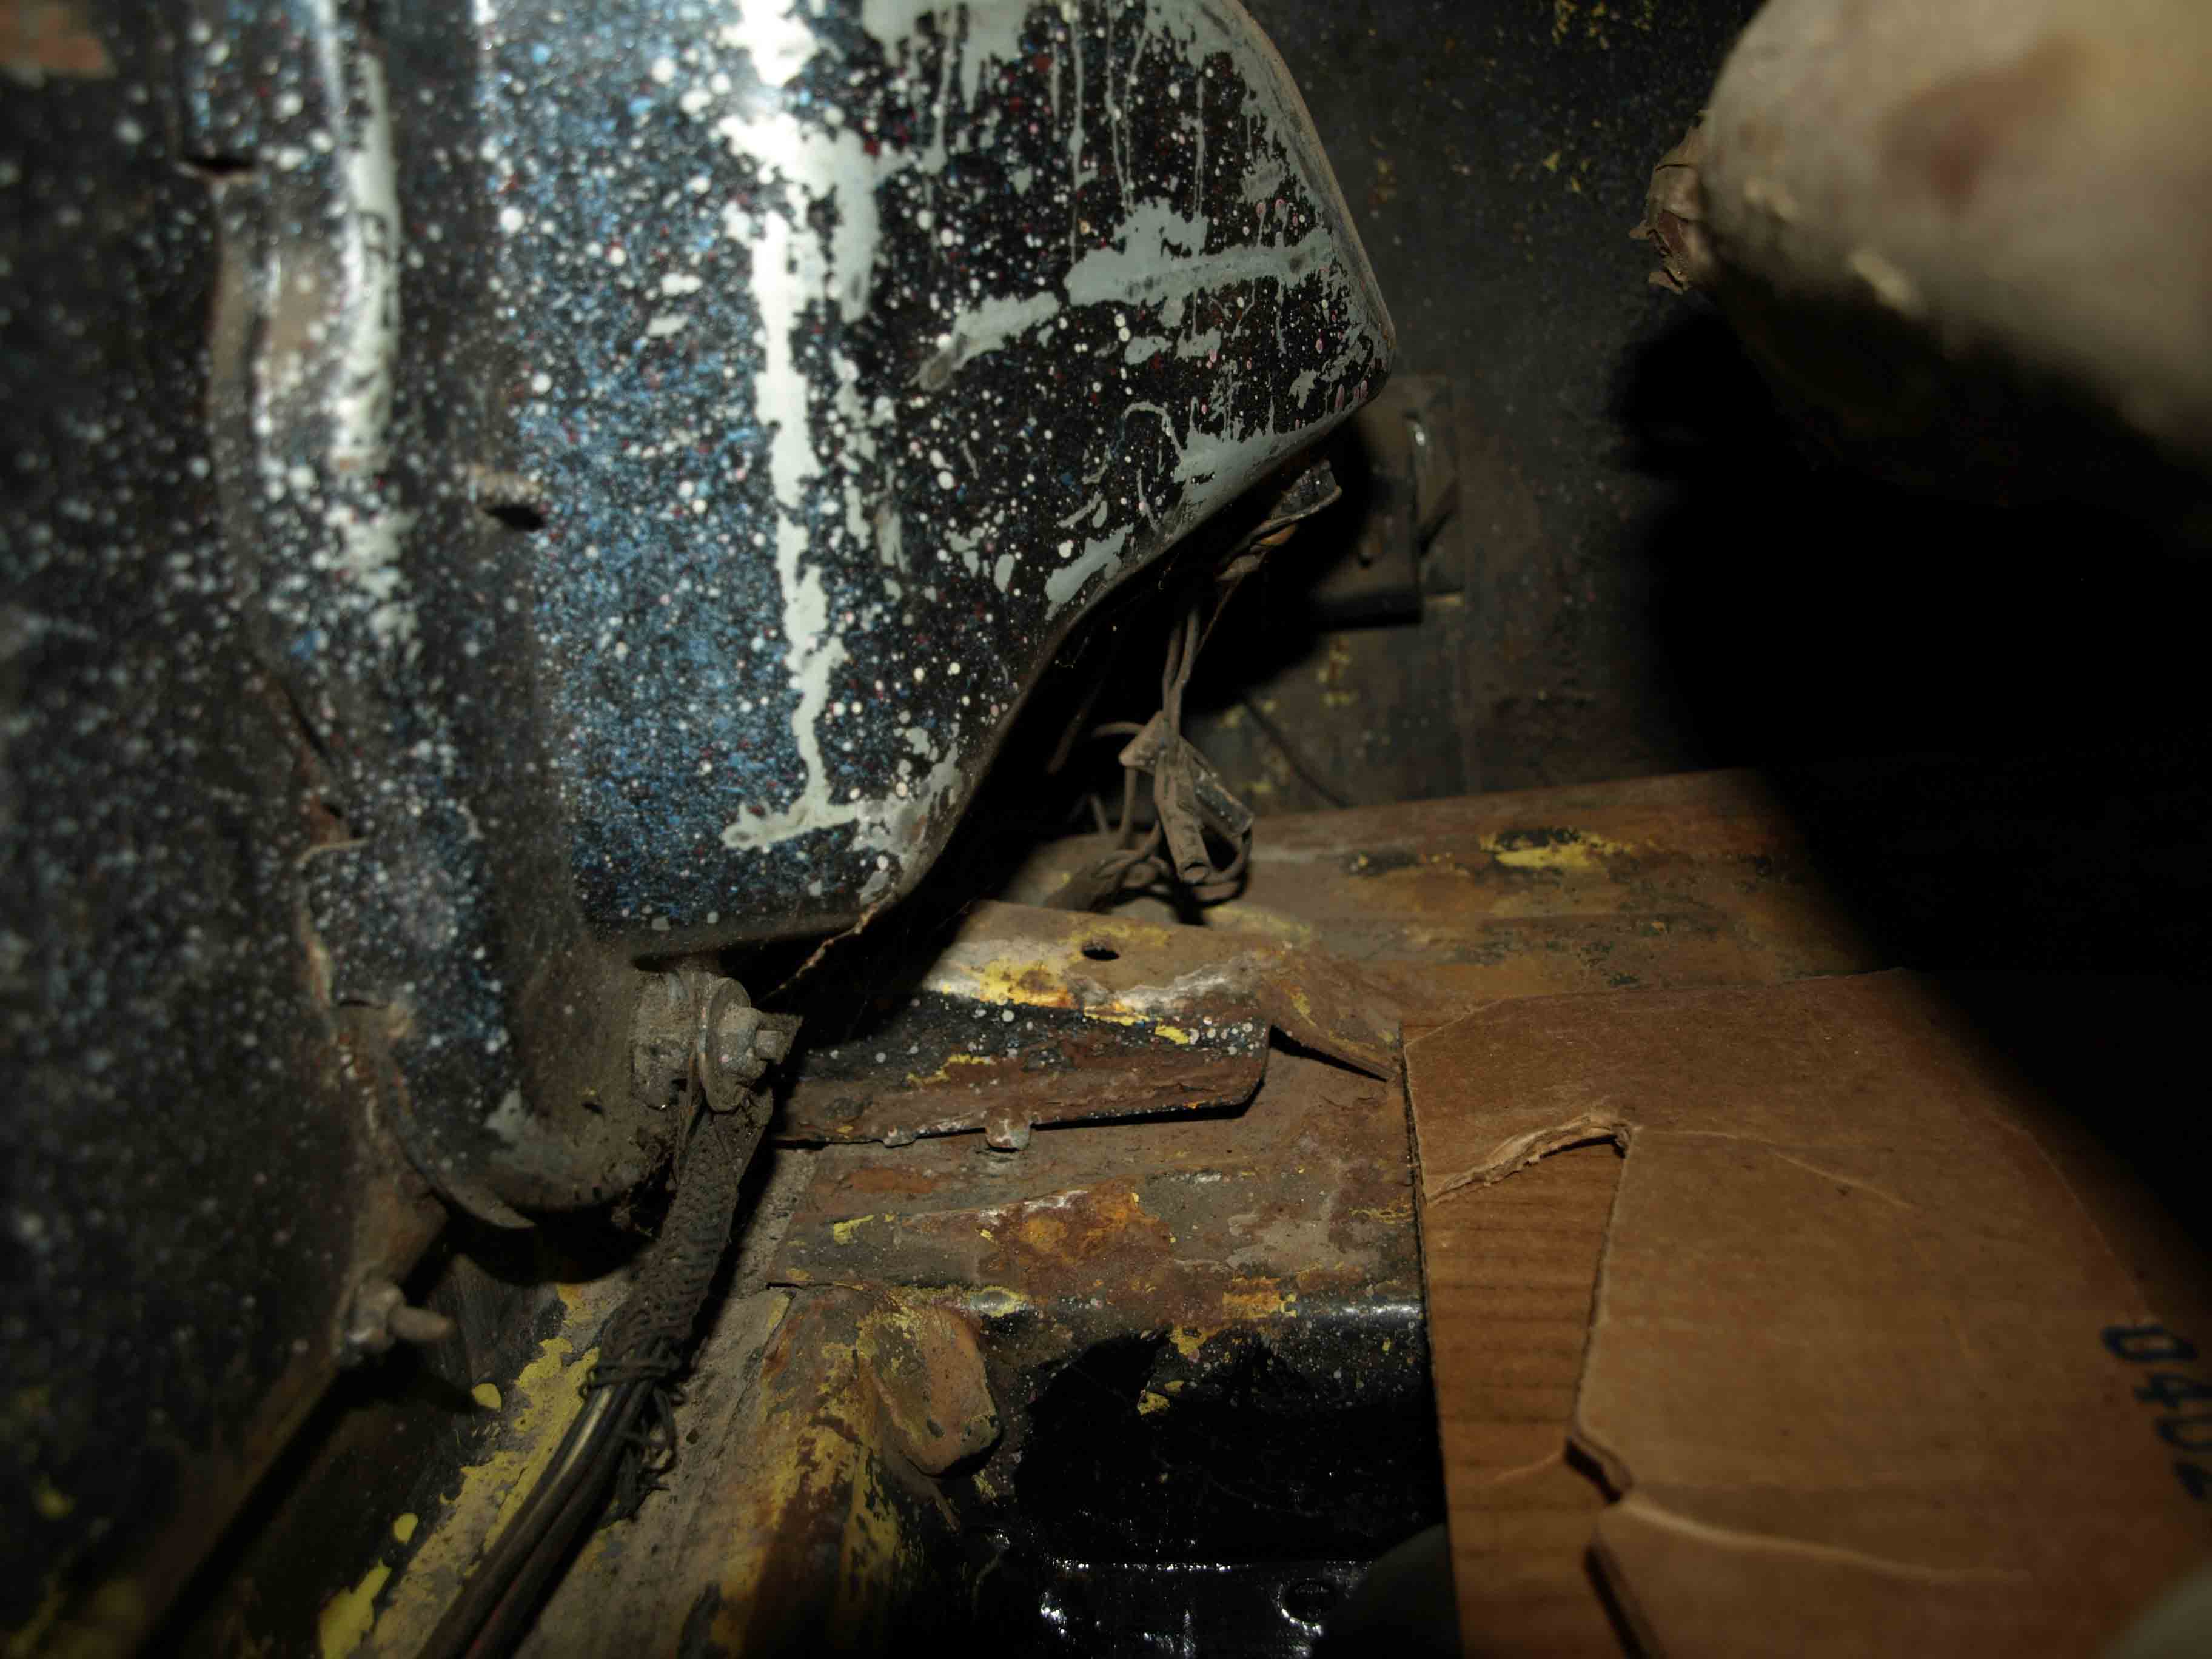


The customer was fortunate that there was no structural corrosion damage to the rocker panels and torque boxes of the body. Torque Boxes are used on most uni-body structures to provide rigidity to the vehicle. Manufacturers began using torque tubes on convertible body style as they had no solid roof structure. As processes go, the manufacturers learned that little additional cost was involved by adding this structural enhancement to all uni-body structures and soon the majority of uni-body framed vehicles were equipped with torque boxes. Torque boxes are not the same as frame connectors or sub-frame extensions.
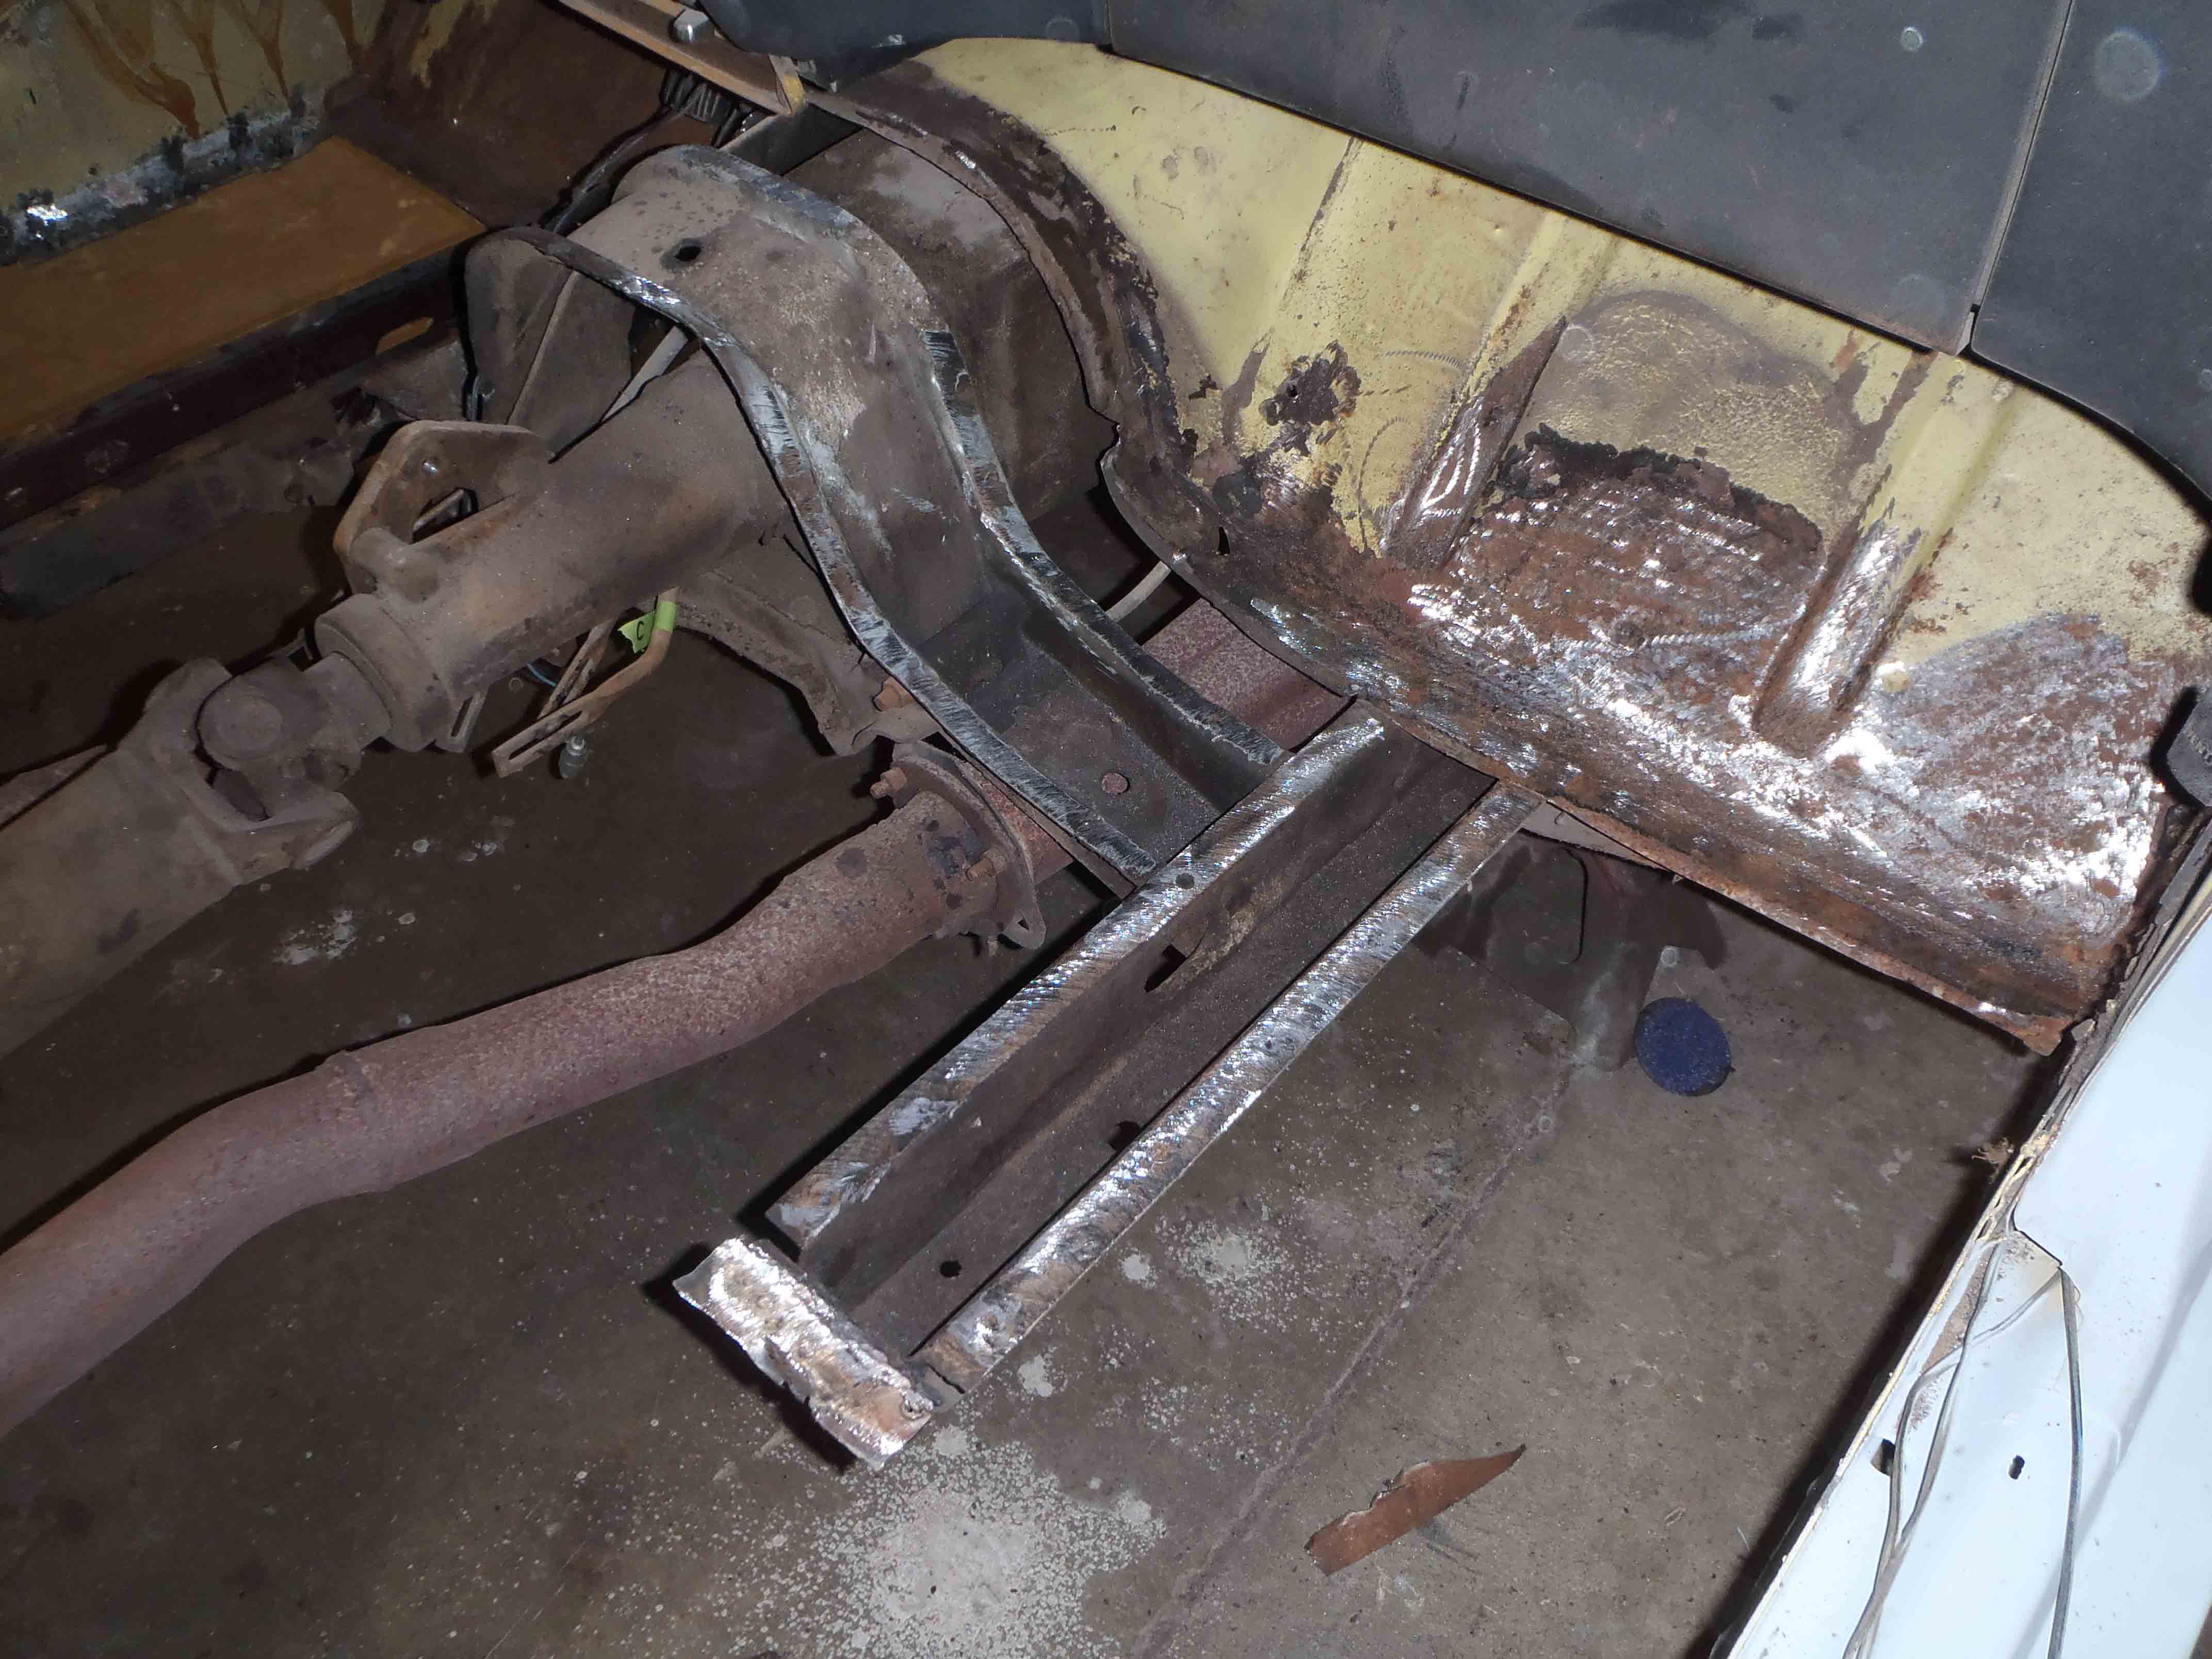
First step, as you might expect, was to remove the rotted floor pan. There have been many shops who have laid new floors over old without removing the corroded metal. As noted in previous posts, rust that is not removed will continue to deteriorate and affect the integrity of the new panel being installed. Corrosion at the leading edge of the floor is not rotted through and can be cleaned and treated to prevent future corrosion.
Before cutting be sure to measure the new pan and lay out those measurements inside the car. Measure and then recheck as you lay this out. Once the saw starts all measurements have to be right, you only get one chance at cutting the floor right the first time.
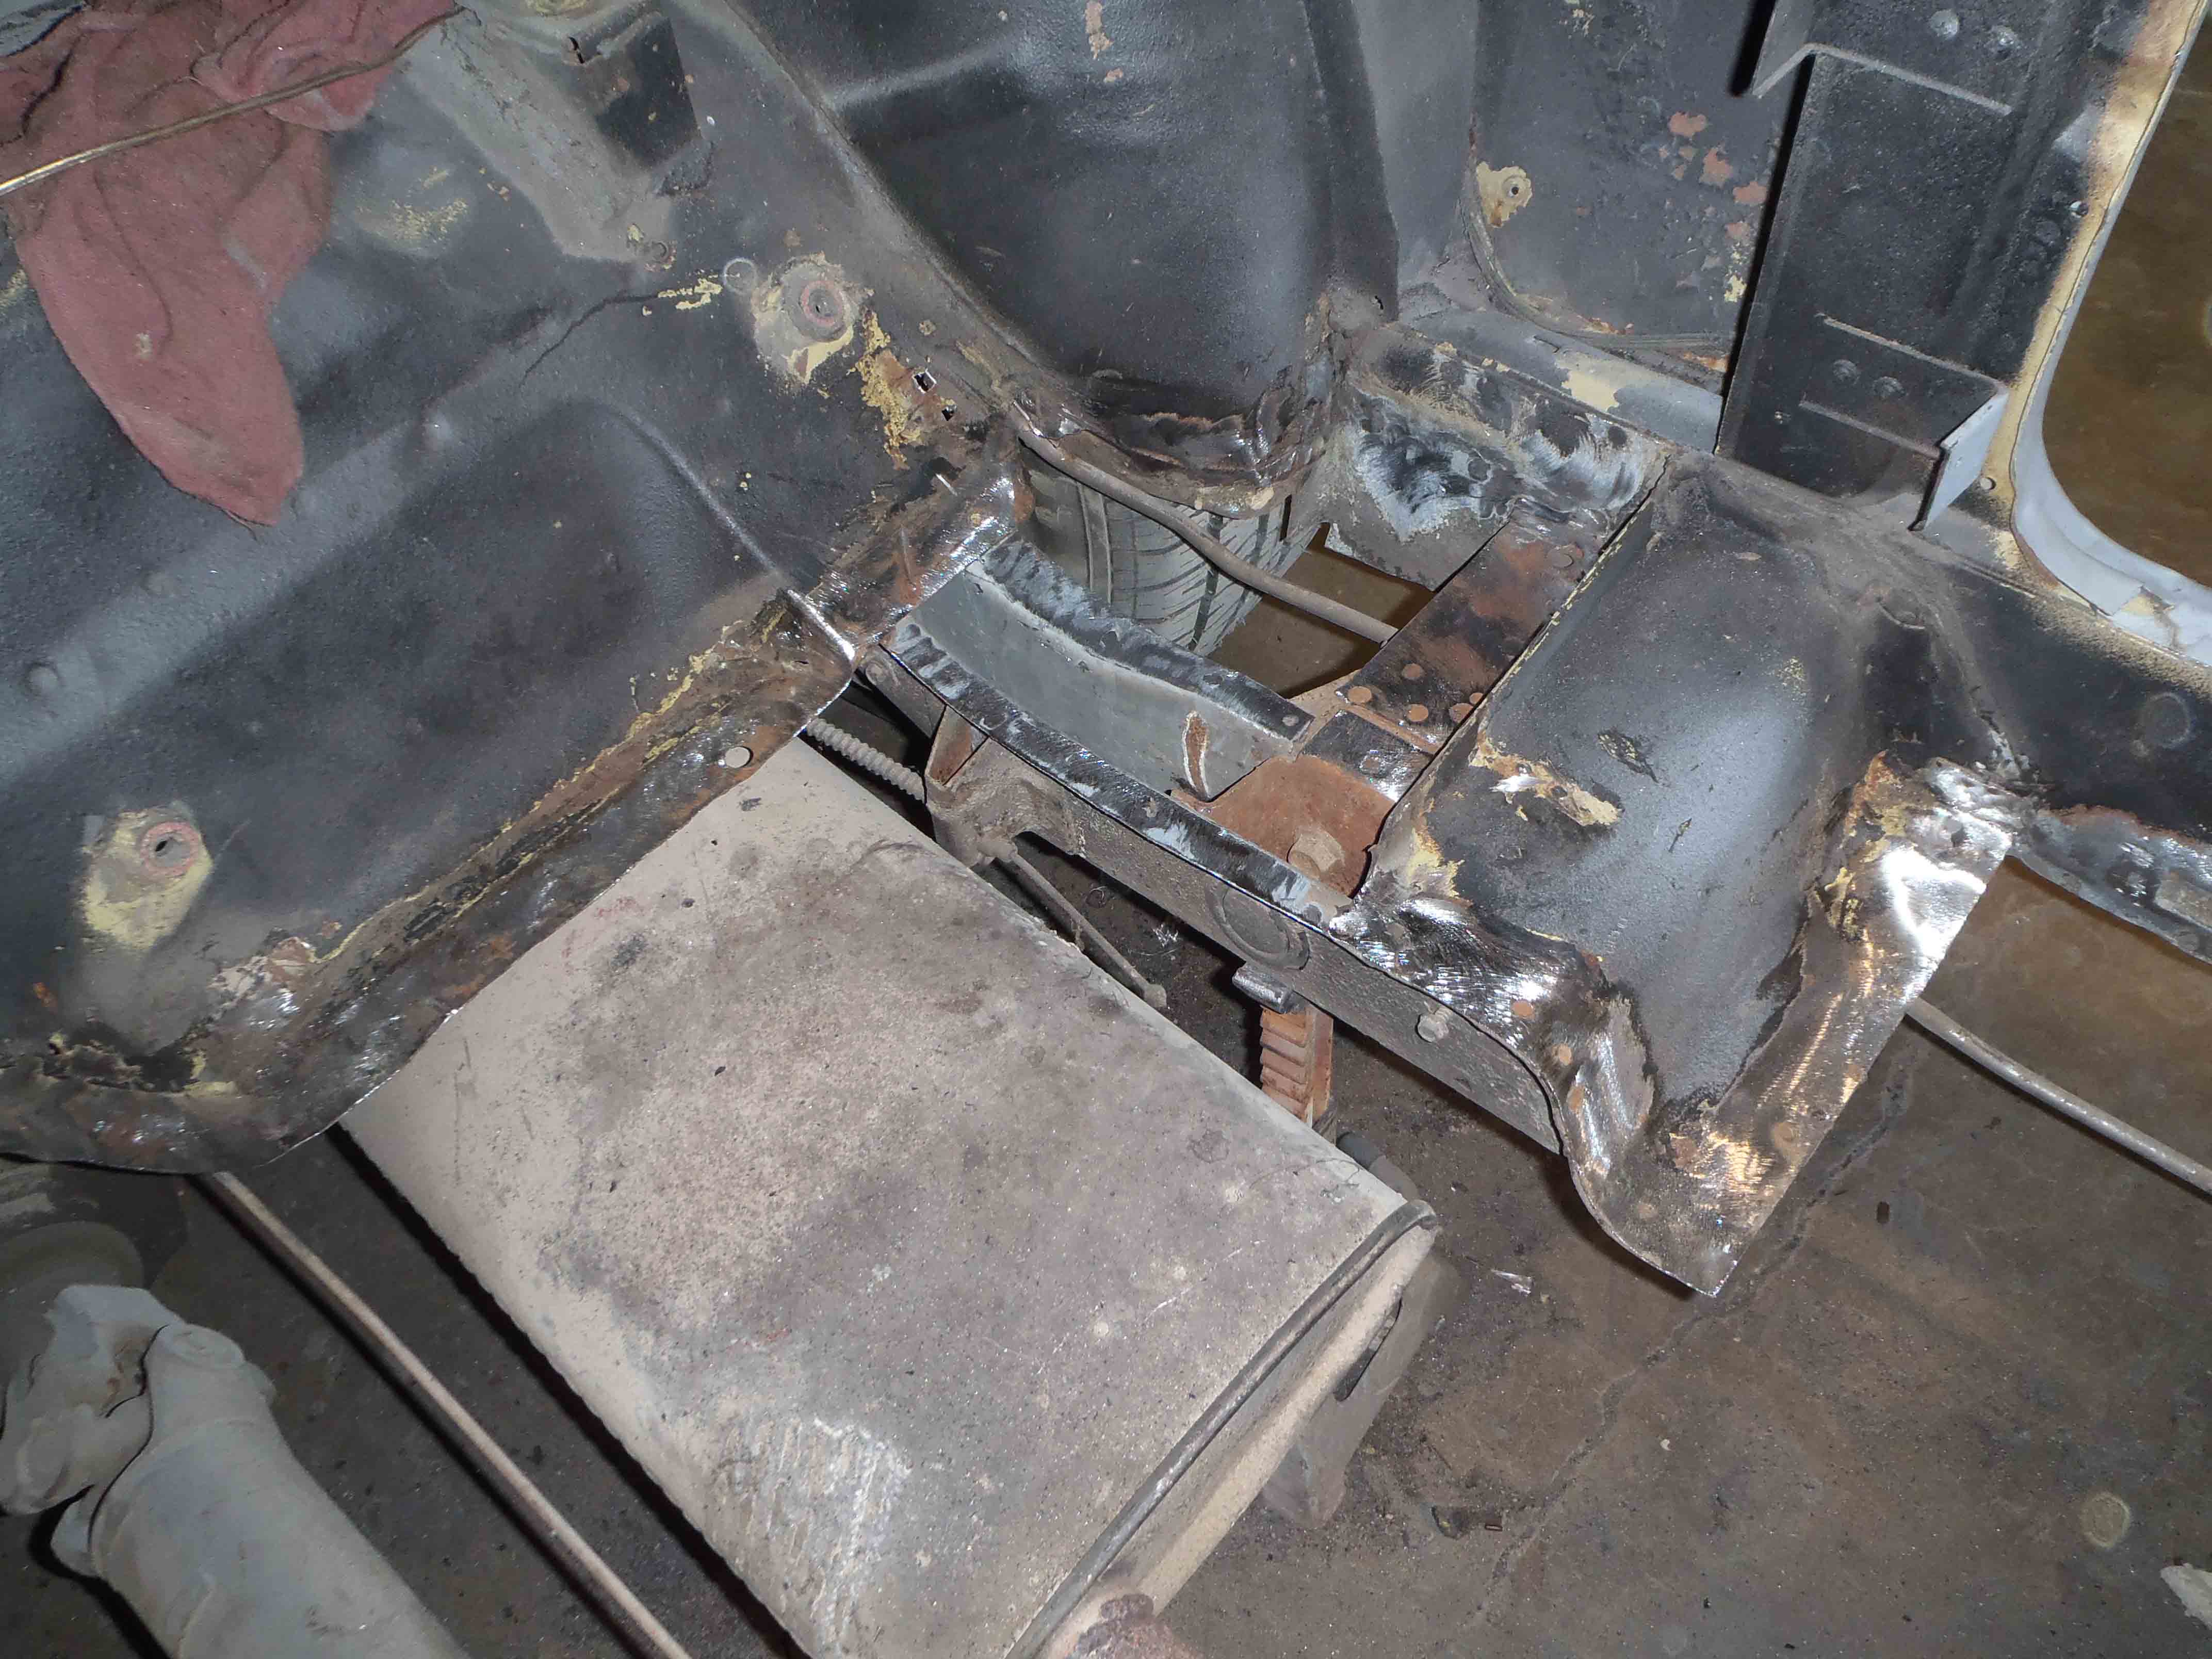


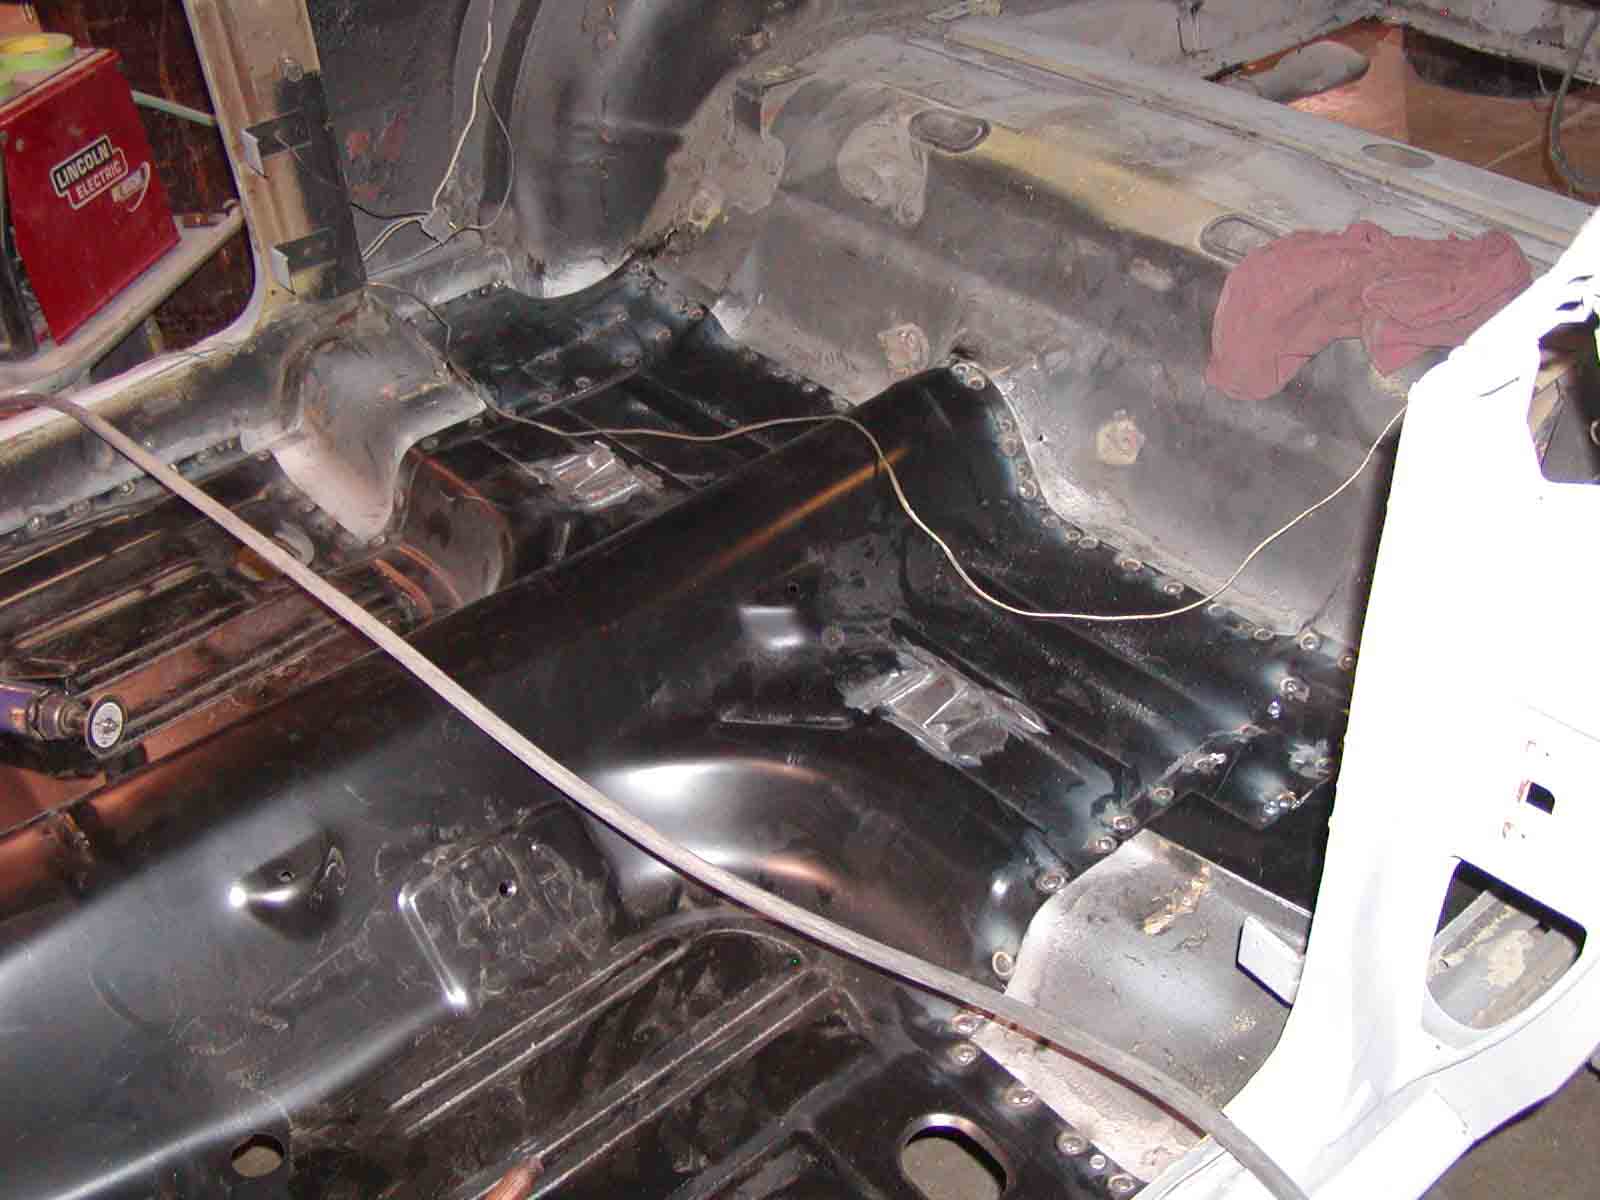
As you see there are several areas where the floor pan will be supported, these areas need to be cleaned and coated with weld through primer. For more information on weld through primers see pt 2 of this series. As you will note, the floor pan has been painted and sealed but the areas at the front and sides, where there will be plug welds has been taped off so that the metal at the welds is free of contamination by the finish. The holes are then drilled for the plug weld and pan set into place.


Plug welds;
A term that you may hear at times when doing panel repairs is “plug welding”. Plug welding is a type of weld that simulates a factory spot weld. A plug weld is made on two adjoining surfaces such as body pinch welds, floor pans or inner wheel house panels to sub-frame structures. One of the panels will have a hole drilled to the size of the weld desired. The weld is then started in the middle and filled from there. This process ensures good penetration on the weld and is often times better than the original spot weld.
The finished product shows uniform plug welds around the circumference and also along the sub-frame rails.
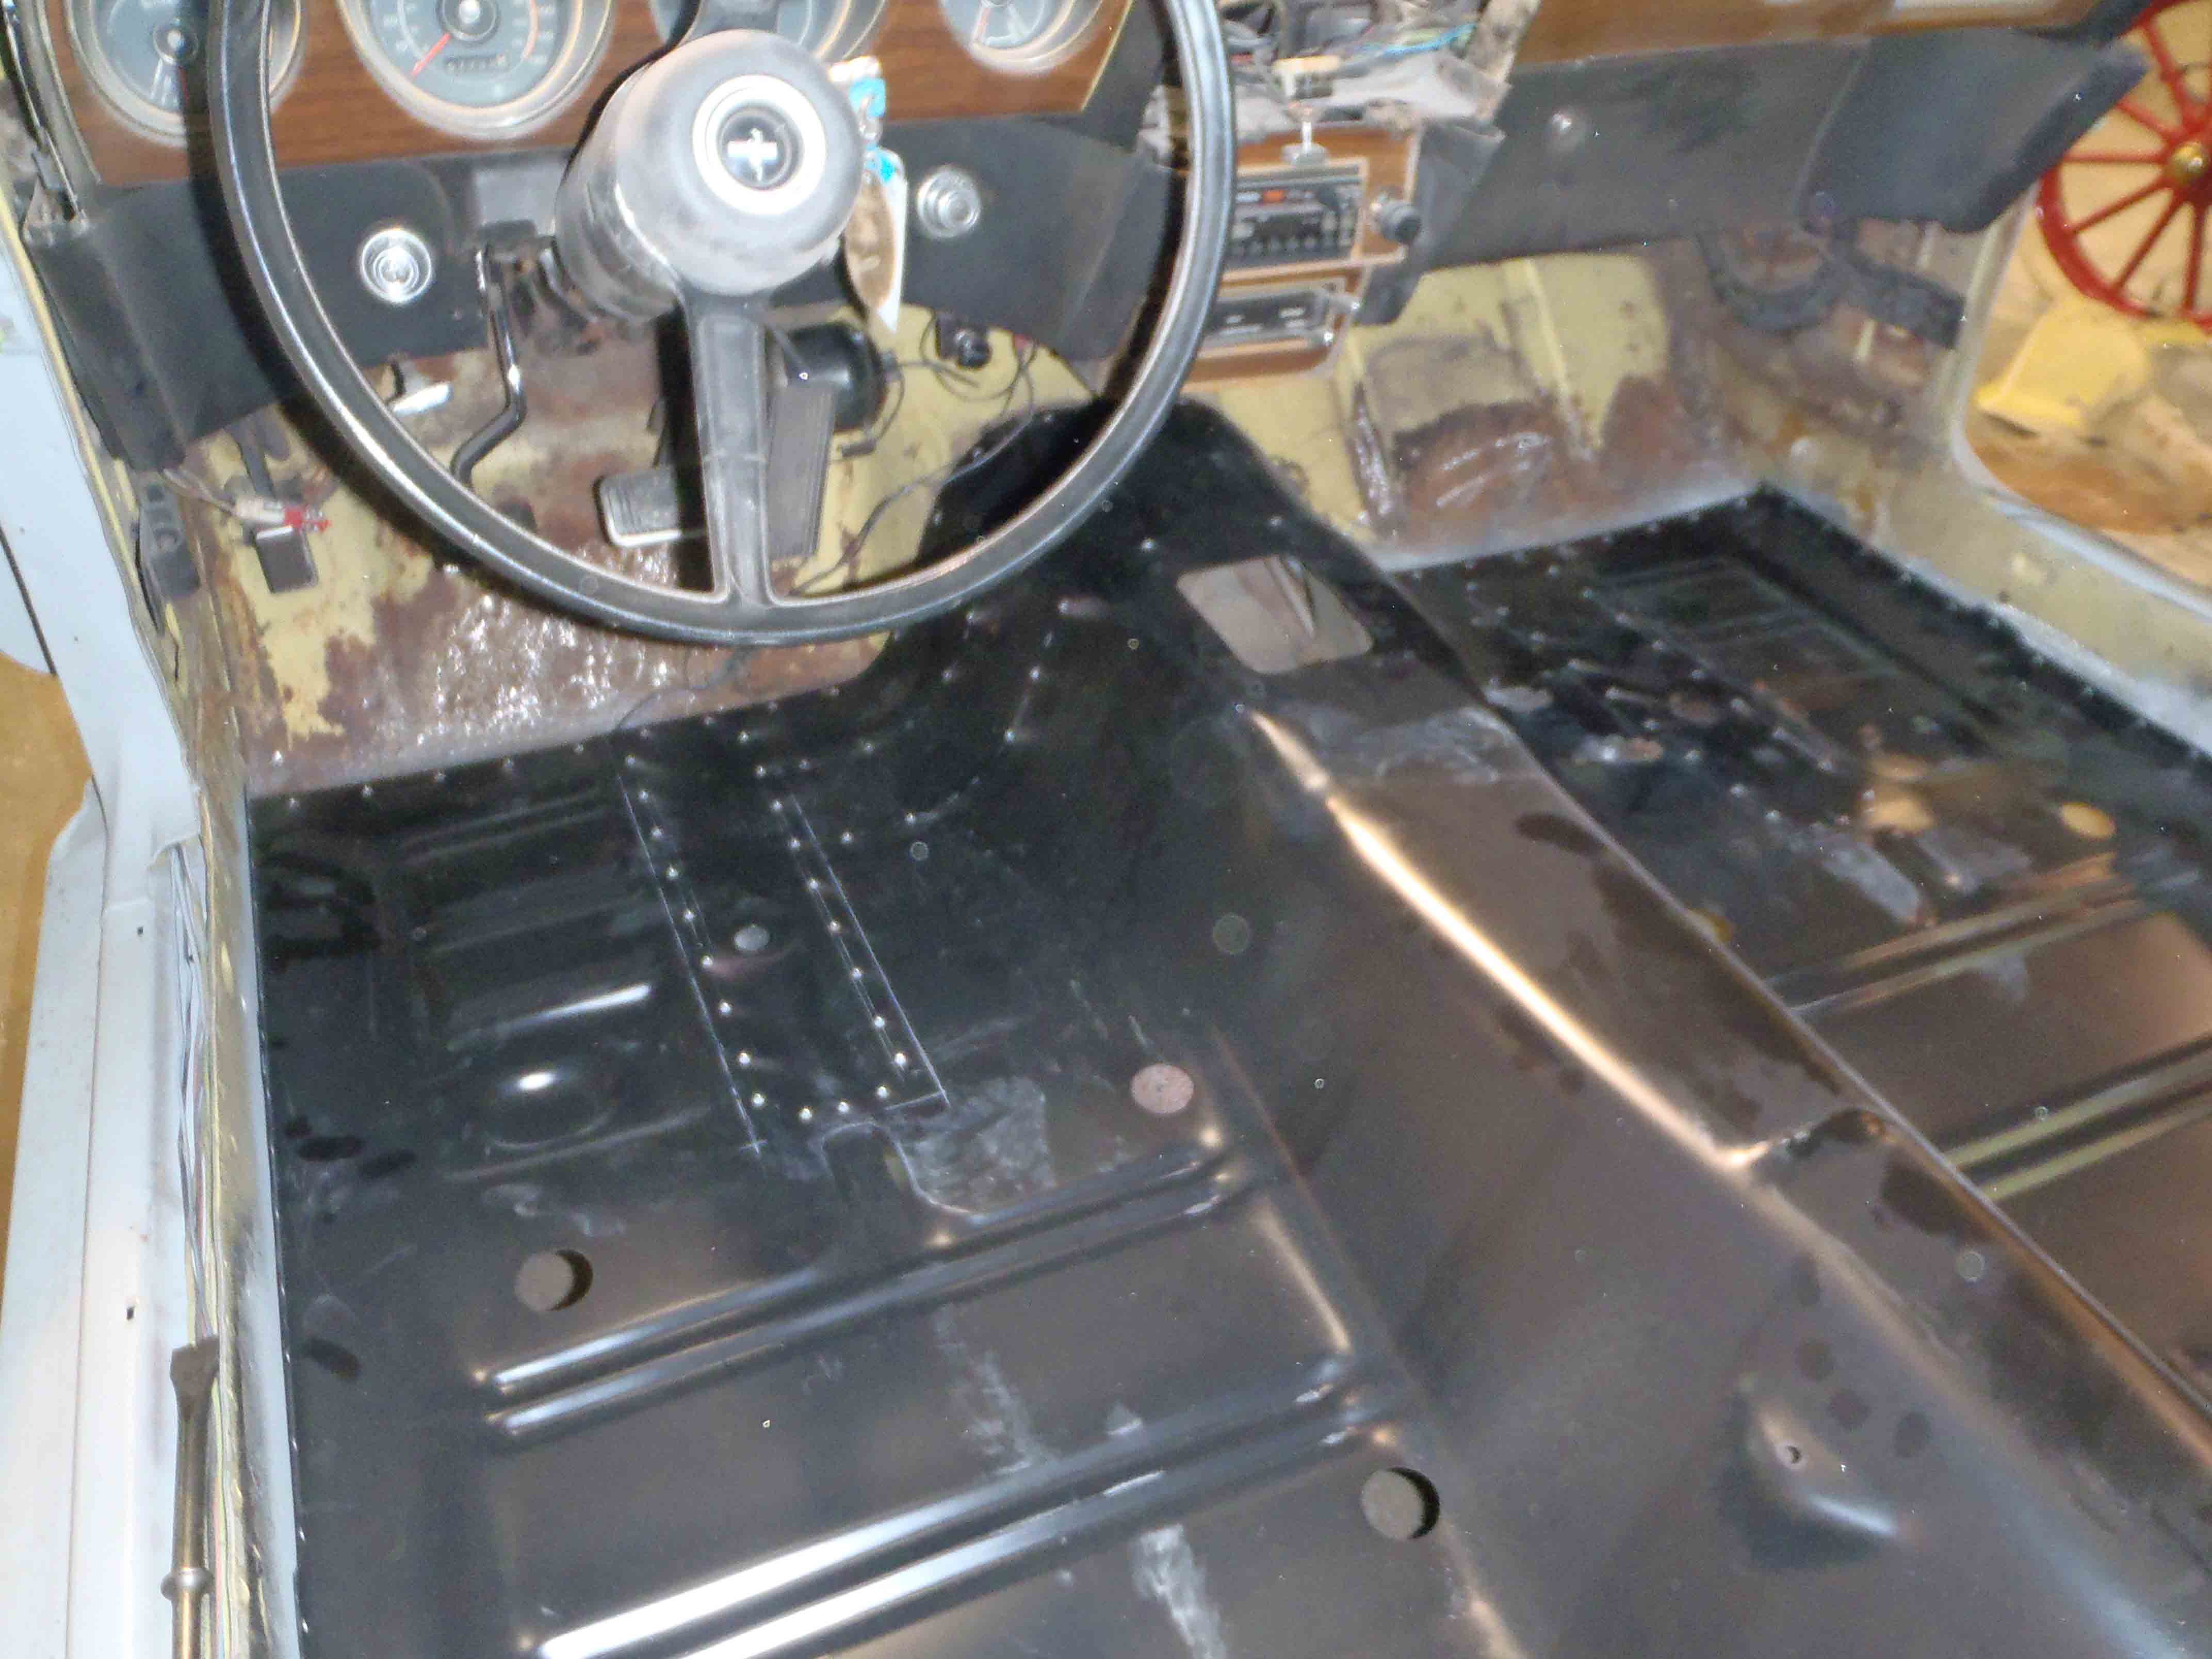
Replacing a floor pan can be a very daunting experiment in patience and perseverance. It is a time consuming repair but often necessary on early model vehicles and the integrity of the floor needs to be considered when restoring your classic.
Next week we will look more at body repair and prep work.